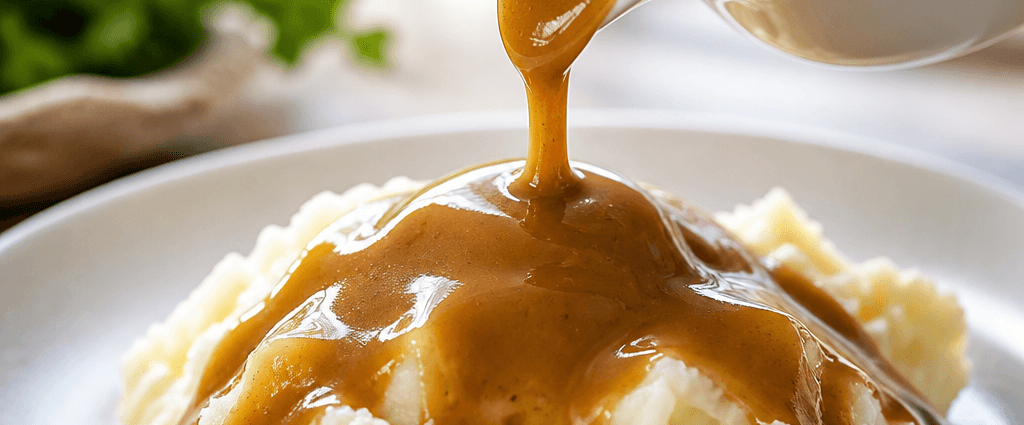
Rich, velvety homemade gravy is the unsung hero of nearly every memorable meal, quietly transforming the simplest plate into something worth savoring. Whether it is crowning a golden Thanksgiving turkey, pooling into a mound of mashed potatoes, or reviving a humble weeknight dinner, a great gravy up your sleeve is a genuine kitchen superpower. For many of us, gravy carries a wave of nostalgia, calling back to family dinners and the warm hum of the table as that glossy, savory sauce made everything taste like home.
If you have ever wrestled with stubborn lumps or wondered what separates ordinary gravy from the restaurant-worthy kind, this recipe is exactly what you need. With just a handful of pantry staples and a few simple tricks, you will be pouring out liquid gold over your favorite mains in no time. Best of all, the whole thing comes together on the stovetop in under 15 minutes, so it is as practical as it is delicious.
Why You’ll Love This Recipe
This classic gravy is refreshingly simple and quick, requiring minimal ingredients and no special equipment beyond a saucepan and a whisk. Anyone, from a first-time cook to a seasoned host, can pull it off with confidence, and the entire process takes less time than it does to mash the potatoes it will eventually grace.
It is also wonderfully customizable. You can build it on turkey drippings for a holiday feast, lean on chicken stock for a cozy roast chicken dinner, or reach for beef broth when something heartier is on the menu. The method stays the same no matter which direction you go, so you can adapt it to whatever main dish you are serving.
Perhaps best of all, this recipe promises no lumps, ever. The foolproof roux-and-whisk technique means you will never again have to strain your gravy through a sieve or apologize for a bumpy texture. Just smooth, silky perfection every single time.
Ingredients
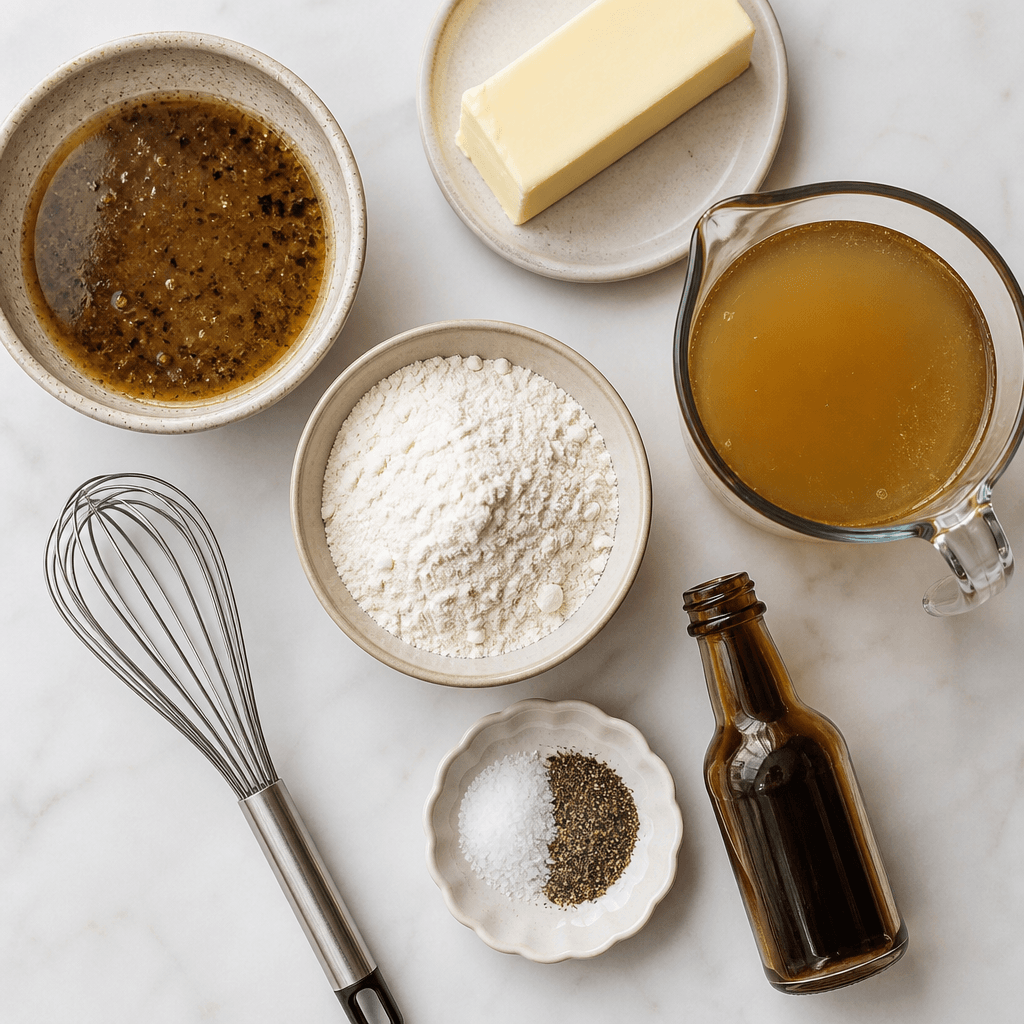
The foundation of this gravy begins with 1/4 cup of pan drippings or butter. If you are roasting a turkey or a roast, scoop up those flavorful drippings for maximum depth, but if you are in a pinch, 1/4 cup of butter works beautifully and still delivers a lovely richness. To thicken everything into that comforting, creamy texture, you will whisk in 1/4 cup of all-purpose flour.
The heart of the flavor comes from 2 cups of broth, whether chicken, beef, or turkey, so this is one place where good-quality stock truly pays off. The liquid forms the backbone of the gravy, and a rich, well-seasoned broth will carry the whole sauce. Homemade stock is wonderful here if you have it, but a trusted store-bought version works just fine.
Finally, you will season to taste with salt and pepper, plus 1 teaspoon of Worcestershire sauce for a subtle umami boost that rounds out the flavor. It is optional, but that little splash adds a savory complexity that makes the gravy taste like it simmered for hours.
Step-by-Step Instructions
Start by gathering your drippings or melting the butter. If you have pan drippings from a roast or turkey, collect them in a medium saucepan. Otherwise, simply melt 1/4 cup of butter over medium heat until it is fully liquid and gently bubbling. This warm, fatty base is what carries the flour and prevents lumps from forming.
Next, make your roux. Add 1/4 cup of all-purpose flour to the butter or drippings and whisk continuously for about 2 to 3 minutes, working the mixture into a smooth paste. You will know it is ready when it takes on a light golden color and gives off a faintly nutty aroma, but keep a close eye on it so it does not scorch. Constant whisking here is the secret to a silky finish.
Now slowly add the broth. Gradually pour in 2 cups of warm broth while whisking vigorously the entire time, which keeps the gravy smooth and lump-free. Continue whisking as the mixture begins to thicken, which should take about 5 to 7 minutes. The gravy will transform from a thin liquid into a glossy, spoon-coating sauce right before your eyes.
Once it has thickened, season the gravy with salt and pepper to taste and stir in about 1 teaspoon of Worcestershire sauce for extra depth. Lower the heat and let it simmer for another minute or two so the flavors can meld together beautifully. If you prefer a thinner gravy, whisk in a bit more broth until you reach your ideal consistency.
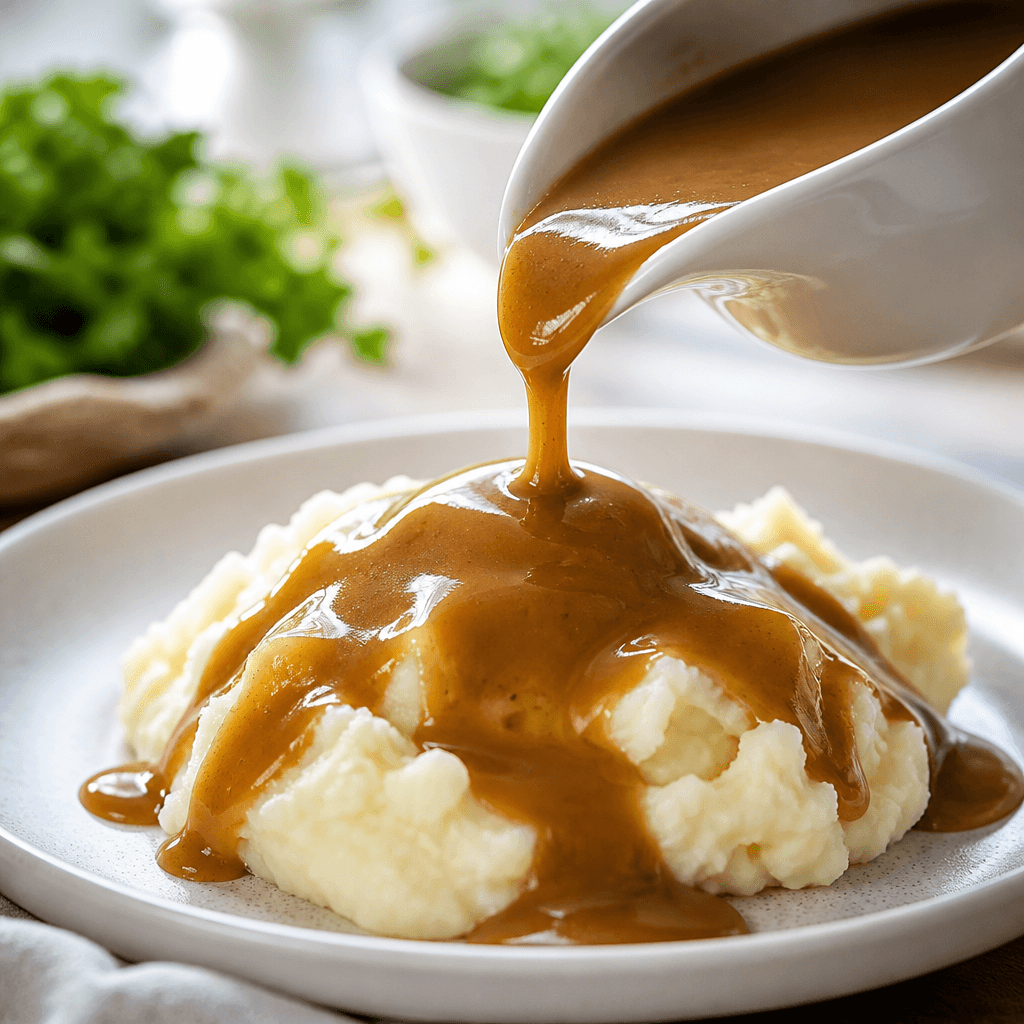
Your silky gravy is now ready to serve. Pour it into your favorite gravy boat and ladle it hot over mashed potatoes, roasted vegetables, or your holiday centerpiece. Start to finish, this recipe takes about 5 minutes of prep and 10 minutes of cooking, and yields enough to serve 6 to 8 people.
Tips for the Best Homemade Gravy
The single most important rule is to never stop whisking while making the roux and adding the broth, because that steady motion is precisely what keeps lumps from forming. If you want an especially smooth result, strain your drippings before adding them so no stray bits of meat or fat sneak in. And if your gravy ends up too thick, simply whisk in a little more broth a splash at a time, while a too-thin gravy just needs a few more minutes of simmering to firm up.
For the richest flavor, homemade stock is well worth the effort, and a scattering of freshly chopped thyme or rosemary stirred in just before serving lends a lovely herbal note. This gravy is a natural partner for Creamy Mashed Potatoes and shines alongside a tray of Roasted Root Vegetables, so plan to make a double batch if you are feeding a crowd.
Kitchen Gear for This Recipe
- Instant-Read Meat Thermometer
- Enameled Cast Iron Dutch Oven
- Heavy-Duty Sheet Pan Set
- Glass Mixing Bowl Set
As an Amazon Associate, The Kitchen’s Aid earns from qualifying purchases at no extra cost to you.
Frequently Asked Questions
Can I make gravy in advance?
Absolutely. You can make this gravy a day or two ahead, store it in the fridge, and reheat it gently on the stovetop, stirring occasionally until warmed through. If it thickens too much, whisk in a little more broth as it reheats.
How do I store leftovers?
Keep any leftover gravy in an airtight container in the refrigerator for up to 3 days. To reheat, warm it over low heat on the stove, whisking until it returns to a smooth, pourable consistency.
Can gravy be frozen?
Yes. Let the gravy cool completely, then freeze it in an airtight container for up to 3 months. Thaw it in the fridge overnight and reheat on the stove, whisking to bring it back together.
How do I fix lumpy gravy?
If a few lumps do appear, whisk the gravy briskly over heat or give it a quick pass with an immersion blender. Straining it through a fine-mesh sieve is a reliable last resort for perfectly smooth results.
Can I make this gravy vegetarian?
Definitely. Swap the meat-based broth for a good vegetable stock and use butter in place of drippings, and you will have an equally delicious gravy that is perfect for plant-based dishes.
I cannot wait for you to give this classic homemade gravy a try, whether it is gracing your holiday table or simply elevating a weeknight dinner. For more wholesome inspiration, browse these healthy eating ideas, and when your gravy turns out silky and golden, be sure to tag @thekitchensaid on Instagram so we can see your creations.
Perfect Homemade Classic Gravy for Every Meal
American · Sauce
Simple, foolproof stovetop classic gravy ready in under 15 minutes, perfect with turkey, chicken, or beef stock and never lumpy.
Ingredients
- ¼ cup drippings or butter
- ¼ cup all-purpose flour
- 2 cups broth (chicken, beef, or turkey)
- Salt and pepper, to taste
- 1 teaspoon Worcestershire sauce (optional)
Instructions
- Gather your drippings or melt the butter: Begin by gathering the pan drippings from your roast or turkey. If you're using butter, simply melt ¼ cup of it in a medium saucepan over medium heat.
- Make a roux: Add ¼ cup of all-purpose flour to the butter or drippings. Whisk continuously for about 2–3 minutes to create a smooth paste. You’ll know it’s ready when it starts to turn a golden color, but don’t let it burn!
- Slowly add broth: Gradually pour in 2 cups of warm broth (turkey/chicken/beef) while whisking vigorously to avoid lumps. Continue whisking until the mixture begins to thicken, about 5–7 minutes.
- Season: Once thickened, season with salt, pepper to taste, and add a splash of Worcestershire sauce for extra depth (about 1 teaspoon).
- Simmer and serve: Lower the heat and let the gravy simmer for another minute or two for the flavors to meld together. If you prefer a thinner gravy, add a bit more broth until you reach your desired consistency.
- Gravy complete: Your silky gravy is ready! Pour it into your favorite gravy boat and serve hot over mashed potatoes, roasted vegetables, or your holiday centerpiece.
Made this? Rate it