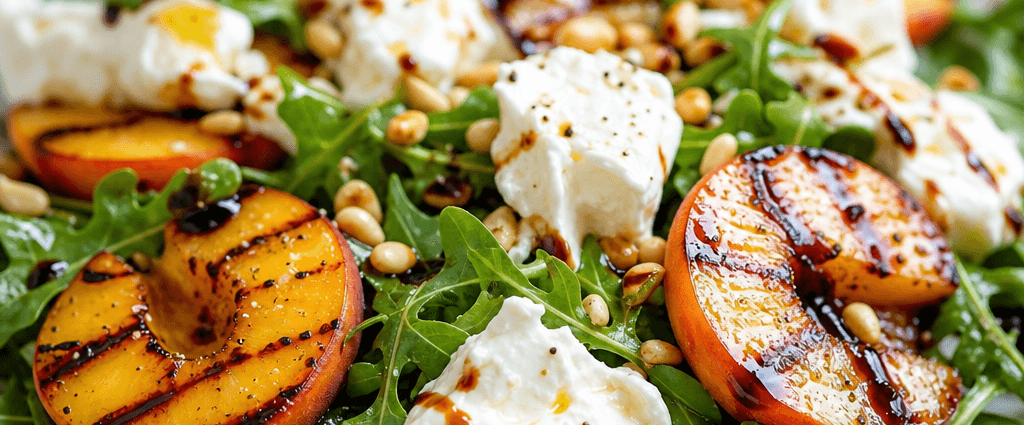
Few dishes feel as effortlessly elegant as this grilled peach salad with creamy burrata and a drizzle of balsamic glaze. Juicy peaches get a quick turn on the grill until lightly charred, then are layered over peppery arugula with torn burrata, toasted pine nuts, and fresh basil. The whole thing comes together in under twenty minutes but looks like something off a restaurant menu.
This salad is a celebration of peak summer produce, when peaches are at their sweetest and most fragrant. The char from the grill deepens their natural sugars, while the cool, milky burrata and tangy balsamic glaze balance that sweetness with richness and acidity. It is a dish that works equally well as a starter, a light lunch, or a stunning side for a backyard cookout.
Why You’ll Love This Recipe
This grilled peach salad checks every box: it is sweet, savory, creamy, and crisp all in one bowl. Despite how impressive it looks on a platter, it comes together with very little effort, which makes it a favorite for entertaining without spending hours in the kitchen.
It is also a genuinely quick recipe, ready in under twenty minutes from start to finish, and it makes the most of seasonal produce when peaches are at their peak. The burrata adds a luxurious, creamy element that elevates the whole dish, turning a simple fruit salad into something that feels special enough for guests.
Beyond that, this salad is wonderfully versatile. It works as a light starter before a bigger meal, a side dish alongside grilled meats, or even a main course on a hot day when you want something refreshing rather than heavy.
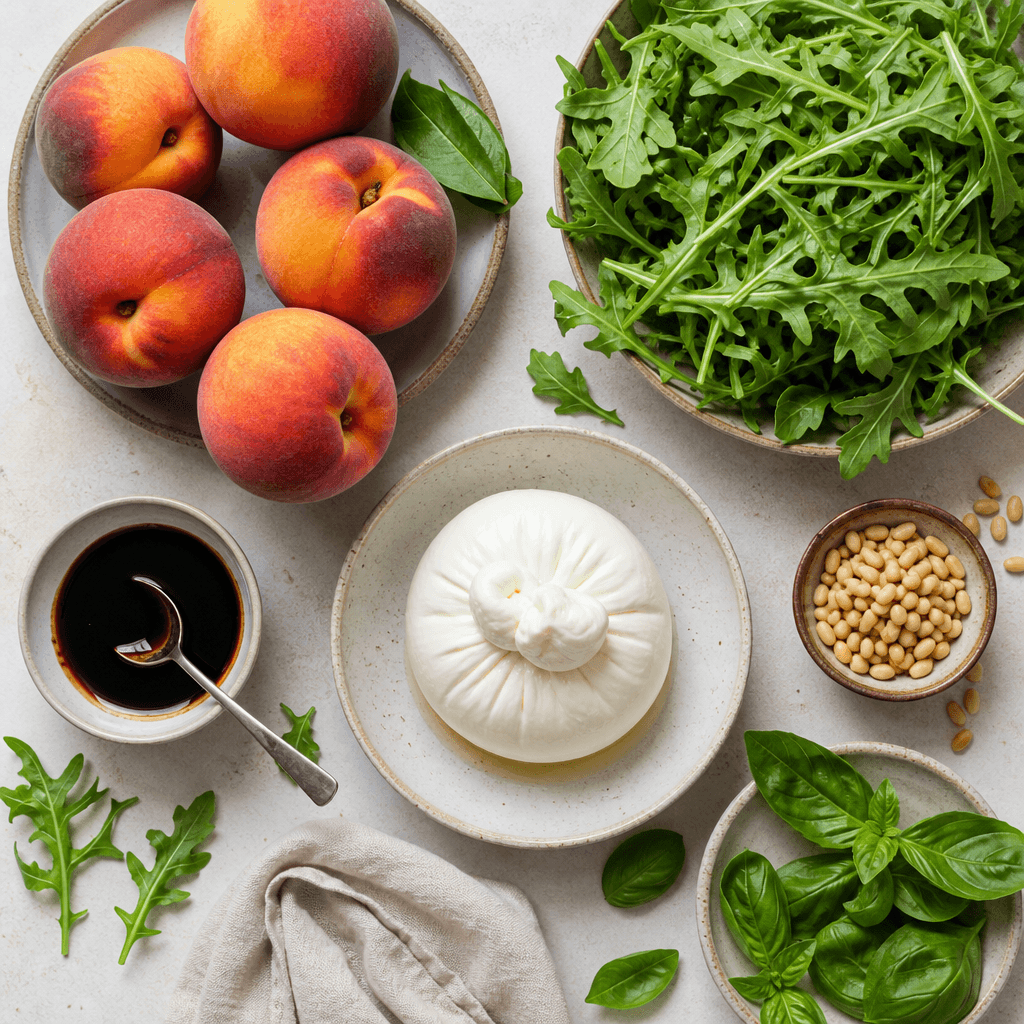
Ingredients
The star of this dish is two ripe peaches, halved and pitted, brushed with a tablespoon of olive oil before hitting the grill. Five ounces of arugula, or your favorite salad greens, forms the peppery, slightly bitter base that balances the sweetness of the fruit and the richness of the cheese.
One ball of burrata cheese is the creamy centerpiece, torn gently and nestled into the greens so its soft, milky center spills out beautifully. Two tablespoons of balsamic glaze add a concentrated sweet-tart finish, while a quarter cup of toasted pine nuts brings welcome crunch, though this is optional if you want to keep things simpler. Fresh basil leaves for garnish and salt and freshly cracked black pepper to taste round out the ingredient list.
Choosing freestone peaches makes the halving and pitting process much easier than working with clingstone varieties, and letting the burrata sit out at room temperature while you prep everything else ensures it is luxuriously soft and creamy by the time it hits the plate.
Step-by-Step Instructions
Preheat a grill or grill pan to medium-high heat, then brush the cut side of the peach halves with olive oil. Place the peaches cut side down on the hot grill and cook for two to three minutes, just until distinct grill marks appear and the fruit is warmed through but still slightly firm. Set the peaches aside once they are done.
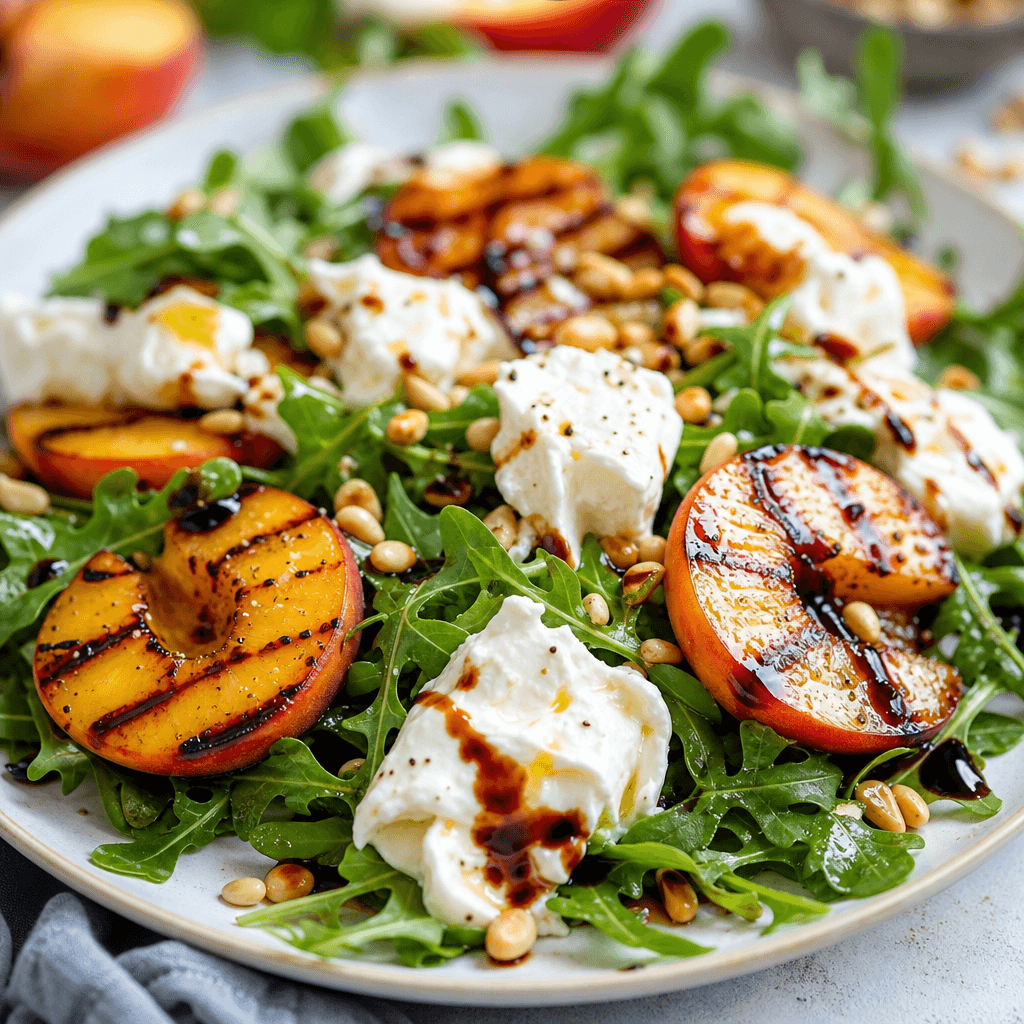
While the peaches cool slightly, spread the arugula evenly across a large serving platter to create the base of the salad. Tear the burrata gently and nestle the pieces into the greens; this part is a little messy, but it creates a beautifully rustic presentation.
Arrange the grilled peach halves around the platter, slicing them into wedges first if they are on the larger side. Drizzle the balsamic glaze generously over the top, then sprinkle with the toasted pine nuts for crunch.
Finish with a few torn basil leaves, a pinch of salt, and a crack of black pepper. Serve the salad immediately while the peaches are still warm and the burrata is at its creamiest, since this dish is best enjoyed fresh rather than made too far in advance.
Tips for the Best Grilled Peach Salad
Keep a close eye on the peaches while they grill, since overcooking will turn them mushy rather than tender. You want warm, lightly caramelized fruit that still holds its shape. If you do not have balsamic glaze on hand, you can make your own by simmering balsamic vinegar with a touch of honey until it reduces to a thick, syrupy consistency.
An indoor grill pan works just as well as an outdoor grill if you do not want to fire up the barbecue for just a few pieces of fruit. This salad pairs wonderfully with something bright and herby on the side, like this Fresh Garden Salad with Light Lemon Vinaigrette, or with a heartier dish like Grilled Corn and Avocado Salad with Lime Vinaigrette for a full summer spread.
If you want to add protein and turn this into a more substantial meal, a few slices of prosciutto draped over the top add a salty contrast that plays beautifully against the sweet peaches and creamy burrata.
Frequently Asked Questions
What if I can’t find burrata?
Fresh mozzarella makes a great backup. It is not quite as creamy as burrata, but it is still delicious and much easier to find in some grocery stores.
Can I make this grilled peach salad ahead of time?
You can grill the peaches ahead of time and store them in the fridge, but it is best to assemble the full salad just before serving for the best texture and presentation.
Is this salad kid-friendly?
Yes, the natural sweetness of the peaches and the mild, creamy cheese make it appealing even to picky eaters.
Can I use a different fruit if peaches aren’t in season?
Ripe nectarines or plums both work beautifully in place of peaches and follow the same grilling method.
What can I serve instead of arugula?
Baby spinach or mixed greens make a fine substitute if you prefer a milder base than peppery arugula.
If you try this grilled peach salad, I want to hear about it. Tag me @thekitchensaid on Instagram or leave a comment to share how it turned out, and for more fresh, seasonal recipes, browse these healthy eating ideas from Your Vitality Vibes.
Grilled Peach and Burrata Salad
American · Salad
A stunning grilled peach salad with creamy burrata, arugula, and balsamic glaze, ready in under 20 minutes and perfect for summer entertaining.
Ingredients
- 2 ripe peaches, halved and pitted
- 1 tablespoon olive oil
- 5 oz arugula
- 1 ball burrata cheese
- 2 tablespoons balsamic glaze
- 1/4 cup toasted pine nuts (optional)
- Fresh basil leaves, for garnish
- Salt and freshly cracked black pepper, to taste
Instructions
- Preheat grill to medium-high and brush peach halves with olive oil.
- Grill cut side down for 2-3 minutes until charred; set aside.
- Arrange arugula on a platter and nestle torn burrata on top.
- Add grilled peaches and drizzle with balsamic glaze.
- Top with pine nuts, basil, salt, and pepper; serve immediately.
Nutrition: 280 calories