“`html
There’s something so dreamy about the combination of white chocolate and raspberries. The creamy sweetness of the chocolate meets the bright, slightly tart bite of raspberries for a dessert that feels elegant yet effortless. This **White Chocolate Raspberry Mousse** is light, luscious, and perfect for any occasion—whether you’re hosting a dinner party or just treating yourself to something special.
If you’re looking for a dessert that’s silky, airy, and packed with flavor, this mousse is your new best friend!
Why You’ll Love This Recipe
- Easy to Make: Just a handful of ingredients and no baking required.
- Elegant Yet Simple: Fancy enough for guests but easy enough for a weeknight treat.
- Perfectly Balanced Flavors: Sweet and rich white chocolate pairs beautifully with tart raspberries.
- Make-Ahead Friendly: Great for prepping in advance—just chill and serve!
Ingredients Breakdown
- White Chocolate: Use a high-quality brand for the best flavor. Ghirardelli or Lindt work beautifully.
- Heavy Whipping Cream: This gives the mousse its luxurious texture. Be sure it’s cold before whipping!
- Fresh Raspberries: You’ll use these in the mousse and as a garnish for a pop of color and freshness.
- Powdered Sugar: Adds a touch of sweetness without making the mousse grainy.
- Vanilla Extract: Just a splash enhances the flavors beautifully.
- Gelatin (Optional): Helps stabilize the mousse, but you can skip it for a softer texture.
Step-by-Step Instructions
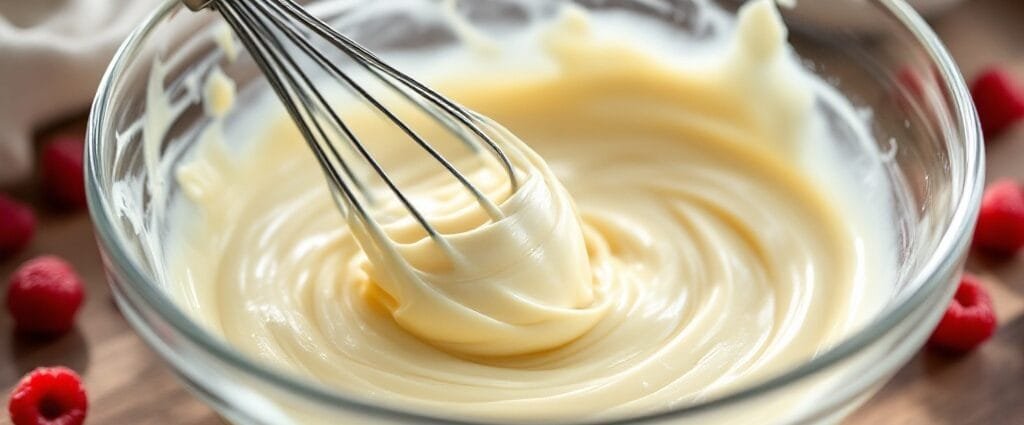
- Melt the White Chocolate: In a microwave-safe bowl, melt the white chocolate in 20-second intervals, stirring in between until smooth. Let it cool slightly.
- Whip the Cream: Using an electric mixer, whip the heavy cream with powdered sugar and vanilla extract until soft peaks form.
- Fold in the Chocolate: Gently fold the cooled white chocolate into the whipped cream using a spatula to keep the mixture airy.
- Prepare the Raspberry Swirl: Puree half of the raspberries and strain out the seeds. Swirl this into the mousse for a ribbon of raspberry flavor.
- Assemble and Chill: Divide the mousse into serving glasses, layering with fresh raspberries. Chill for at least 2 hours before serving.

Chef’s Tips and Tricks
- Chill Your Bowl: For the best whipped cream, chill your mixing bowl and beaters in the fridge beforehand.
- Don’t Overmix: When folding the ingredients, use gentle movements to keep the mousse light and fluffy.
- Make It Dairy-Free: Use coconut whipping cream and dairy-free white chocolate for a plant-based version.
Recipe Variations and Serving Suggestions
- Swap Berries: Try swapping raspberries for strawberries or blackberries for a fun twist.
- Chocolate Shavings: Garnish with white or dark chocolate curls for a fancy touch.
- Pairing Idea: Serve with shortbread cookies or a crisp glass of Moscato.
FAQs
How long does this mousse last? Stored in an airtight container in the fridge, it will stay fresh for up to 3 days.
Can I freeze it? It’s best enjoyed fresh, but you can freeze it for up to a month and let it thaw in the fridge before serving.
Do I have to use gelatin? No! The mousse is naturally fluffy, but gelatin adds extra stability if you prefer a firmer texture.
White Chocolate Raspberry Mousse
Prep Time: 15 minutes | Chill Time: 2 hours | Servings: 4
Ingredients:
- 6 oz white chocolate, chopped
- 1 cup heavy whipping cream
- 2 tbsp powdered sugar
- 1/2 tsp vanilla extract
- 1 cup fresh raspberries, divided
- 1 tsp gelatin (optional)
Instructions:
- Melt the white chocolate in the microwave in 20-second increments, stirring until smooth. Let cool slightly.
- Whip the heavy cream, powdered sugar, and vanilla until soft peaks form.
- Gently fold the melted chocolate into the whipped cream using a spatula.
- Puree half of the raspberries, strain out the seeds, and swirl into the mousse.
- Divide into serving glasses, layering with fresh raspberries.
- Chill in the refrigerator for at least 2 hours before serving.
This **White Chocolate Raspberry Mousse** is pure joy in every bite—light, creamy, and bursting with berry flavor. I can’t wait for you to try it! If you do, leave a comment below and tag your photos with **#TheKitchensAid** on social media. Happy dessert-making!
“`