
“`html
There’s something so nostalgic about chocolate and peanut butter—like a hug for your taste buds. These No-Bake Chocolate Peanut Butter Nests bring all that cozy comfort with a fun, festive twist. Whether you’re making them for Easter, a kid-friendly treat, or just because you want something delicious in under 20 minutes, this recipe is a winner. And the best part? No oven required!
If you love quick, no-fuss desserts that look as adorable as they taste, these chocolate peanut butter nests are about to become a favorite in your house!
Why You’ll Love This Recipe
- Quick & Easy: 10 minutes to mix, 10 minutes to chill—done!
- No Baking Required: Perfect for hot days or when you just don’t feel like turning on the oven.
- Kid-Friendly: Let the kids help shape the nests and add mini eggs for a fun hands-on activity.
- Simple Ingredients: You probably have everything in your pantry right now.
- Customizable: Swap the peanut butter for almond or sunflower butter to make it allergy-friendly!
Ingredients Breakdown
- Chocolate Chips: I use semi-sweet, but milk or dark chocolate work too!
- Creamy Peanut Butter: Adds that ultra-rich, nutty flavor. Crunchy peanut butter? Go for it!
- Chow Mein Noodles: They create the perfect “nest” texture and hold everything together.
- Mini Chocolate Eggs: For decorating. Jelly beans or M&M’s work too!
Pro Tips
- Use a microwave to melt the chocolate and peanut butter quickly—but stir every 20-30 seconds to avoid burning.
- If you don’t have chow mein noodles, try crushed pretzels or cornflakes for a similar crunch.
Step-by-Step Instructions
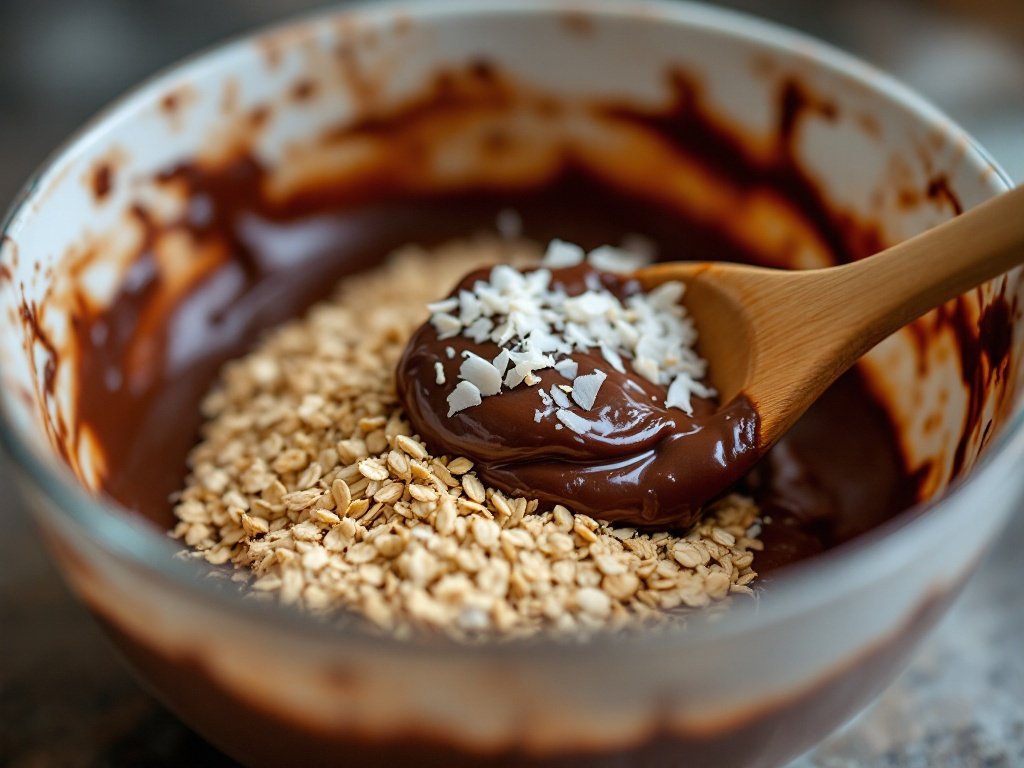
- Melt the Chocolate & Peanut Butter: In a microwave-safe bowl, melt the chocolate chips and peanut butter together in 20-second intervals, stirring in between until smooth.
- Mix in the Crunch: Gently fold in the chow mein noodles, making sure they’re fully coated in the chocolate-peanut butter mixture.
- Shape the Nests: Using a spoon, drop small mounds onto a parchment-lined baking sheet. Shape them into nests by making a small indentation in the center.
- Add the Eggs: While still soft, press a few mini chocolate eggs into each nest.
- Let Them Set: Refrigerate for about 10-15 minutes or until firm. Then, enjoy!
Chef’s Tips and Tricks
- Make Them Ahead: These store perfectly in the fridge for up to a week.
- Substitutions: Sunflower butter or almond butter works great if you need a peanut-free option.
- Extra Flavor: Add a pinch of sea salt or a sprinkle of coconut flakes on top.
Recipe Variations and Serving Suggestions
- Nut-Free Version: Swap peanut butter for seed butter.
- Extra Crunch: Add crushed pretzels or rice cereal for more texture.
- Holiday Version: Use red and green M&Ms for a festive Christmas treat.
FAQs
Can I freeze these nests?
Yes! Store them in an airtight container in the freezer for up to 3 months.
What can I use instead of mini chocolate eggs?
Jelly beans, M&Ms, or even yogurt-covered raisins make great alternatives!
Can I use dark chocolate instead of semi-sweet?
Absolutely! Dark chocolate adds a richer taste, so go for it if that’s your preference.
No-Bake Chocolate Peanut Butter Nests
Easy, adorable, and irresistibly delicious chocolate peanut butter nests—perfect for Easter or any time you want a fun treat!
Ingredients
- 1 cup semi-sweet chocolate chips
- 1/2 cup creamy peanut butter
- 2 cups chow mein noodles
- 1/2 cup mini chocolate eggs (or alternative candy)
Instructions
- Melt the chocolate chips and peanut butter together in a microwave-safe bowl, stirring every 20 seconds until smooth.
- Fold in the chow mein noodles until coated.
- Drop spoonfuls onto a parchment-lined baking sheet, shaping them into nests.
- Press mini eggs into the center of each nest.
- Refrigerate for 10-15 minutes until set. Enjoy!
These little nests are the perfect blend of salty, sweet, and crunchy all in one bite! I can’t wait for you to try them—so when you do, be sure to leave a comment below or tag your creations with #TheKitchensAid on social media. Happy snacking!
“`

