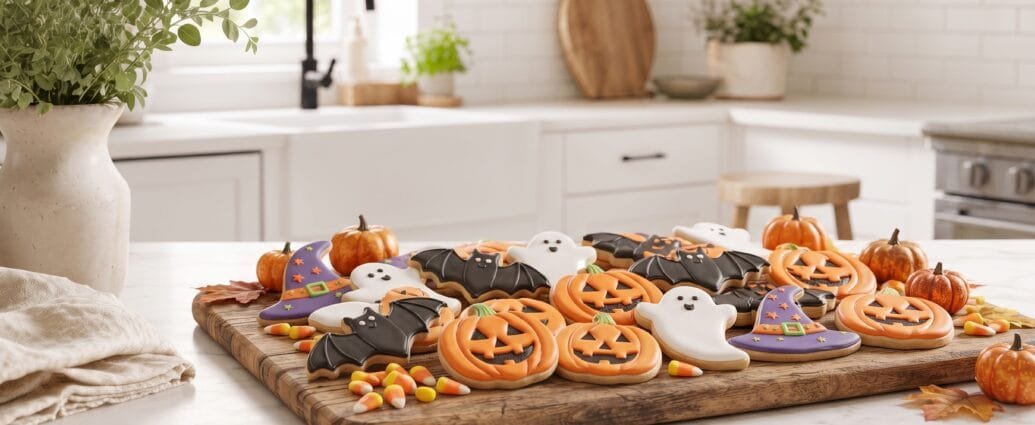
There’s something magical about Halloween sugar cookies that brings out the kid in all of us! As someone who’s been decorating cookies for Halloween parties for years, I can tell you that these aren’t just any sugar cookies—they’re the perfect canvas for your spookiest (and cutest!) decorating ideas. Whether you’re making them with little ghouls and goblins or preparing treats for a grown-up Halloween bash, these cookies are guaranteed to disappear faster than a ghost in the night!
I’ve tested this recipe countless times in my kitchen, and I’m thrilled to share my go-to version with you. These cookies hold their shape beautifully when baked, have a tender, buttery texture, and provide the perfect base for royal icing decorations. Trust me, once you try this recipe, it’ll become your Halloween tradition too!
Why You’ll Love This Recipe
Let me count the ways! First, these cookies are incredibly versatile. You can cut them into any shape your heart desires—pumpkins, ghosts, bats, witches’ hats, you name it. The dough is easy to work with and doesn’t spread during baking, which means your carefully cut shapes will look just as perfect coming out of the oven as they did going in.
Second, the flavor is absolutely divine. These aren’t overly sweet, which makes them perfect for decorating with royal icing or frosting. The hint of vanilla and butter shines through, creating a cookie that’s delicious on its own but becomes absolutely show-stopping when decorated.
Third, this recipe is make-ahead friendly! You can prepare the dough up to three days in advance, or freeze it for up to three months. The baked cookies also freeze beautifully, so you can get a head start on your Halloween preparations without the last-minute stress.
Finally, these cookies are just plain fun to make. There’s something therapeutic about rolling out dough, cutting shapes, and decorating. It’s the perfect activity for a cozy October afternoon, whether you’re baking solo or making memories with family and friends.
Ingredients
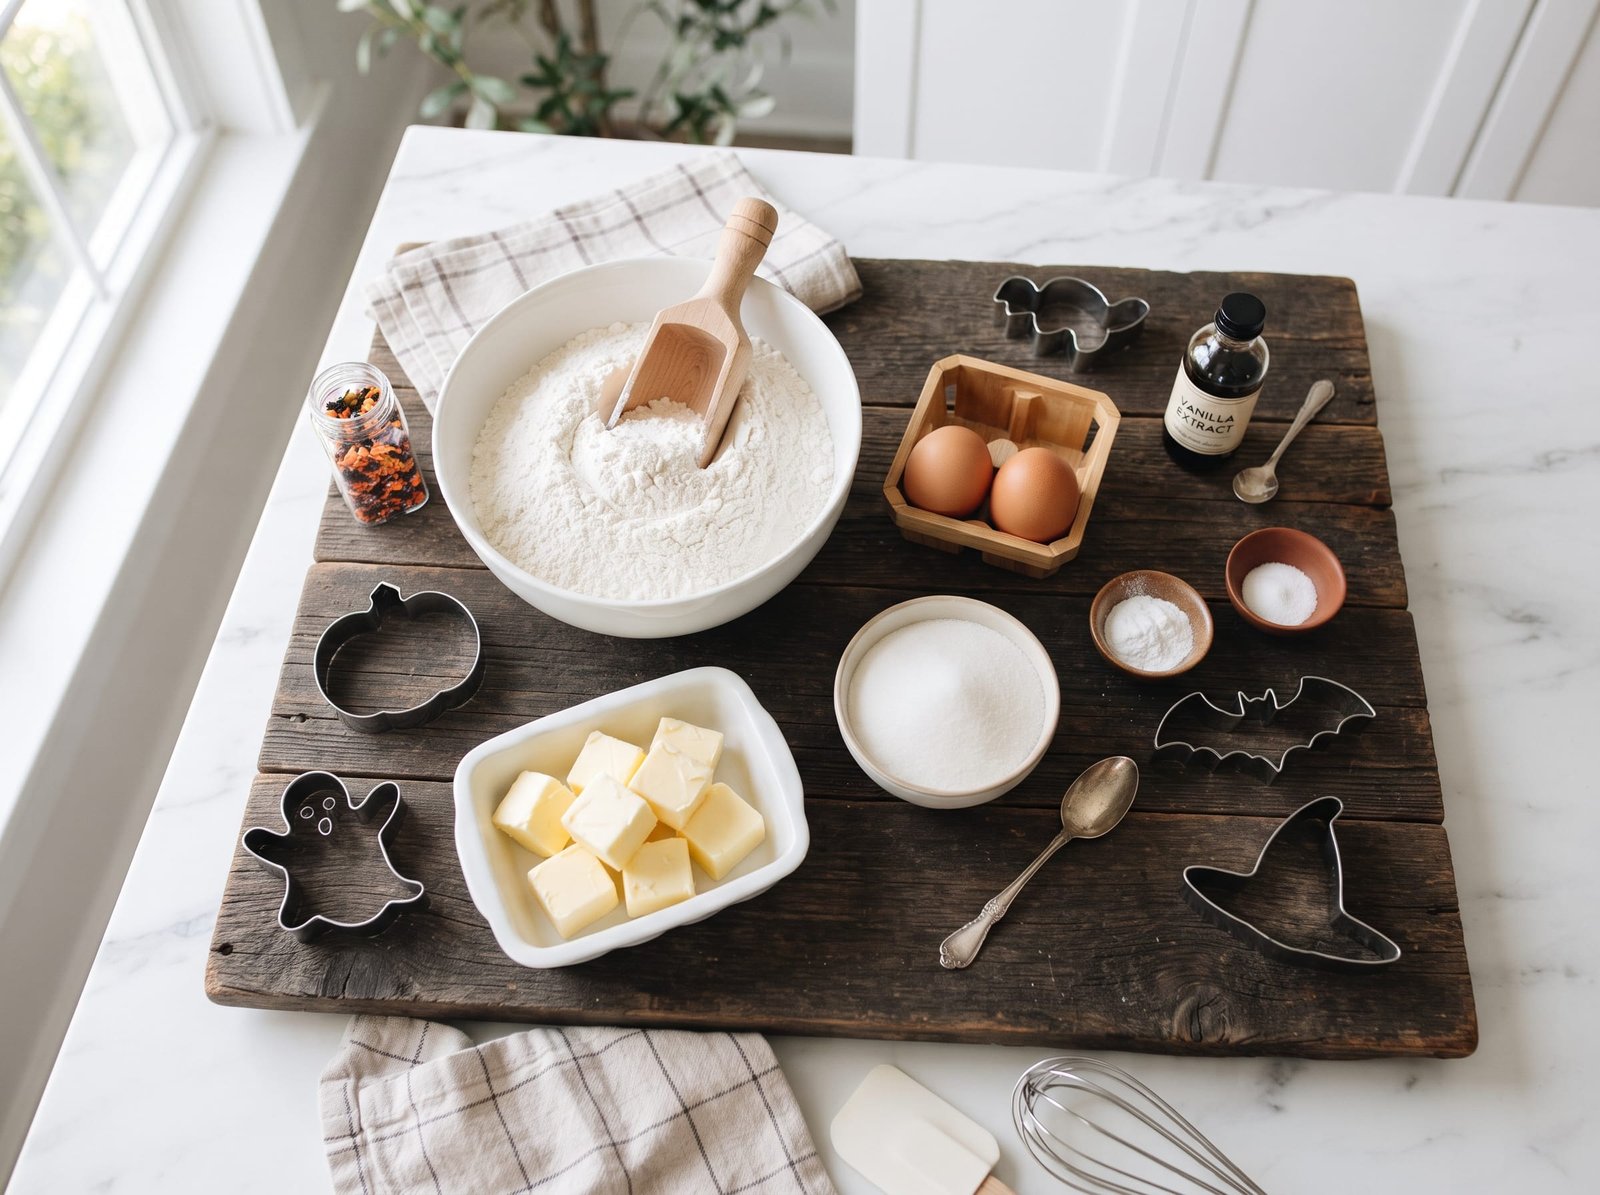
The beauty of these Halloween sugar cookies lies in their simplicity. You’ll need basic pantry staples that come together to create something truly special. I always use unsalted butter so I can control the salt level, and I recommend using pure vanilla extract rather than imitation for the best flavor.
For the cookies themselves, you’ll need all-purpose flour, which gives the perfect structure; baking powder for a slight lift; salt to enhance all the flavors; butter for richness; granulated sugar for sweetness and that classic sugar cookie texture; eggs to bind everything together; and vanilla extract for that warm, sweet aroma we all love.
If you’re planning to decorate (and honestly, what’s Halloween without decorated cookies?), you’ll also want to prepare royal icing or buttercream frosting, along with food coloring in classic Halloween colors like orange, black, purple, and green. I also love having sprinkles, edible glitter, and candy eyes on hand for extra spooky details!
Step-by-Step Instructions
Let me walk you through making these perfect Halloween sugar cookies. I’ve refined this process over the years, and I’m sharing all my little tricks to ensure your success!
Making the Dough: Start by whisking together your dry ingredients—flour, baking powder, and salt—in a medium bowl. Set this aside. In a large mixing bowl (I use my stand mixer for this, but a hand mixer works great too), cream together the softened butter and sugar until the mixture is light and fluffy. This usually takes about 3-4 minutes, and it’s an important step because it incorporates air into the dough, giving your cookies a better texture.
Next, beat in the eggs one at a time, making sure each is fully incorporated before adding the next. Then add your vanilla extract and mix until combined. The mixture might look slightly curdled at this point—don’t worry, that’s completely normal!
Now, gradually add your dry ingredients to the wet ingredients, mixing on low speed just until the dough comes together. Be careful not to overmix, as this can lead to tough cookies. Once the flour is incorporated, divide the dough in half and shape each portion into a flat disc. Wrap them tightly in plastic wrap and refrigerate for at least 2 hours, or up to 3 days.
Rolling and Cutting: When you’re ready to bake, preheat your oven to 350°F (175°C) and line your baking sheets with parchment paper. Here’s my pro tip: work with one disc of dough at a time, keeping the other refrigerated. If the dough is too hard from the fridge, let it sit at room temperature for about 10 minutes before rolling.
Lightly flour your work surface and rolling pin, then roll the dough to about ¼-inch thickness. I like to use rolling pin rings or guides to ensure even thickness, which means evenly baked cookies. Cut out your Halloween shapes and carefully transfer them to your prepared baking sheets, spacing them about 2 inches apart.
Baking: Bake the cookies for 8-10 minutes, depending on size. You want to remove them when the edges are just barely starting to turn golden—they might look slightly underdone, but they’ll continue to set as they cool. If you overbake sugar cookies, they become hard and crunchy rather than tender and delicious.
Let the cookies cool on the baking sheet for 5 minutes before transferring them to a wire rack to cool completely. This is crucial—cookies must be completely cool before decorating, or your icing will melt and slide right off!
Decorating: Now comes the fun part! I typically use royal icing for detailed decorations because it dries hard and smooth, making the cookies stackable and perfect for gift-giving. Prepare your royal icing and divide it into separate bowls for different colors. You can use flooding consistency icing for covering large areas and a thicker consistency for details and outlines.
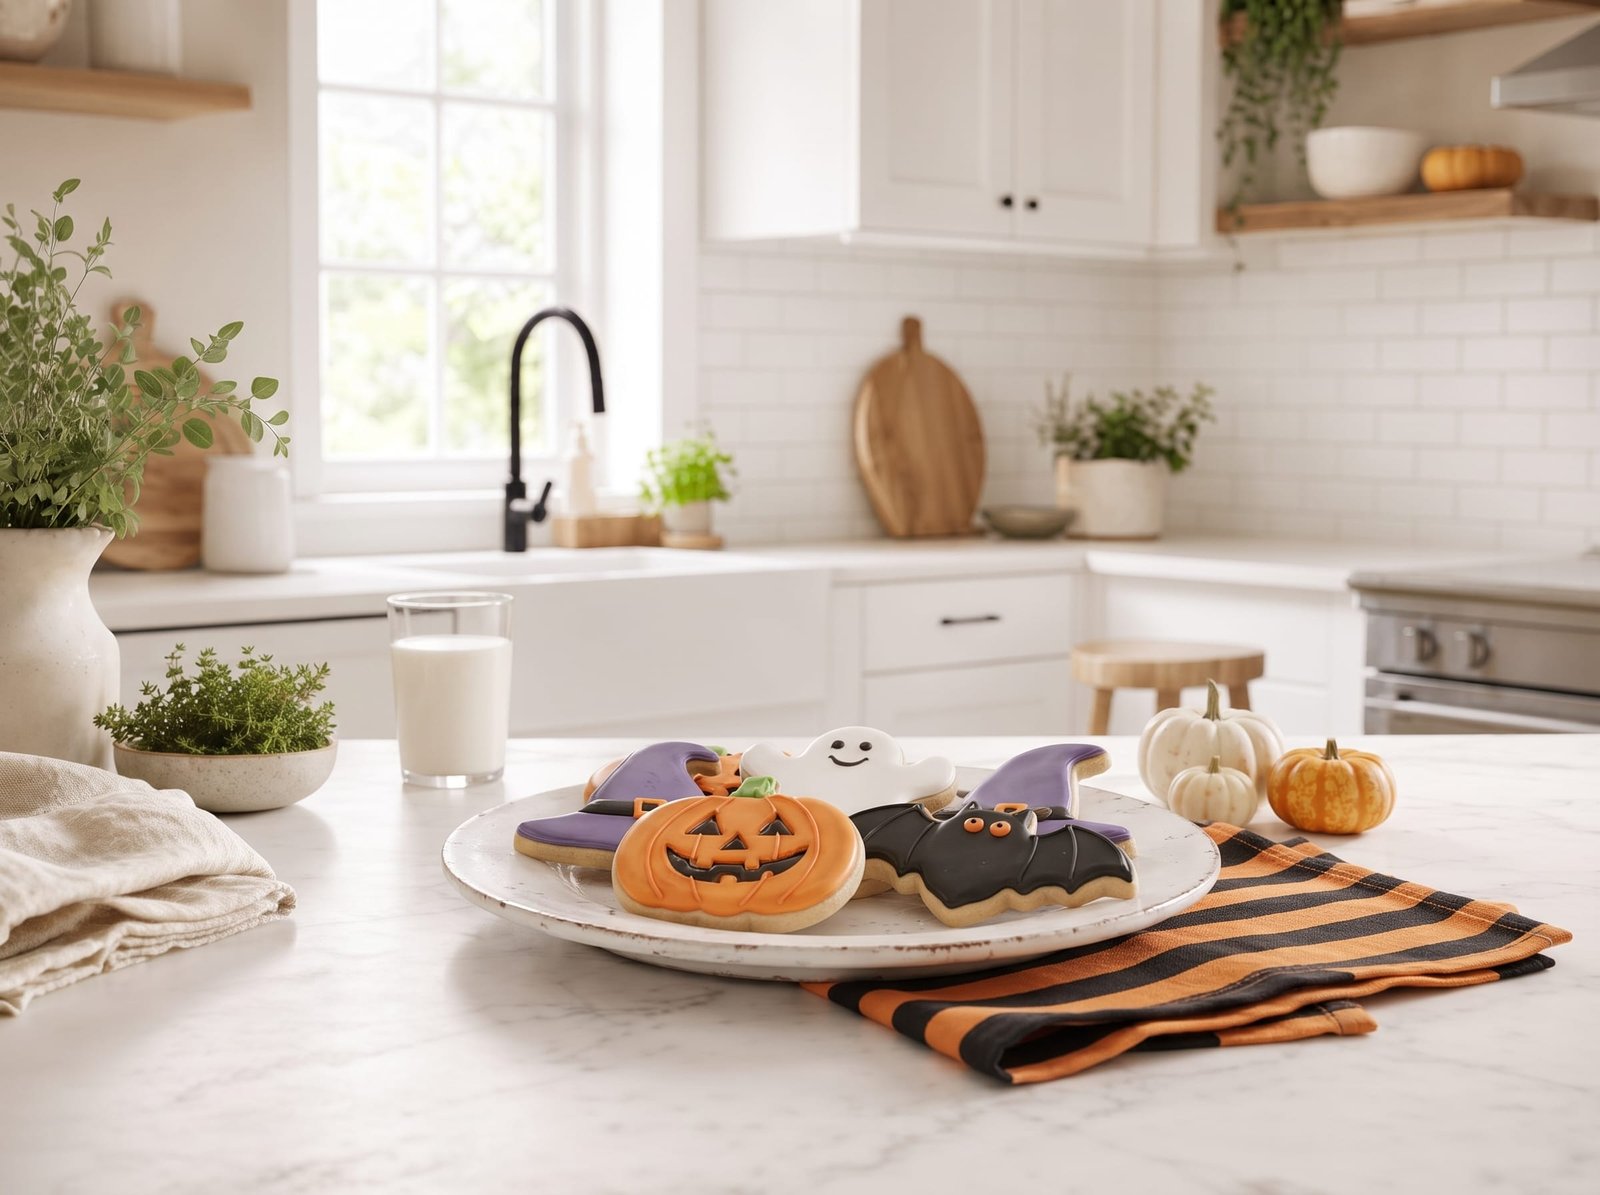
Get creative with your designs! I love making classic jack-o’-lantern faces on pumpkin cookies, friendly ghosts with simple eyes and mouths, and bats with spread wings. Don’t forget the fun Halloween patterns like spider webs, witch hats, and haunted houses!
Tips for Perfect Halloween Sugar Cookies
After years of making these cookies, I’ve picked up some tricks that make all the difference. First, always chill your dough thoroughly. I know it’s tempting to skip this step, but cold dough is much easier to work with and holds its shape better during baking. If the dough becomes too soft while you’re working with it, pop it back in the fridge for 15 minutes.
Invest in good cookie cutters. Halloween shapes are so much fun, and metal cutters typically give cleaner edges than plastic ones. After cutting your shapes, you can even chill the cut cookies on the baking sheet for 10-15 minutes before baking for extra sharp edges.
Don’t skip the parchment paper or silicone baking mats. They prevent sticking and promote even browning. I’ve found that cookies baked on parchment paper have the most consistent results.
For decorating, practice makes perfect! If you’re new to royal icing, try practicing designs on parchment paper before decorating your actual cookies. You can also use toothpicks to spread icing and create marbled effects or to pop any air bubbles that form.
Store your cookies properly to keep them fresh. Undecorated cookies can be stored in an airtight container at room temperature for up to one week, or frozen for up to three months. Once decorated with royal icing, wait until the icing is completely dry (usually 6-8 hours), then layer them between sheets of parchment paper in an airtight container. They’ll keep for up to two weeks!
Kitchen Gear for This Recipe
As an Amazon Associate, The Kitchen’s Aid earns from qualifying purchases at no extra cost to you.
Frequently Asked Questions
Can I make this dough ahead of time? Absolutely! In fact, this dough actually benefits from chilling. You can make it up to 3 days ahead and keep it refrigerated, or freeze it for up to 3 months. Just wrap it tightly in plastic wrap and then place it in a freezer bag. Thaw frozen dough overnight in the refrigerator before using.
Why did my cookies spread or lose their shape? The most common reason is that the dough wasn’t chilled long enough, or it became too warm while rolling. Make sure your dough is thoroughly chilled, and if your kitchen is warm, work quickly and refrigerate the cut cookies before baking. Also, make sure your butter was softened but not melted when making the dough.
Can I use this recipe for other holidays? Yes! This is my go-to sugar cookie recipe year-round. Just change up your cookie cutter shapes and icing colors for any holiday or celebration. It’s perfect for Christmas, Valentine’s Day, Easter, birthdays—you name it!
What’s the difference between royal icing and buttercream for decorating? Royal icing dries hard and smooth, making it ideal for detailed designs and stacked cookies. Buttercream stays soft and has a richer, creamier taste. For Halloween cookies, I usually prefer royal icing because it allows for more precise decorating and the cookies are easier to package and transport.
My cookies are hard and crunchy. What went wrong? This usually means they were overbaked. Sugar cookies should be removed from the oven when they’re just barely starting to turn golden at the edges. They might seem underdone, but they’ll firm up as they cool. Also, make sure you’re measuring your flour correctly—too much flour can also lead to dry, hard cookies.
Can I make these cookies without a stand mixer? Definitely! A hand mixer works perfectly well, or you can even mix the dough by hand with a wooden spoon. It just takes a little more elbow grease to cream the butter and sugar properly.
These Halloween sugar cookies have become such a beloved tradition in my home, and I’m so excited for them to become part of yours too! There’s something wonderful about seeing kids’ (and adults’!) faces light up when they see these festive treats. Whether you’re making simple designs or elaborate decorated masterpieces, the most important ingredient is always the love and fun you put into making them. Happy Halloween baking, friends! I can’t wait to hear about your spooky creations!
For the years when nobody has the patience for icing, our brown butter sugar cookie blondies deliver the same flavor in one pan. More of the season’s baking sits in our 18 best fall dessert recipes.
Halloween Sugar Cookies
American · Dessert
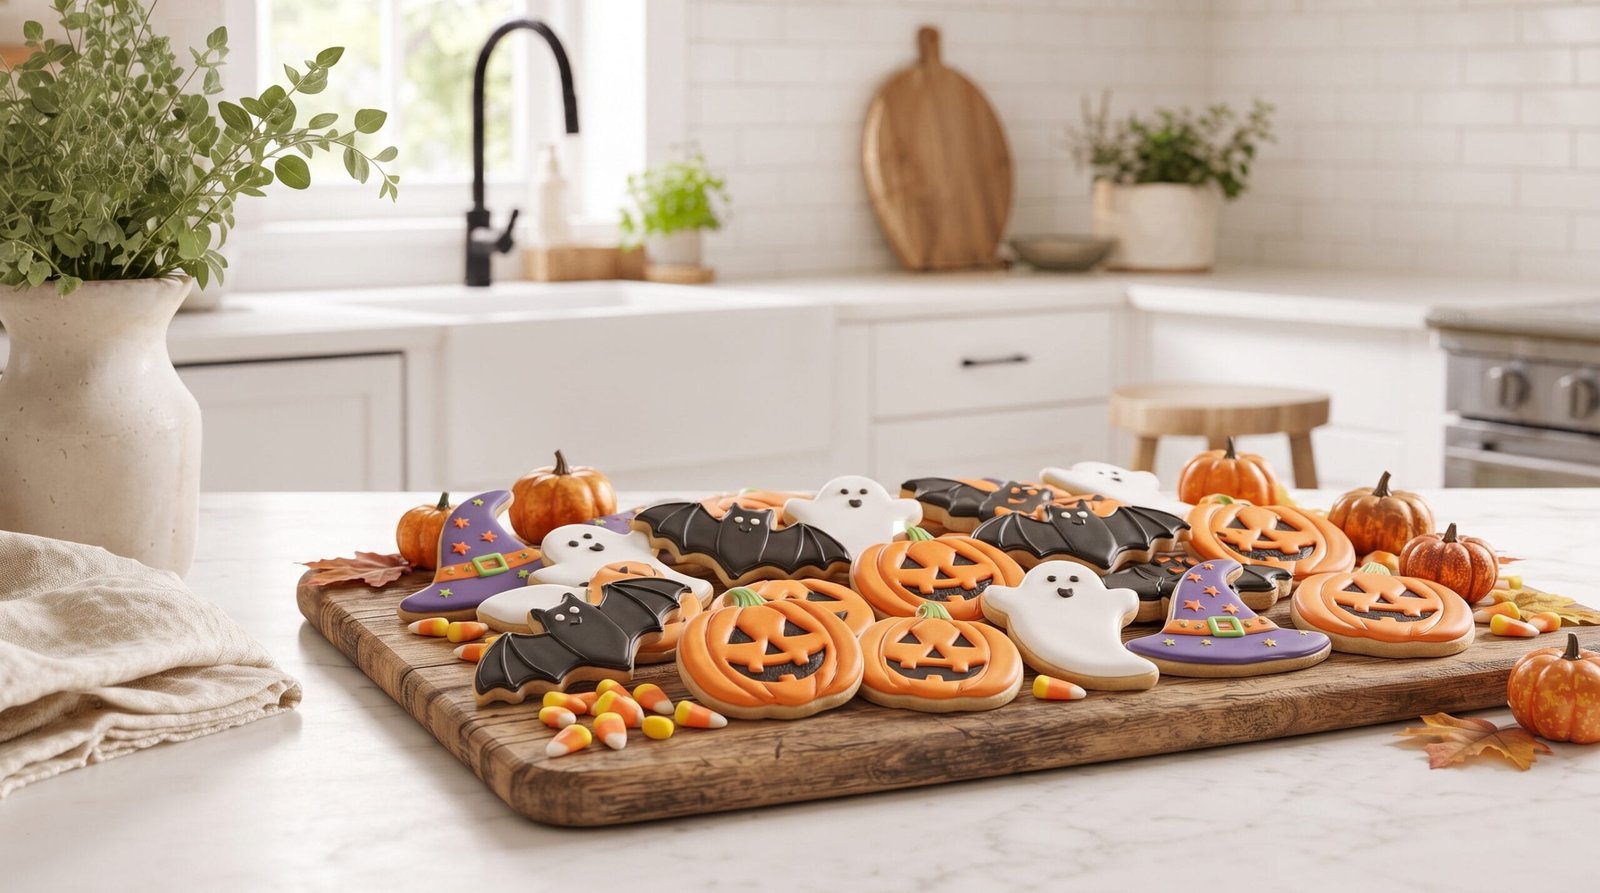
Perfectly shaped sugar cookies with buttery flavor—ideal for decorating with royal icing for Halloween parties and celebrations!
Ingredients
- 3 cups all-purpose flour
- 1 teaspoon baking powder
- ½ teaspoon salt
- 1 cup unsalted butter, softened
- 1 cup granulated sugar
- 2 large eggs
- 2 teaspoons vanilla extract
Instructions
- In a medium bowl, whisk together flour, baking powder, and salt. Set aside.
- In a large bowl, cream together softened butter and sugar until light and fluffy, about 3-4 minutes.
- Beat in eggs one at a time, mixing well after each addition. Add vanilla extract and mix until combined.
- Gradually add the dry ingredients to the wet ingredients, mixing on low speed just until the dough comes together.
- Divide dough in half and shape each portion into a flat disc. Wrap tightly in plastic wrap and refrigerate for at least 2 hours or up to 3 days.
- Preheat oven to 350°F (175°C) and line baking sheets with parchment paper.
- Working with one disc at a time (keep the other refrigerated), roll dough on a lightly floured surface to ¼-inch thickness.
- Cut out Halloween shapes using cookie cutters and transfer to prepared baking sheets, spacing 2 inches apart.
- Bake for 8-10 minutes, until edges are just barely golden. Do not overbake.
- Let cookies cool on baking sheet for 5 minutes, then transfer to a wire rack to cool completely before decorating.
- Once completely cool, decorate with royal icing or buttercream frosting in Halloween colors and designs.
Nutrition: 110 calories
Made this? Rate it