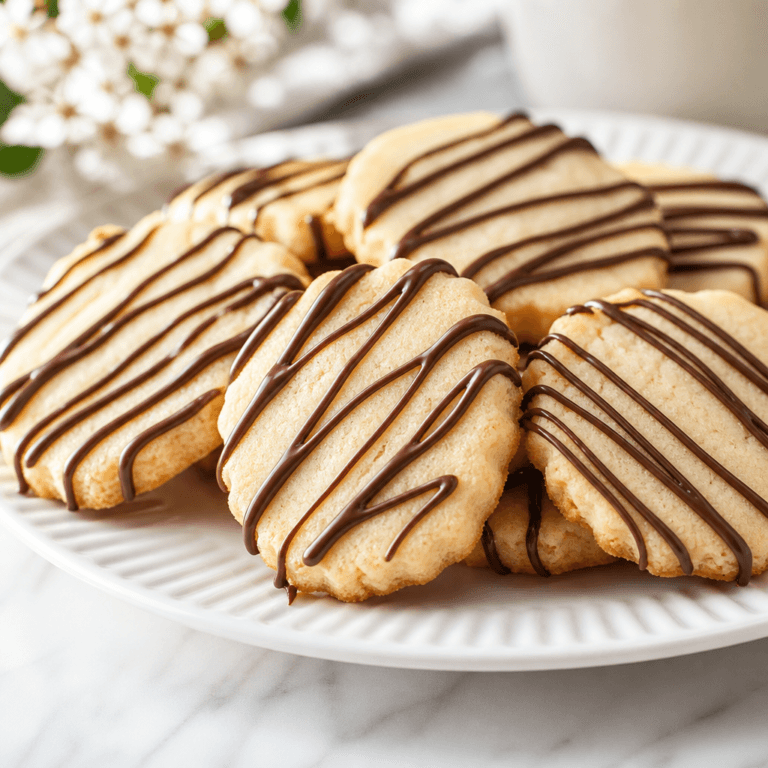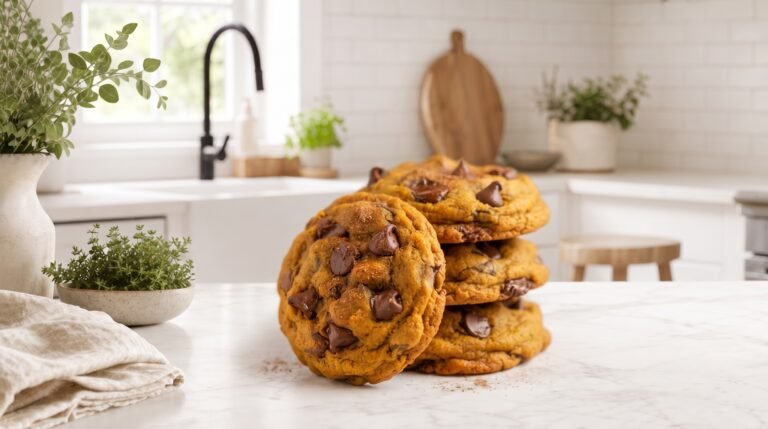
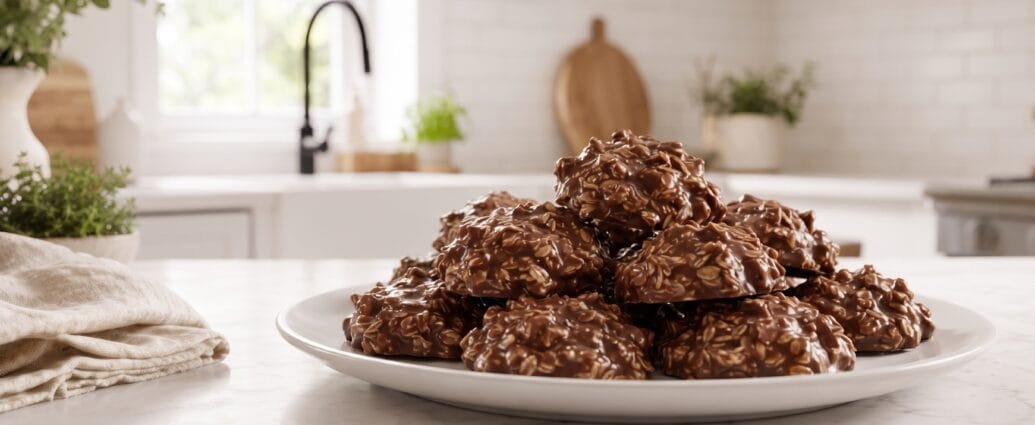
There’s something wonderfully comforting about no bake cookies that takes me right back to my grandmother’s kitchen. I still remember standing on my tiptoes, watching her work her magic at the stove, stirring together simple pantry ingredients into these irresistible chocolate-peanut butter treats. The best part? They were ready to eat in minutes, not hours.
These old-fashioned no bake cookies have been a staple in American kitchens for generations, and once you make them, you’ll understand why. They’re the perfect solution when you need something sweet but don’t want to turn on the oven—or when you simply can’t wait for traditional cookies to bake and cool.
Why You’ll Love This Recipe
I make these no bake cookies at least twice a month, and they never disappoint. What makes them so special is their incredible simplicity combined with absolutely addictive flavor. You only need one pot, a handful of ingredients you probably already have, and about 10 minutes of active time. That’s it!
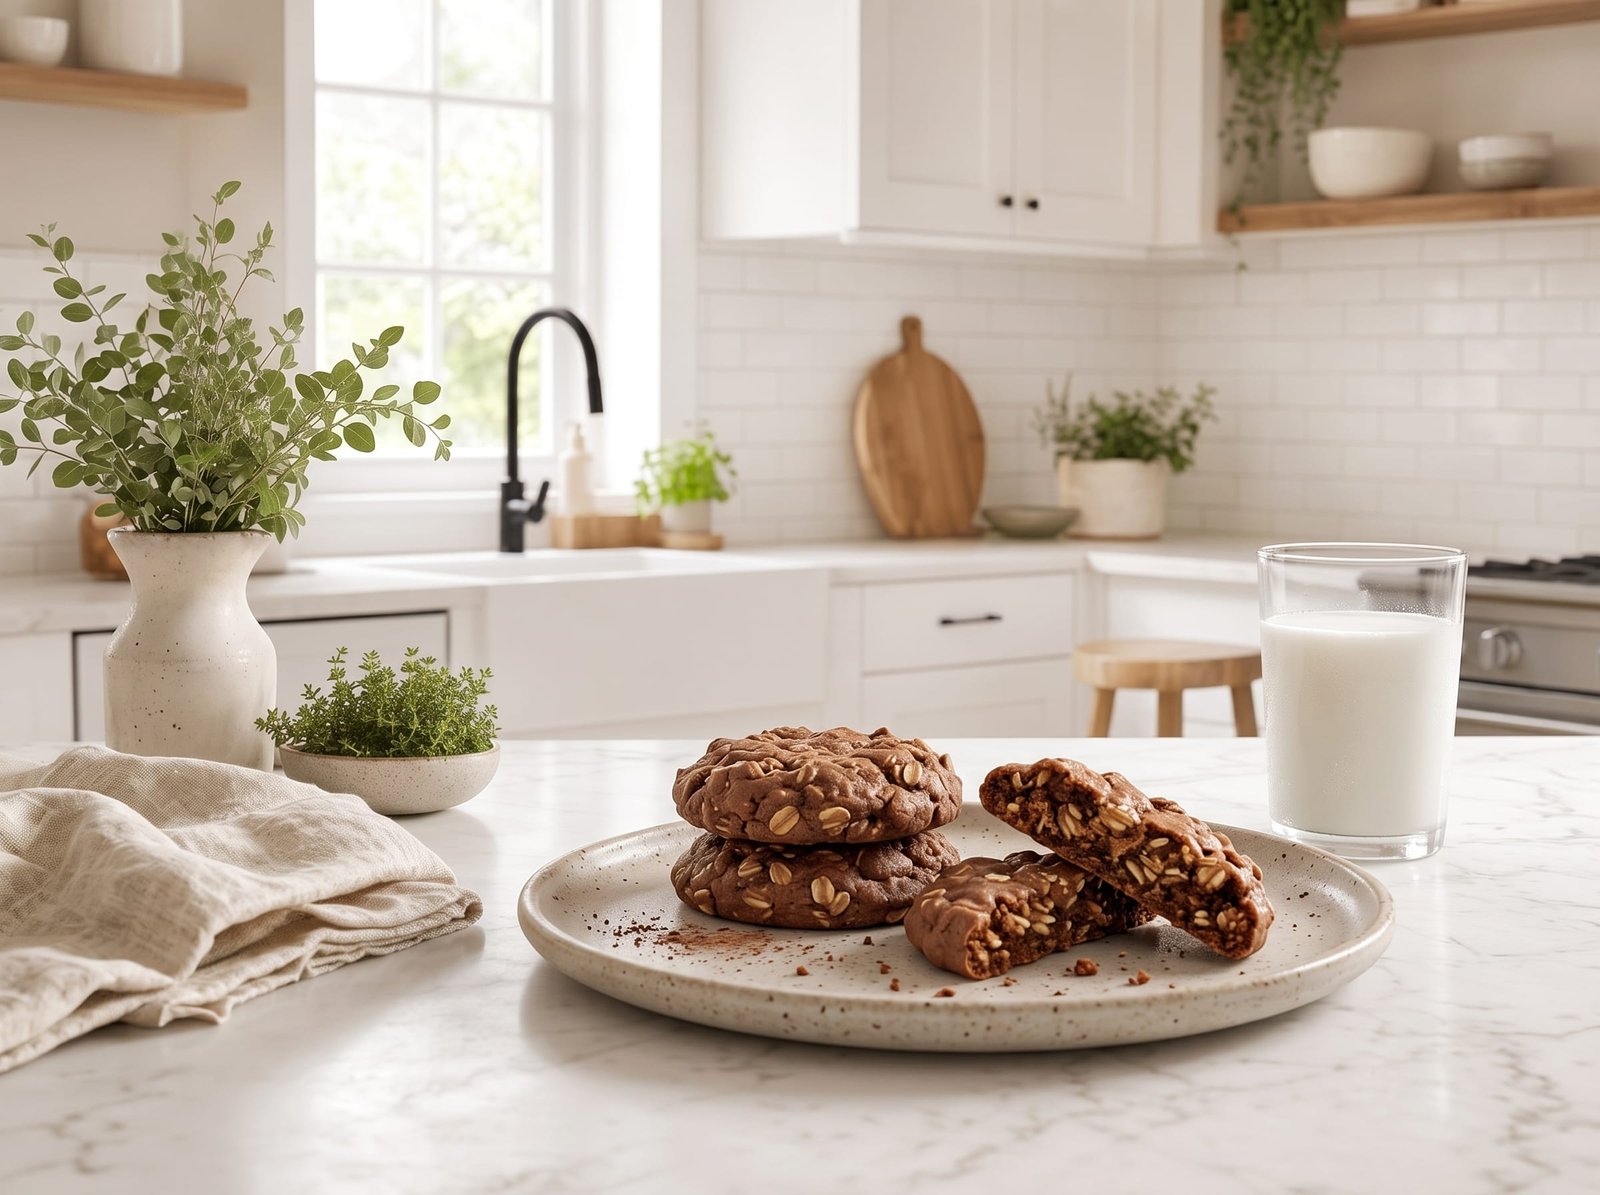
The texture is what really sets these apart—they’re chewy, slightly fudgy, and have that wonderful contrast between the creamy peanut butter and the tender oats. The chocolate flavor is rich without being overwhelming, and there’s just enough sweetness to satisfy your craving without being cloying.
I love that these cookies don’t require any special equipment or baking skills. There’s no creaming butter, no chilling dough, no waiting for the oven to preheat. You literally just boil, stir, drop, and done. They’re perfect for introducing kids to cooking, for last-minute gatherings, or for those evenings when you just need chocolate immediately.
Plus, they’re incredibly forgiving. Unlike traditional baked cookies where timing is everything, these are much more flexible. I’ve made them on humid days and dry days, at high altitude and sea level, and they always turn out delicious.
Ingredients
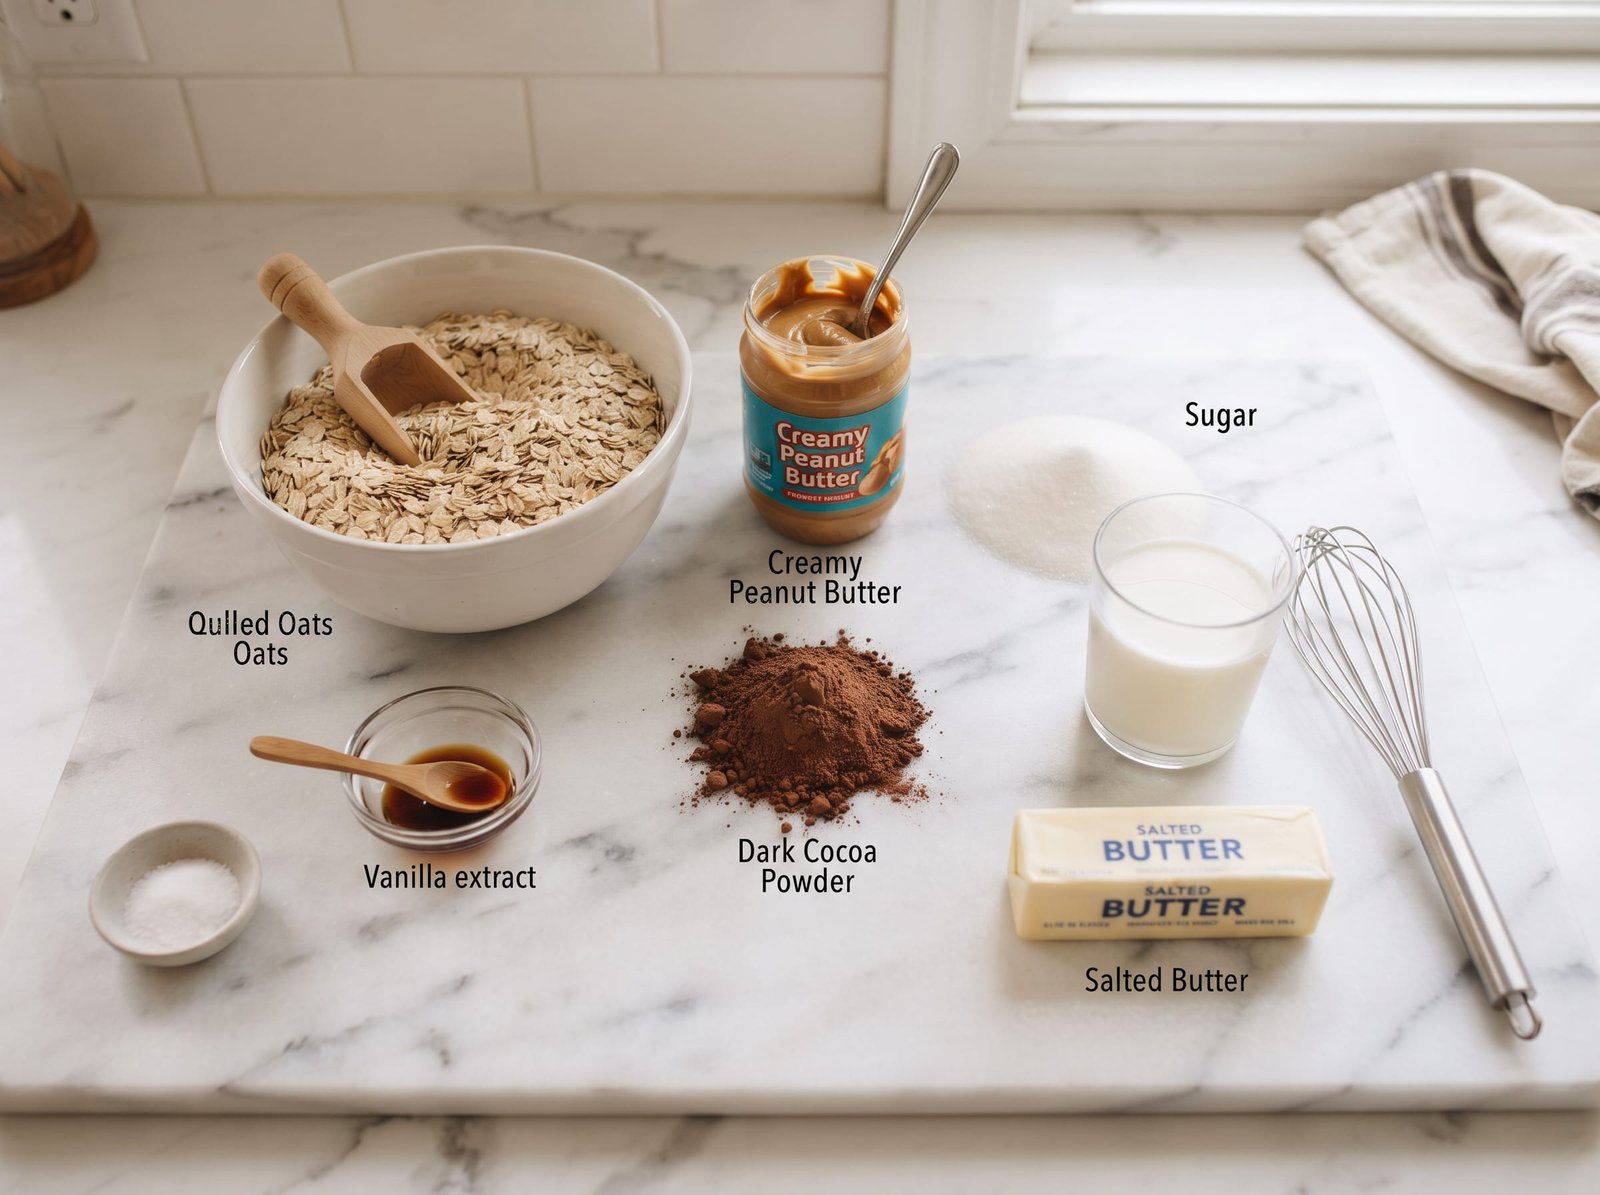
The beauty of old-fashioned no bake cookies is that they use simple, accessible ingredients. You won’t need to make a special trip to the store—I bet you have most of these in your pantry right now!
- Granulated sugar: This provides sweetness and helps create that glossy, fudgy texture we love.
- Unsweetened cocoa powder: Use a good quality cocoa for the best chocolate flavor. I prefer Dutch-process, but natural works too.
- Milk: Whole milk gives the richest result, but 2% works perfectly fine.
- Butter: Salted or unsalted both work—I use salted for a subtle flavor balance.
- Vanilla extract: Always use pure vanilla extract, never imitation. It makes a difference!
- Creamy peanut butter: Regular peanut butter (like Jif or Skippy) works best. Natural peanut butter can make the cookies too oily.
- Quick-cooking oats: These are essential! Old-fashioned oats won’t soften properly, and instant oats will make them mushy.
Step-by-Step Instructions
Let me walk you through making these delightful cookies. The process is straightforward, but there are a few key points that’ll ensure perfect results every time.
Step 1: Prepare Your Workspace
Before you start cooking, line two baking sheets with parchment paper or wax paper. Trust me on this—you’ll want to work quickly once the mixture is ready, and having your workspace prepared makes all the difference. I also like to have my peanut butter measured and my vanilla extract ready to go.
Step 2: Combine and Boil
In a medium saucepan, combine the sugar, cocoa powder, milk, and butter. Place over medium heat and stir frequently as the mixture comes to a boil. This is important: you want a full, rolling boil. I set a timer the moment I see big bubbles breaking the surface all across the pan. Let it boil for exactly 60-90 seconds, stirring constantly. This step is crucial—under-boiling will make them too soft, over-boiling will make them dry and crumbly.
Step 3: Remove and Mix
The moment your timer goes off, remove the pan from heat. Working quickly, stir in the vanilla extract and peanut butter until the peanut butter is completely melted and smooth. The mixture will look glossy and gorgeous. Then add the oats and stir vigorously until everything is evenly combined. You want every oat coated in that chocolate-peanut butter mixture.
Step 4: Drop the Cookies
Here’s where speed matters. The mixture will start to set as it cools, so work quickly. Using a spoon or cookie scoop, drop heaping tablespoonfuls onto your prepared baking sheets. I can usually get about 24 cookies from one batch. Don’t worry if they’re not perfectly round—that rustic look is part of their charm! If the mixture starts to harden in the pot before you’re done, you can place it over low heat for just a few seconds to loosen it up.
Step 5: Set and Enjoy
Let the cookies sit at room temperature for about 30 minutes until they’re completely set and firm. If you’re in a hurry (or it’s a hot day), you can pop them in the refrigerator for 15 minutes instead. Once they’re firm, they’re ready to devour!
Tips for Perfect No Bake Cookies
After making these cookies hundreds of times over the years, I’ve learned a few tricks that ensure success every single time.
Watch Your Boil Time: This is the most critical step. Use a timer and aim for 60-90 seconds of a full, rolling boil. In humid weather, lean toward 90 seconds. In dry climates or at high altitude, 60 seconds is usually perfect. The mixture should look slightly thickened when you remove it from heat.
Use Quick Oats: I can’t stress this enough—old-fashioned oats are too thick and won’t soften properly. Quick oats are the secret to that perfect chewy texture.
Measure Peanut Butter Accurately: Too much peanut butter makes them greasy; too little makes them dry. Level off your measuring cup for the most consistent results.
Work on a Cool Surface: Parchment or wax paper works great, but make sure it’s on a cool surface. A hot baking sheet can cause the bottoms to melt.
Don’t Overmix: Once you add the oats, stir just until combined. Overmixing can make them tough.
Storage Matters: Store these in an airtight container at room temperature for up to one week, or refrigerate for up to two weeks. They also freeze beautifully for up to three months—just layer them between parchment paper.
Kitchen Gear for This Recipe
As an Amazon Associate, The Kitchen’s Aid earns from qualifying purchases at no extra cost to you.
Frequently Asked Questions
Why didn’t my no bake cookies harden?
This usually happens when the mixture wasn’t boiled long enough. The sugar needs to reach a specific temperature to set properly. Make sure you have a full, rolling boil and time it for at least 60 seconds. If this happens, you can actually re-cook the mixture—add a tablespoon of milk, bring it back to a boil, and try again.
Why are my cookies dry and crumbly?
This happens when the mixture is boiled too long. The longer you boil, the more moisture evaporates, leading to dry cookies. Stick to 60-90 seconds of boiling, and remove from heat promptly.
Can I use natural peanut butter?
I don’t recommend it. Natural peanut butter has a different oil content and consistency, which can make the cookies too oily or prevent them from setting properly. Regular peanut butter (the kind that doesn’t need stirring) works best.
Can I substitute almond butter or other nut butters?
Absolutely! Almond butter, cashew butter, or even sunflower seed butter (for nut-free cookies) all work well. Just make sure it’s the creamy, well-stirred variety, not the natural separated kind.
Do these need to be refrigerated?
No, they’re fine at room temperature in an airtight container. However, I do prefer them slightly chilled—the texture is a bit firmer and I think the flavor is even better cold!
Can I add mix-ins?
Definitely! I sometimes stir in shredded coconut, chopped nuts, or even mini chocolate chips. Just don’t add more than 1/2 cup of mix-ins, or it can affect the texture.
These old-fashioned no bake cookies are more than just a recipe to me—they’re a connection to simpler times, to childhood memories, and to the joy of creating something delicious without any fuss. Whether you’re making them with your kids, bringing them to a potluck, or simply satisfying a chocolate craving, I hope they bring you as much happiness as they’ve brought me over the years. The best part? You’re only about 15 minutes away from enjoying one right now. Happy cooking!
For another oat-based treat that asks almost nothing of the oven, our mixed berry oatmeal crumble bars are worth a look. There is more easy baking in our 18 best fall dessert recipes.
Old-Fashioned No Bake Cookies
American · Dessert
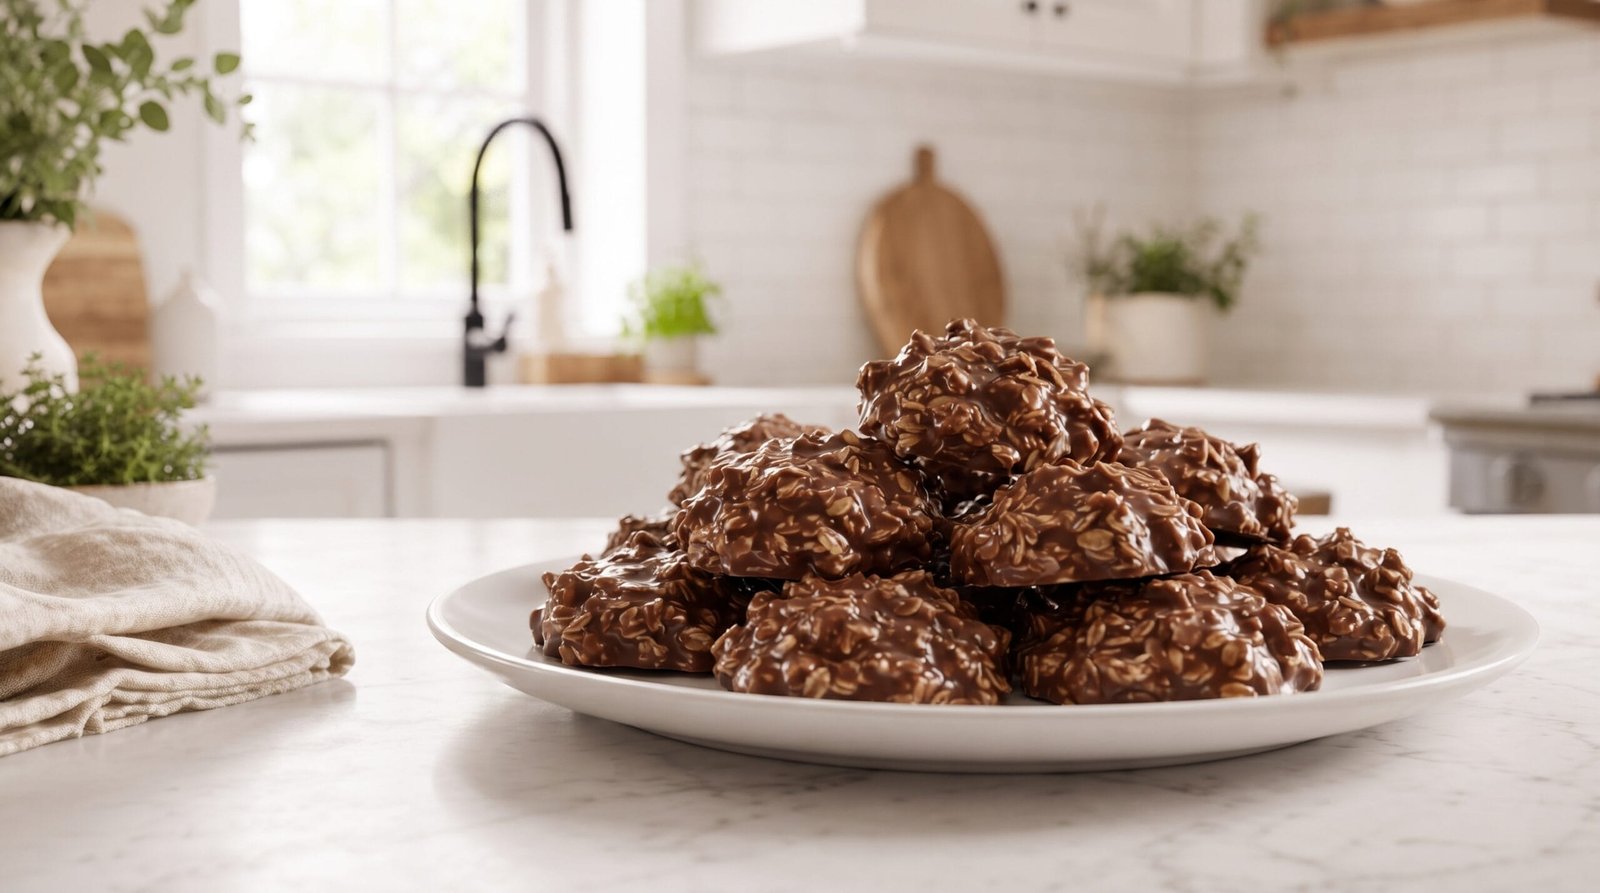
Classic chocolate peanut butter no bake cookies ready in 10 minutes with simple pantry ingredients. Chewy, fudgy, and perfectly nostalgic!
Ingredients
- 2 cups granulated sugar
- 1/2 cup unsweetened cocoa powder
- 1/2 cup milk
- 1/2 cup butter
- 1 teaspoon vanilla extract
- 1/2 cup creamy peanut butter
- 3 cups quick-cooking oats
Instructions
- Line two baking sheets with parchment paper or wax paper and set aside.
- In a medium saucepan, combine the sugar, cocoa powder, milk, and butter over medium heat.
- Stir frequently and bring the mixture to a full rolling boil. Once boiling, continue to boil for 60-90 seconds, stirring constantly.
- Remove the pan from heat immediately after the boil time.
- Quickly stir in the vanilla extract and peanut butter until the peanut butter is completely melted and the mixture is smooth.
- Add the quick-cooking oats and stir vigorously until all oats are evenly coated.
- Working quickly, drop heaping tablespoonfuls of the mixture onto the prepared baking sheets.
- Allow the cookies to cool at room temperature for 30 minutes until completely set, or refrigerate for 15 minutes for faster setting.
- Store in an airtight container at room temperature for up to 1 week, refrigerate for up to 2 weeks, or freeze for up to 3 months.
Nutrition: 145 calories
Made this? Rate it