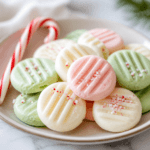
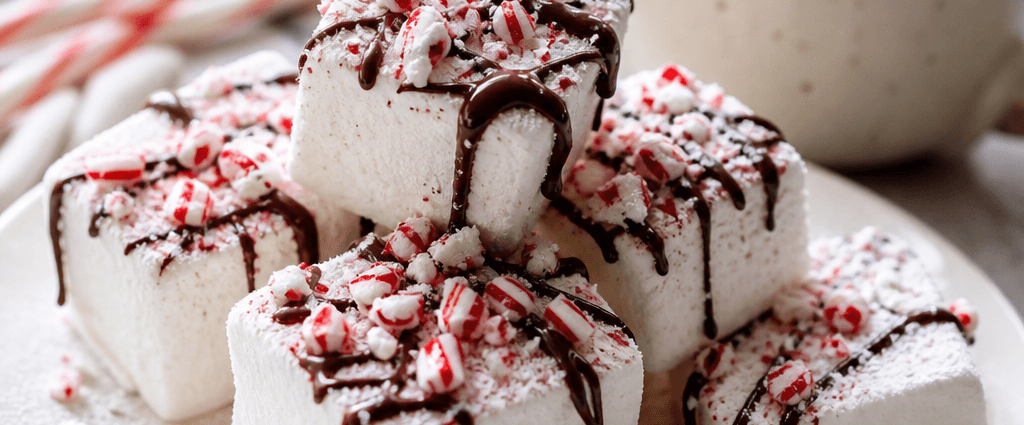
Once you make homemade marshmallows from scratch, the store-bought bags never look quite the same again. There is something genuinely magical about transforming a few simple ingredients into a fluffy, pillowy cloud of sweetness that is miles better than anything you can buy. These marshmallows are soft, springy, and endlessly customizable, which makes them perfect for cozy holiday mornings, dressing up a mug of hot chocolate, or packaging into charming edible gifts.
Do not let the candy-thermometer step intimidate you. The process is far more forgiving than it sounds, and the payoff is a batch of gourmet marshmallows that will impress anyone who thought marshmallows could only come from a plastic bag. Top them with crushed candy canes, sprinkles, or a drizzle of chocolate and you have a treat that feels both nostalgic and special.
Why You’ll Love This Recipe
The best part of making marshmallows at home is how a short list of pantry staples turns into something so airy and impressive. With a stand mixer and a candy thermometer doing most of the work, you get bakery-quality results without any fancy techniques. The texture is soft, bouncy, and just the right amount of chewy, which is nearly impossible to find in a commercial marshmallow.
These marshmallows are also a blank canvas for creativity. You can keep them classic with vanilla, swap in peppermint extract for a holiday twist, or tint the fluffy mixture with a drop of food coloring for pastel-hued cubes. Once cut, they are ready for any topping you dream up, from crushed candy canes to toasted coconut to a dusting of cocoa.
And when it comes to gifting, homemade marshmallows are hard to beat. Piled into a cellophane bag with a ribbon or nestled beside a jar of hot cocoa mix, they make a heartfelt present that looks like it came from a gourmet shop. They are the kind of DIY gift people are genuinely delighted to receive.
Ingredients
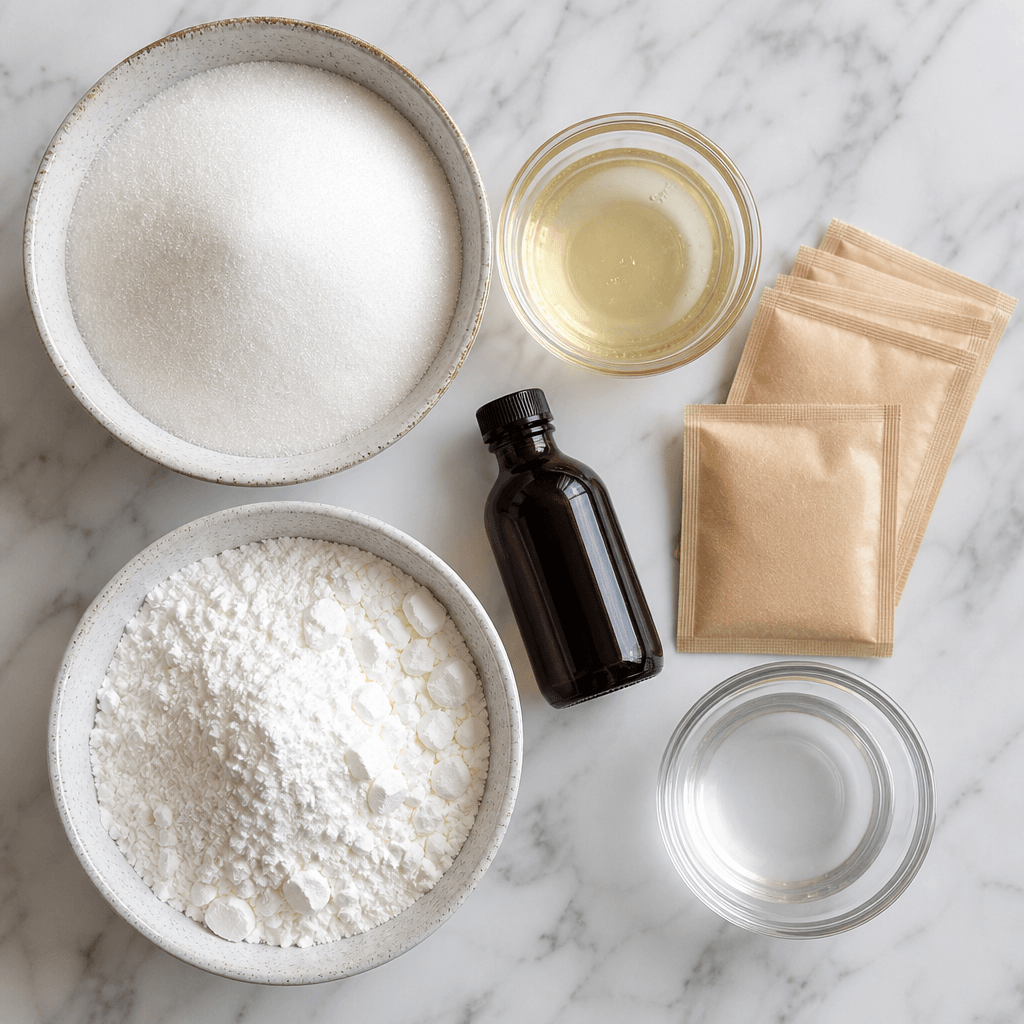
The foundation of fluffy marshmallows is unflavored gelatin, which is bloomed in ½ cup of water to create that signature springy texture. Alongside it you will use granulated white sugar and light corn syrup, which together provide sweetness, structure, and a smooth finish that resists crystallizing. Another ½ cup of water goes into the saucepan to form the hot sugar syrup that gives the marshmallows their body.
Vanilla extract brings a warm, cozy flavor to the finished marshmallows, though this is where you can get creative and swap in peppermint or almond extract for a festive spin. Finally, a mixture of confectioners’ sugar and cornstarch is essential for dusting the pan and the finished cubes, keeping everything from sticking to your hands, your knife, and each other.
Because marshmallow-making moves quickly once the syrup is hot, the single most important tip is to have every ingredient measured and ready before you begin. A little preparation up front makes the whole process smooth and stress-free.
Step-by-Step Instructions
Start by blooming the gelatin. In the bowl of a stand mixer, combine the unflavored gelatin with ½ cup of water and let it sit while you prepare the syrup. This step softens the gelatin so it dissolves evenly later, which is key to a smooth marshmallow.
Next, make the sugar syrup. In a saucepan, combine the sugar, corn syrup, and the remaining ½ cup of water. Attach a candy thermometer and heat the mixture over medium heat until it reaches 240°F, the soft ball stage, which takes about seven to ten minutes. Precision matters here, since this temperature determines whether your marshmallows set up soft and pillowy rather than too firm or too loose.
With the mixer running on low, slowly and carefully pour the hot syrup into the bloomed gelatin. Once it is all incorporated, gradually increase the speed to high and beat for about ten to twelve minutes, until the mixture is thick, glossy, fluffy, and tripled in volume. Add the vanilla extract during the last minute of mixing so the flavor blends in evenly.
While the mixer works, prepare your pan. Grease a 9×13-inch baking dish and dust it generously with the confectioners’ sugar and cornstarch mixture. When the marshmallow fluff is ready, pour it into the prepared pan and smooth the top with a greased spatula, working quickly since the mixture is very sticky. Dust the surface with more of the sugar-cornstarch mix.
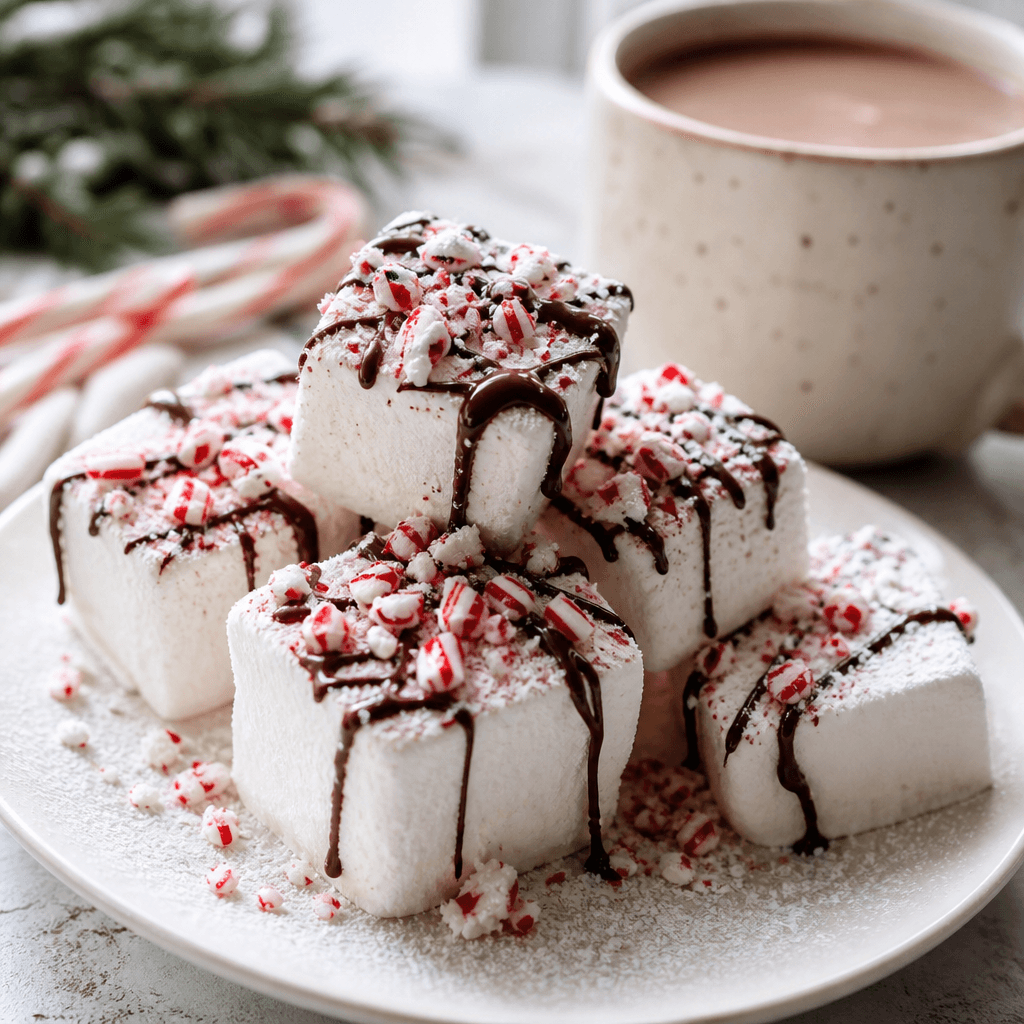
Let the marshmallows sit uncovered for six to eight hours, or overnight, until they are fully set. Turn the slab out onto a cutting board, slice it into squares with a greased knife, and toss the cubes in a little more powdered sugar to keep them from sticking. Now comes the fun part: add your festive toppings, whether that is crushed candy canes, sprinkles, or a drizzle of melted chocolate.
Tips for the Best Homemade Marshmallows
Temperature is truly the make-or-break factor, so make sure your sugar syrup hits precisely 240°F for the perfect set that is neither too soft nor too firm. Marshmallows are famously sticky, so grease your spatula, your knife, and even your hands with a little oil or nonstick spray to make spreading and cutting far easier. Patience during the setting stage pays off, since rushing it leaves you with a slab that is difficult to cut cleanly.
Once you have the base technique down, the toppings are where you can really have fun. Drizzle with melted chocolate, sprinkle on toasted coconut, or dust with cocoa powder for a grown-up twist. If you love this kind of festive project, you will also enjoy our candy cane marshmallow pops and our colorful chocolate covered pretzels, both of which make wonderful additions to a holiday gift box.
These marshmallows are, of course, made for hot chocolate, so drop a few into a steaming mug and watch them melt into cozy perfection. They also stack beautifully onto graham crackers for a batch of homemade s’mores.
Kitchen Gear for This Recipe
- Instant-Read Meat Thermometer
- Enameled Cast Iron Dutch Oven
- Heavy-Duty Sheet Pan Set
- Glass Mixing Bowl Set
As an Amazon Associate, The Kitchen’s Aid earns from qualifying purchases at no extra cost to you.
Frequently Asked Questions
How do I store homemade marshmallows?
Store them in an airtight container at room temperature for up to two weeks. Avoid refrigeration, which can make them sticky.
Can I freeze them?
Yes. Place them in a freezer-safe bag with parchment paper between the layers and enjoy them within three months.
Can I make these without a stand mixer?
A hand mixer will work, but be prepared for the process to take longer and require some extra arm power to reach that fluffy, tripled volume.
Can I make flavored or colored marshmallows?
Absolutely. Swap the vanilla for peppermint or almond extract, and add a drop of food coloring to the whipped mixture for pretty pastel marshmallows.
Why didn’t my marshmallows set properly?
The most common cause is a sugar syrup that did not reach 240°F. Use a reliable candy thermometer and give the marshmallows the full setting time.
Making marshmallows from scratch is one of those kitchen projects that feels like pure magic, and the fluffy, customizable results are worth every minute. For more wholesome inspiration, browse these healthy eating ideas, and be sure to tag @thekitchensaid on Instagram so we can celebrate your sweet success.
Homemade Marshmallows with Festive Toppings
American · Dessert
Fluffy homemade marshmallows made from scratch with a candy thermometer, perfect for gifting, festive toppings, and floating in hot chocolate.
Ingredients
- Unflavored gelatin
- Granulated white sugar
- Light corn syrup
- 1 teaspoon vanilla extract
- 1 cup water, divided
- Confectioners sugar and cornstarch for dusting
Instructions
- Bloom the gelatin in 1/2 cup water in a stand mixer bowl.
- Cook sugar, corn syrup, and 1/2 cup water to 240F.
- Slowly beat the hot syrup into the gelatin and whip until thick and tripled; add vanilla.
- Pour into a greased, dusted 9x13-inch pan and let set 6-8 hours.
- Cut into squares, toss in powdered sugar, and add festive toppings.
Nutrition: 60 calories
Made this? Rate it