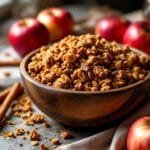
There’s just something about homemade granola that feels extra special—like a warm hug in breakfast form! This Vanilla Chia Granola is nutty, crunchy, lightly sweet, and packed with wholesome ingredients to power your morning. Plus, it’s ridiculously easy to make, and trust me, once you try it, you’ll never go back to store-bought. Let’s get baking!
Why You’ll Love This Recipe
This granola is the perfect balance of crunchy, slightly sweet, and packed with flavor. It’s a pantry-friendly recipe that you can customize to your heart’s content.
- Easy to make with simple ingredients.
- Lightly sweet with warm vanilla and a hint of cinnamon.
- Full of crunchy clusters—hello, best part of granola!
- Loaded with fiber and protein from oats, chia seeds, and nuts.
- Perfect for meal prep—lasts for weeks!
Ingredients Breakdown
Essentials
- 2 cups rolled oats
- 1/2 cup chopped almonds (or your nut of choice!)
- 1/4 cup chia seeds
- 1/4 cup unsweetened shredded coconut
- 1/3 cup pure maple syrup (or honey)
- 1/4 cup melted coconut oil
- 2 tsp vanilla extract
- 1/2 tsp cinnamon
- 1/4 tsp salt
Pro Tips
- If you love extra crunch, toss in some pumpkin seeds or sunflower seeds.
- For a touch of indulgence, sprinkle in dark chocolate chips after the granola has cooled.
- Prefer cluster-style granola? Press the mixture firmly into the pan before baking and don’t stir too often.
Step-by-Step Instructions
- Preheat your oven to 325°F (163°C). Line a baking sheet with parchment paper.
- In a large mixing bowl, combine oats, almonds, chia seeds, shredded coconut, cinnamon, and salt.
- In a separate small bowl, whisk together melted coconut oil, maple syrup, and vanilla extract.
- Pour the wet mixture into the dry ingredients and stir until everything is evenly coated.
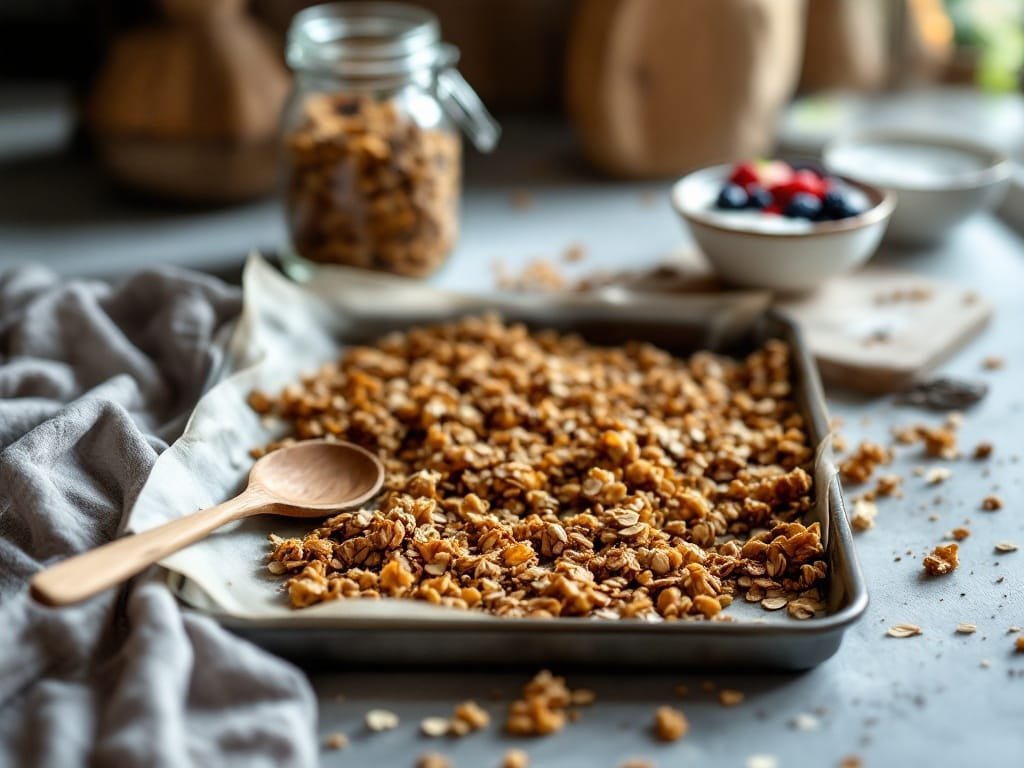
- Spread the granola mixture onto the prepared baking sheet in an even layer.
- Bake for 20-25 minutes, stirring once halfway through for even baking.
- Let the granola cool completely before breaking into clusters.
- Store in an airtight container and enjoy over yogurt, smoothie bowls, or by the handful!
Chef’s Tips and Tricks
- For extra crispy granola, bake at a slightly lower temp (300°F) and let it go a little longer.
- Want it even sweeter? Toss in some dried fruit like raisins or cranberries after baking.
- Make it nut-free by swapping almonds for sunflower seeds or extra coconut.
- Ensure your granola cools completely before storing—this helps keep it crunchy!
Recipe Variations and Serving Suggestions
- Chocolate Lovers: Add a handful of dark chocolate chips once the granola has cooled.
- Protein Boost: Mix in a scoop of your favorite vanilla protein powder before baking.
- Berry Blast: Stir in freeze-dried raspberries or blueberries for a fruity twist.
- Morning Parfait: Layer with Greek yogurt and fresh berries for a hearty and delicious breakfast.
FAQs
How long does this granola last?
Stored in an airtight container at room temperature, it stays fresh for up to 3 weeks. For longer shelf life, keep it in the fridge!
Can I make this granola gluten-free?
Absolutely! Just be sure to use certified gluten-free oats.
Why is my granola not clumping together?
The secret is in how you bake it—press the mixture down in the baking pan and avoid stirring too much while it’s cooking.
Recipe Card
Prep Time: 5 minutes
Cook Time: 25 minutes
Total Time: 30 minutes
Ingredients:
- 2 cups rolled oats
- 1/2 cup chopped almonds
- 1/4 cup chia seeds
- 1/4 cup shredded coconut
- 1/3 cup maple syrup
- 1/4 cup melted coconut oil
- 2 tsp vanilla extract
- 1/2 tsp cinnamon
- 1/4 tsp salt
Instructions:
- Preheat oven to 325°F (163°C) and line a baking sheet with parchment paper.
- Mix all dry ingredients in a bowl.
- Whisk wet ingredients separately, then combine with dry ingredients.
- Spread evenly on the baking sheet and bake for 20-25 minutes, stirring once.
- Let cool, then store in an airtight container.
Now that you’ve got the perfect homemade Vanilla Chia Granola, how will you enjoy it? Let me know in the comments! And if you loved this recipe, don’t forget to share it with your fellow foodies. Happy baking! 🥣✨