Here’s the thing almost nobody tells you about measuring cups and spoons: a “cup” of flour can vary by nearly 50% depending on how you scoop it. Scoop straight from the bag and pack it down, and you might pull 150 grams. Spoon it in gently and level it off, and you’ll get closer to 120. That single difference is why one batch of cookies spreads into lacy puddles and the next comes out cakey — same recipe, different measuring. So before you buy another gadget, the real upgrade is understanding which kitchen measuring tools you need and how to use each one correctly.
I’m Mia Grace, and after years of baking (and plenty of flat, sad cookies early on), I’ve learned that precision isn’t fussy — it’s just the difference between guessing and knowing. This guide walks you through exactly what to own, what to skip, and the one tool that quietly fixes most measuring problems.
Dry vs. Liquid Measuring Cups: Why You Need Both
This is the mistake I see most often, and it genuinely changes results. Dry and liquid measuring cups hold the same volume — a cup is a cup — but they’re shaped for two completely different jobs.
Dry measuring cups come in nested sets (1/4, 1/3, 1/2, 1 cup) with flat rims. You fill them past the top and sweep level with a straight edge. That leveling is the whole point — it’s how you get a repeatable, accurate amount of flour, sugar, or oats. You physically can’t level a dry cup if it’s a liquid measure with the line below the rim.
Liquid measuring cups are clear, have a spout, and the measurement lines sit below the brim so liquid doesn’t slosh over as you carry it. You read them at eye level on a flat surface. Try to measure water in a dry cup and you’ll either spill it or stop short of the line to avoid spilling — either way, you’re off.
Bottom line: use dry cups for dry ingredients, liquid cups for liquids. They are not interchangeable, even though the volume is technically identical.
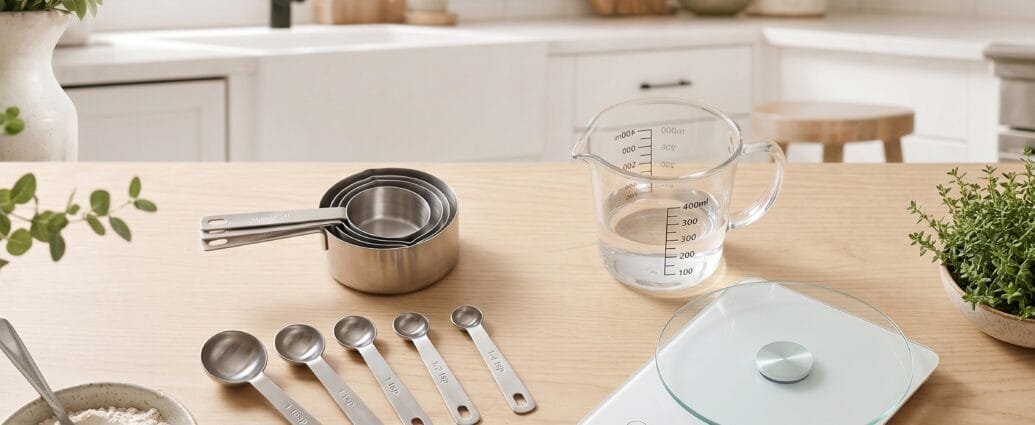
What Each Measuring Tool Actually Does
Dry measuring cups
For flour, sugar, oats, chocolate chips — anything you scoop and level. Look for sturdy stainless steel or thick plastic with clearly stamped sizes that won’t rub off. A set that nests saves drawer space.
Liquid measuring cups
For water, milk, oil, broth, honey. Glass (like classic Pyrex) is microwave-safe and won’t hold odors; angled-read cups let you check the level from above without bending down. A 2-cup size covers most recipes.
Measuring spoons
For small amounts — salt, baking soda, vanilla, spices. These work for both dry and wet ingredients. A standard set runs 1/4 tsp to 1 tablespoon; narrow spoons that fit inside spice jars are a nice bonus. With leaveners like baking soda, level them carefully — a heaping vs. level teaspoon really matters.
Kitchen scale
The quiet hero. A digital scale weighs ingredients directly, sidestepping the entire scoop-and-level guessing game. More on why it’s worth it below.
Why a Kitchen Scale Is Worth It (Especially for Baking)
If you bake even occasionally, a digital kitchen scale is the single best tool you can add. Here’s why:
- It eliminates the scoop problem. 120 grams of flour is 120 grams every time, no matter who measures it or how. Weight doesn’t lie.
- It’s faster and cleaner. Set your bowl on the scale, press tare to zero it, add an ingredient, tare again, add the next. One bowl, no nested cups to wash.
- It’s how serious recipes are written. Most professional and European recipes list grams precisely because volume measuring is unreliable.
Look for a digital scale that reads in both grams and ounces, has a tare button, and handles at least 11 lbs. Models from OXO, Escali, and My Weigh are reliable workhorses in the $25–$50 range. Keep it flat, dry, and check it occasionally against a known weight.
Digital vs. mechanical: digital wins for precision and the tare function. Mechanical (spring) scales are charming and need no batteries, but they’re harder to read accurately. For baking, go digital.
Common Measuring Mistakes to Avoid
- Using a coffee mug or random cup. Mugs aren’t standardized — a “cup” mug can hold far more or less than 240 ml.
- Packing flour into the cup. Scooping straight from the bag compacts it. Spoon flour into the cup and level, or better, weigh it.
- Not leveling. A heaping dry cup throws off the whole ratio. Sweep flat with a straight edge.
- Reading liquid cups from above. Check at eye level on the counter, not held up in the air.
- Measuring sticky liquids dry. For honey or syrup, coat the spoon with oil first so it slides off cleanly.
Handy Conversions to Keep Nearby
A few you’ll reach for constantly:
- 1 tablespoon = 3 teaspoons = 15 ml
- 1/4 cup = 4 tablespoons
- 1/2 cup = 8 tablespoons
- 1 cup = 16 tablespoons = 240 ml (US)
And the most useful weight conversions for baking:
- 1 cup all-purpose flour ≈ 120 g
- 1 cup granulated sugar ≈ 200 g
- 1 cup brown sugar (packed) ≈ 220 g
- 1 cup butter ≈ 227 g (2 sticks)
- 1 cup rolled oats ≈ 80 g
One caution: a US cup is 240 ml, but a UK/metric cup is 250 ml and an Australian tablespoon is 20 ml, not 15. If you cook from international recipes, weighing in grams sidesteps the confusion entirely.
What to Buy: A Simple Starter Kit
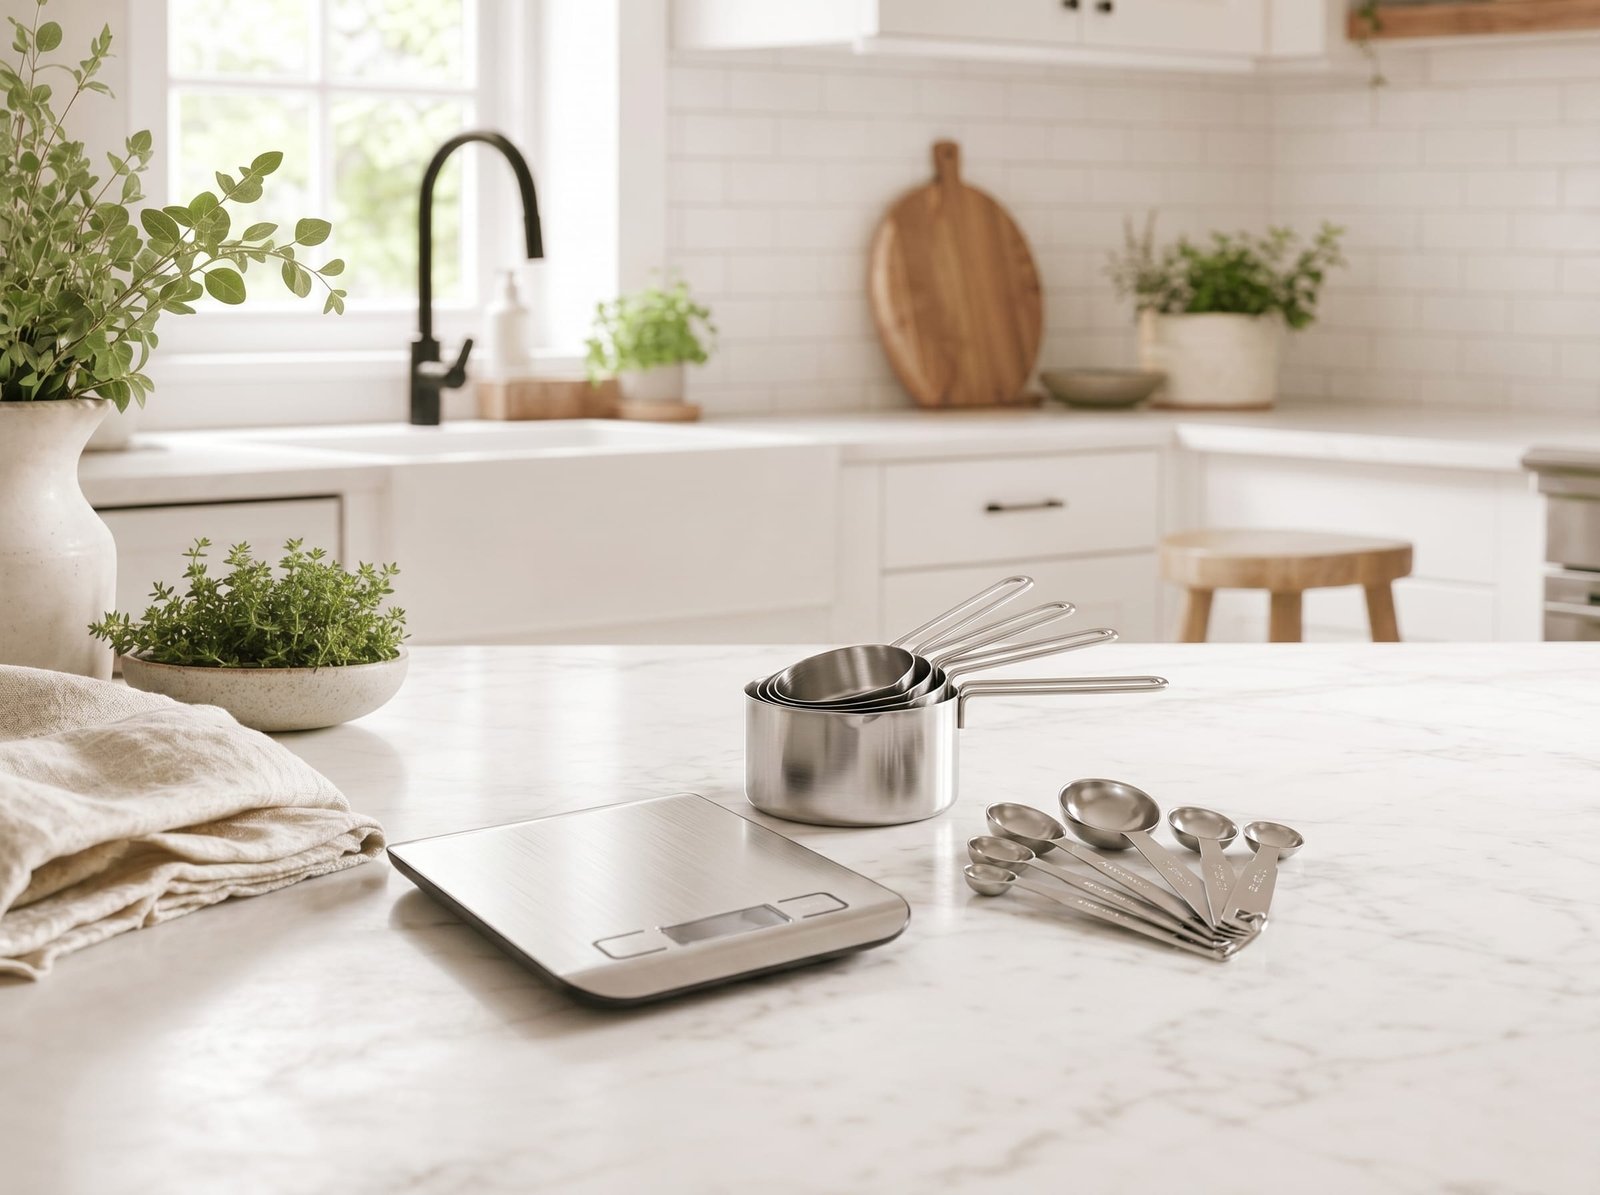
You don’t need a drawer full of gadgets. This covers 99% of home cooking:
- One nesting set of stainless steel dry measuring cups
- One 2-cup glass liquid measuring cup (angled-read is a nice upgrade)
- One set of measuring spoons (metal lasts longest)
- One digital kitchen scale with a tare button
Adjustable measuring spoons and “smart” cups exist and can be fun, but they’re extras, not essentials. Spend your money on a good scale first.
Care and Storage
Wash cups and spoons soon after use so residue doesn’t dry on and skew the next measure. Store nesting sets together so you never lose the 1/3 cup. Keep your scale flat in a dry spot, wipe it rather than soaking it, and pull the batteries if you won’t use it for a long stretch.
Kitchen Gear for This Recipe
- Instant-Read Meat Thermometer
- Enameled Cast Iron Dutch Oven
- Heavy-Duty Sheet Pan Set
- Glass Mixing Bowl Set
As an Amazon Associate, The Kitchen’s Aid earns from qualifying purchases at no extra cost to you.
FAQs
Can I use the same cup for dry and liquid ingredients?
Technically the volume is the same, but you shouldn’t. Dry cups are made to be filled and leveled; liquid cups have the line below the rim and a spout. Using the wrong one almost always leaves you over or under.
Do I really need a kitchen scale?
For everyday cooking, no — cups and spoons are fine. For baking, it’s the most accurate tool you can own and the best fix for inconsistent results. A basic digital scale is inexpensive and worth it.
Why do my baked goods turn out differently each time?
Almost always inconsistent flour measuring. Scooping packs in extra flour; spooning and leveling (or weighing) keeps it consistent batch to batch.
How many grams is one cup of flour?
About 120 grams for all-purpose flour, though it varies with how you measure — which is exactly why weighing is more reliable.
Are expensive measuring tools worth it?
Not especially. Durable stainless steel cups and spoons with stamped (not printed) markings and a solid digital scale matter far more than a high price tag.
Pair Your New Skills With These
Once your measuring is dialed in, put it to work:
- Must-Have Kitchen Tools for the Home Cook — round out the rest of your kit.
- Weekly Meal Prep Guide — accurate measuring makes batch cooking far easier.
- Moist Zucchini Bread — a forgiving bake to practice spoon-and-level flour.
- Cranberry Almond Breakfast Cookies — see how precise measuring keeps texture consistent.
Master these few tools and the guesswork disappears. Your cookies rise right, your sauces balance, and cooking starts to feel a whole lot more relaxed. Happy measuring, friend!