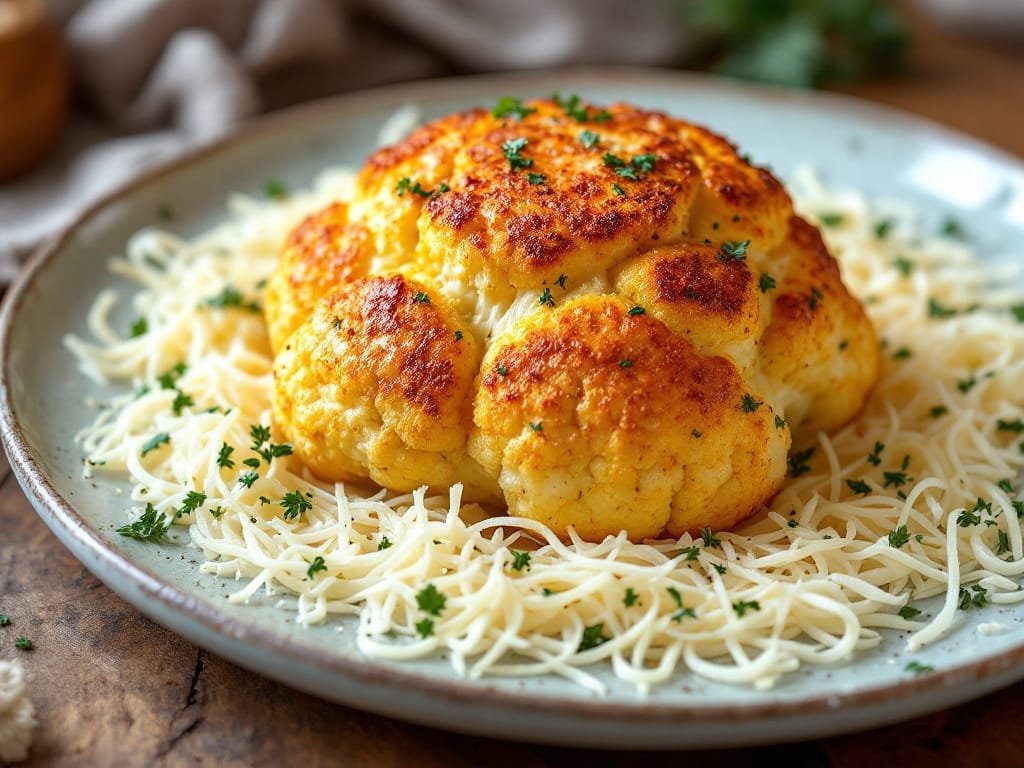
Hey there! It’s time to give one of my favorite veggies a star moment. Cauliflower often plays the humble sidekick, but today it’s stepping into the spotlight with a savory, cheesy twist. This Parmesan Roasted Cauliflower is crispy on the outside, tender on the inside, and absolutely bursting with flavor. Whether you’re prepping a weeknight side or impressing guests at a cozy dinner party, this recipe is your golden ticket!
If you think cauliflower can’t shine, this recipe will change your mind!
Why You’ll Love This Recipe
- Quick and Easy: Ready in under 30 minutes with minimal prep.
- Budget-Friendly: A low-cost way to create a sophisticated dish.
- Irresistibly Crispy: The Parmesan and breadcrumb coating delivers the perfect crunch.
- Customizable: Adjust the flavors to make it your own!
Ingredients Breakdown
- Cauliflower Florets: Look for fresh, firm cauliflower. Frozen florets will work in a pinch, but they won’t get quite as crispy.
- Parmesan Cheese: Go for freshly grated Parmesan for the best melt and flavor.
- Panko Breadcrumbs: These create the ultimate crunch. Regular breadcrumbs work too!
- Olive Oil: Helps everything crisp up beautifully in the oven.
- Garlic Powder: Adds a mellow garlic flavor without the bitterness of fresh garlic when roasted.
- Salt & Pepper: Don’t skimp on these basics—they bring everything together.
- Italian Seasoning (Optional): A sprinkle adds delightful herby notes if you want to take it up a notch.
Pro Tip: Feeling fancy? Swap out the Parmesan for Pecorino Romano for a sharper, saltier bite.
Step-by-Step Instructions
- Preheat your oven: Set the oven to 425°F (220°C) and line a baking sheet with parchment paper for easy cleanup.
- Prep the cauliflower: Wash and cut your cauliflower into bite-sized florets. Pat them dry to help them crisp up in the oven.
- Mix the coating: In a large bowl, toss the florets with olive oil, garlic powder, salt, and pepper until evenly coated.
- Add the crunch: Stir in the Parmesan and breadcrumbs, ensuring each floret gets some of that golden, cheesy goodness.
- Spread out: Arrange the florets in a single layer on the prepared baking sheet. Don’t overcrowd, or they’ll steam instead of roast.
- Roast to perfection: Bake for 20-25 minutes, flipping halfway through. The cauliflower should be tender with crispy, golden edges.
Chef’s Tips and Tricks
- Don’t Overcrowd: Space out your florets to ensure maximum crispiness.
- More Flavor: Add a sprinkle of red pepper flakes for a hint of heat.
- Extra Parmesan: For the ultimate cheesy hit, sprinkle a bit more Parmesan once it’s out of the oven!
Recipe Variations and Serving Suggestions
- Make it Vegan: Swap Parmesan for nutritional yeast and skip the breadcrumbs or use a vegan alternative.
- Spice it Up: Add smoked paprika or curry powder to the seasoning mix.
- Serving Ideas: Pair with grilled chicken, drizzle with lemon juice, or serve over quinoa for a hearty meal.
FAQs
- Can I reheat leftovers? Yes! Pop them in a 400°F oven or air fryer for 5-7 minutes to crisp them back up.
- Can I use frozen cauliflower? Sure, just thaw and pat it dry before roasting. Fresh will always give you a better texture, though.
- How do I store leftovers? Store in an airtight container in the fridge for up to 3 days.
Printable Recipe
Parmesan Roasted Cauliflower
- Prep Time: 10 minutes
- Cook Time: 20-25 minutes
- Servings: 4
- Preheat oven to 425°F (220°C) and line a baking sheet with parchment paper.
- Wash, dry, and cut cauliflower into bite-sized florets.
- Toss florets with olive oil, garlic powder, salt, and pepper in a large bowl.
- Add Parmesan and breadcrumbs, coating evenly.
- Arrange florets on the baking sheet in a single layer.
- Bake for 20-25 minutes, flipping halfway through, until crispy and golden.
I can’t wait for you to try this recipe—it’s one of those dishes you’ll want to make again and again. If you make it, let me know how it turns out in the comments below or tag your photos with #TheKitchensAid on social media—I love seeing your creations!
Kitchen Gear for This Recipe
- Instant-Read Meat Thermometer
- Enameled Cast Iron Dutch Oven
- Heavy-Duty Sheet Pan Set
- Glass Mixing Bowl Set
As an Amazon Associate, The Kitchen’s Aid earns from qualifying purchases at no extra cost to you.