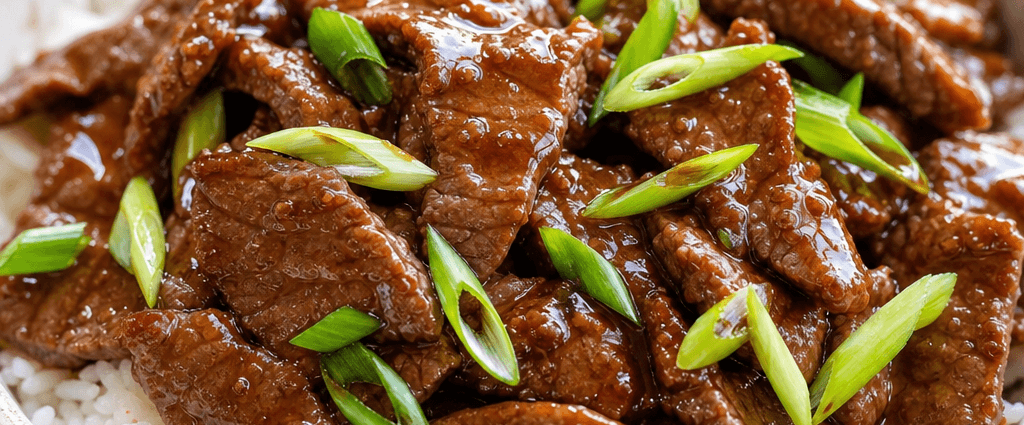
Craving that rich, tangy, sweet-and-savory Mongolian beef from your favorite takeout spot but not the wait or the delivery fee? This Instant Pot version is about to become your new weeknight hero. It is fast, foolproof, and honestly tastes even better than the restaurant original, with tender slices of beef wrapped in a glossy, garlicky sauce that clings to every bite.
The beauty of making it in the Instant Pot is that the pressure cooker does all the heavy lifting, turning simple pantry ingredients into a bold, comforting dinner in under thirty minutes. If you are looking for a quick meal with big flavor and minimal effort, this recipe is calling your name. Here is exactly how to pull it off.
Why You’ll Love This Recipe
This dish is all about maximum flavor for minimal work. The Instant Pot handles the cooking, so you can have a satisfying, takeout-style dinner on the table in about twenty minutes from start to finish. That makes it a genuine weeknight winner on the busiest of evenings.
You will also love that it uses simple, everyday ingredients. There are no hard-to-find pantry staples here, just soy sauce, brown sugar, garlic, ginger, and a good cut of beef coming together into something that tastes far greater than the sum of its parts. The result is sweet, savory, garlicky, and glossy, with just the right amount of sauce to coat every tender morsel.
Best of all, it is endlessly customizable. Tweak the sweetness, dial up the heat, add vegetables, or swap the protein to suit your family’s tastes. It is the kind of reliable recipe you will find yourself coming back to again and again.
Ingredients
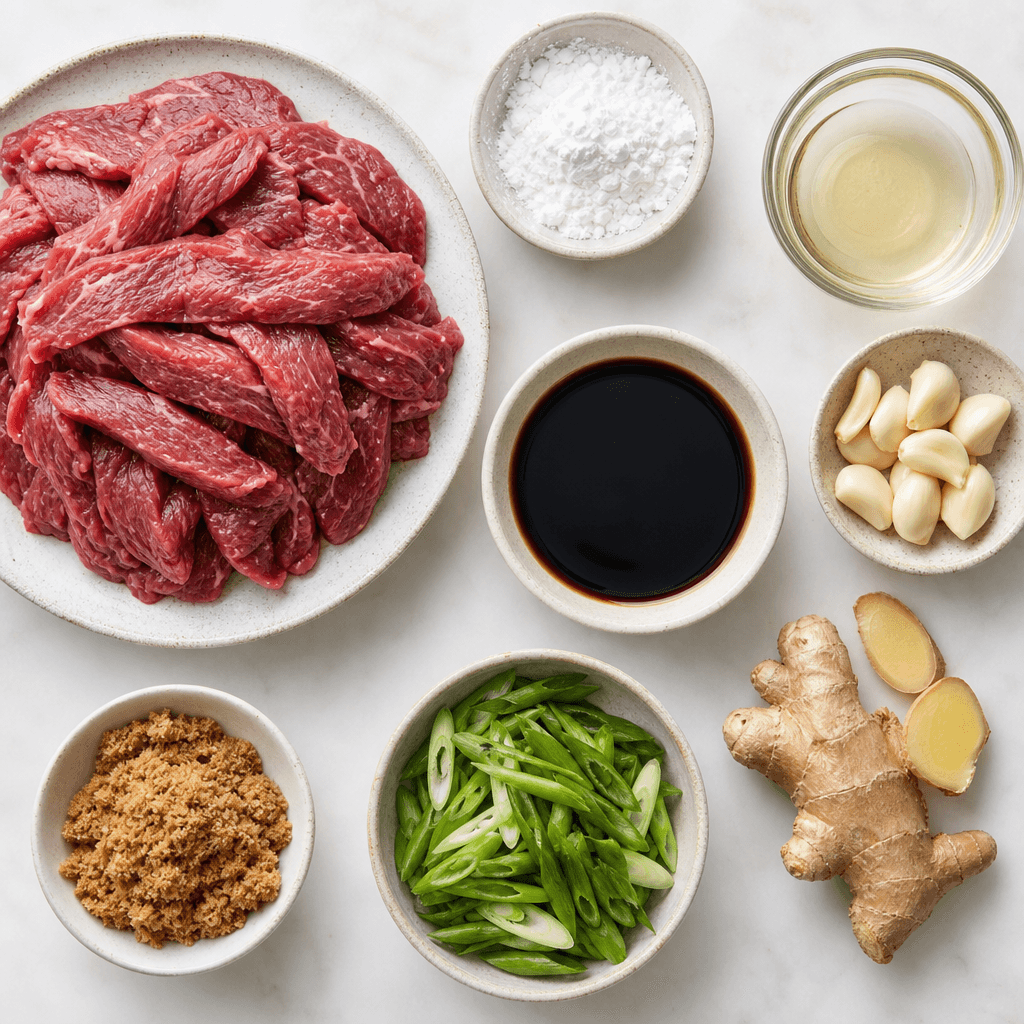
The heart of this dish is one pound of flank steak, thinly sliced against the grain for the most tender, melt-in-your-mouth bites. Sirloin works well too, and for the cleanest, thinnest slices, pop the beef in the freezer for about fifteen minutes before cutting. You will toss those slices in two tablespoons of cornstarch, which keeps the meat tender and helps the sauce cling beautifully, then cook everything in about two tablespoons of oil.
The sauce comes together from a handful of powerhouse ingredients: half a cup of soy sauce for that deep umami base, one-third cup of brown sugar for the signature sweetness, and half a cup of water to balance it out. Three cloves of minced garlic and a teaspoon of fresh minced ginger bring the aromatic backbone; use fresh whenever you can, as it makes a noticeable difference. If you are out of fresh ginger, half a teaspoon of ground ginger works in a pinch.
Finally, four sliced green onions add a bright, fresh pop at the end and make the finished dish look as good as it tastes. If you need a gluten-free version, simply swap the soy sauce for tamari. Thinly sliced chicken or even tofu can stand in for the beef if that is what you have on hand.
Step-by-Step Instructions
Start by prepping the beef. Slice it thinly against the grain, then toss the slices in the cornstarch until they are evenly coated. This little step does double duty, keeping the meat tender and giving the sauce something to grip so every bite is glossy and flavorful. Try not to let the slices clump together; you want them evenly coated for even cooking.
Next, set your Instant Pot to the saute setting and heat a splash of oil. Add the minced garlic and ginger and cook until fragrant, about one minute, stirring constantly so they do not burn. This quick step builds a flavor base that makes all the difference in the finished dish. Once the aromatics are fragrant, stir in the soy sauce, water, and brown sugar, and let the mixture come to a simmer so the sugar dissolves into a glossy, aromatic base.
Gently add the beef slices to the pot, tossing them to coat in the sauce. Secure the lid and set the Instant Pot to pressure cook on high for ten minutes, then let it work its magic. When the timer goes off, perform a quick pressure release and carefully open the lid.
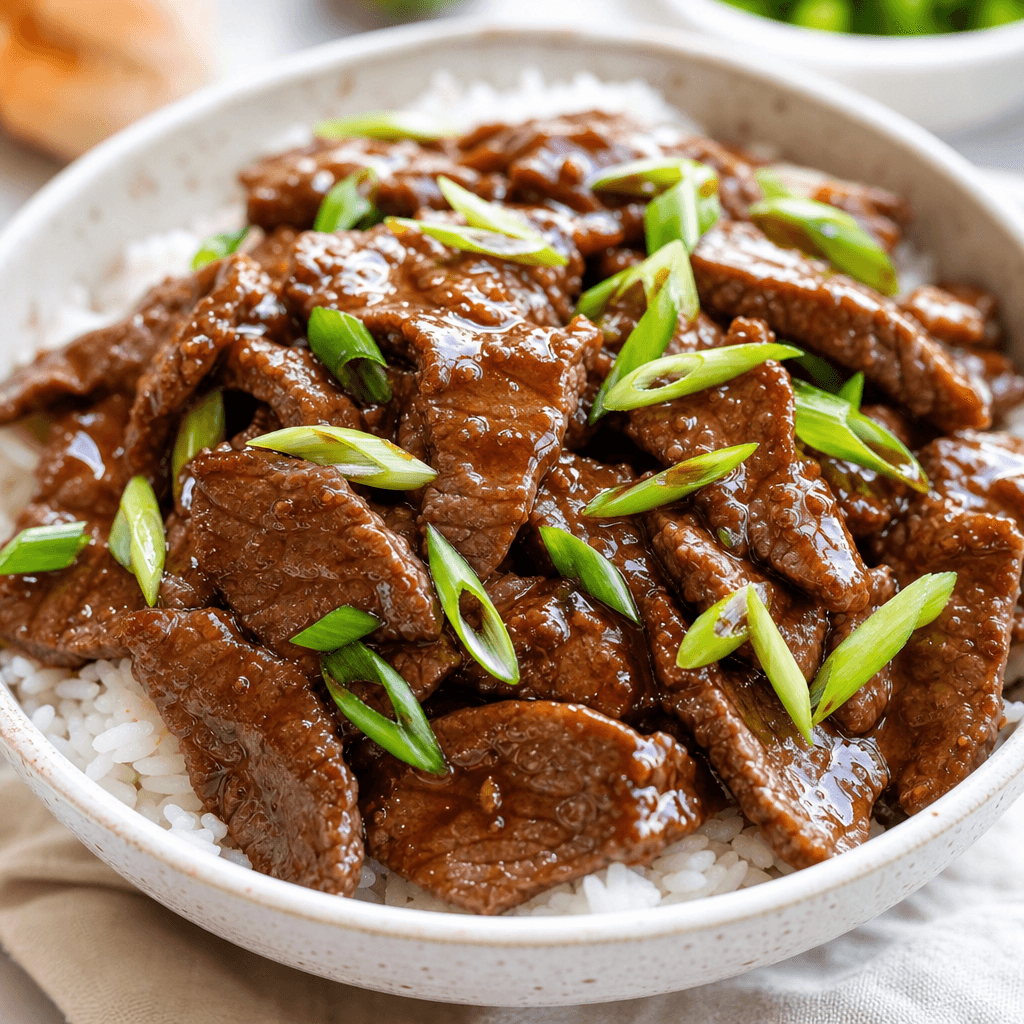
To finish, switch the pot back to saute mode and let the sauce simmer for a few minutes to thicken. If you would like it even thicker and glossier, stir together one tablespoon of cornstarch with two tablespoons of water and mix it in. Once the sauce coats the back of a spoon, stir in most of the green onions, reserving a handful for garnish. Serve it hot over rice or noodles and dig in.
Tips for the Best Mongolian Beef
A few small habits make a big difference here. Freezing the beef for about fifteen minutes before slicing makes it far easier to cut thin, even pieces, which is the key to that signature tender texture. Avoid overcrowding the pot and make sure the slices are evenly coated rather than clumped together, so they cook evenly. And never skip sauteing the garlic and ginger first; that fragrant base is what gives the sauce its restaurant-quality depth.
Want to make it a full spread? This beef is fantastic alongside other quick, cozy dinners in your rotation. On nights you want to plan ahead, pair it with my slow cooker chicken marsala, or keep the one-pot theme going another evening with an easy Instant Pot shrimp scampi. Both lean on the same set-it-and-forget-it ease this dish is known for.
For variety, add a pinch of red pepper flakes or a drizzle of sriracha for heat, or toss in broccoli, snap peas, or bell peppers just before serving for extra crunch and color. Serve over steaming jasmine rice, rice noodles, or cauliflower rice for a lower-carb option.
Kitchen Gear for This Recipe
- Instant Pot Duo 6-Quart
- Tempered Glass Instant Pot Lid
- Steamer Basket & Trivet Set
- Instant-Read Meat Thermometer
As an Amazon Associate, The Kitchen’s Aid earns from qualifying purchases at no extra cost to you.
Frequently Asked Questions
Can I make this ahead of time?
Absolutely, and the flavors actually deepen overnight. Store it in an airtight container in the fridge and reheat gently on the stovetop when you are ready to serve.
Can I freeze leftovers?
Yes. Let the beef cool completely, then store it in freezer-safe bags or containers. Reheat on the stovetop for the best texture once thawed.
What if I don’t have an Instant Pot?
No problem, this recipe works beautifully on the stovetop. Simply simmer the beef and sauce on low for about twenty minutes, stirring occasionally, until the meat is tender and the sauce has thickened.
How do I make it gluten-free?
Swap the soy sauce for tamari and double-check that your cornstarch is certified gluten-free. The flavor stays just as bold and satisfying.
What cut of beef is best?
Flank steak is the classic choice for its tenderness and flavor, but sirloin also works well. Whichever you use, slice it thinly against the grain for the most tender results.
If you are always on the lookout for more feel-good meals and snacks, you will find plenty of inspiration in these healthy eating ideas. And when you make this Instant Pot Mongolian beef, snap a photo and tag @thekitchensaid on Instagram so I can see your saucy, takeout-beating creation.
Quick and Easy Instant Pot Mongolian Beef Recipe
Chinese-American · Main Course
Fast, foolproof Instant Pot Mongolian beef with tender flank steak in a sweet-savory soy-garlic sauce, ready in about 20 minutes and better than takeout.
Ingredients
- 1 lb flank steak, thinly sliced
- 2 tbsp cornstarch
- 2 tbsp oil
- 3 cloves garlic, minced
- 1 tsp fresh ginger, minced
- 1/2 cup soy sauce
- 1/2 cup water
- 1/3 cup brown sugar
- 4 green onions, sliced
Instructions
- Slice the beef thinly against the grain and toss with cornstarch to coat evenly.
- Set the Instant Pot to saute, heat oil, and cook the garlic and ginger about 1 minute until fragrant.
- Stir in the soy sauce, water, and brown sugar and bring to a simmer until the sugar dissolves.
- Add the beef, toss to coat, secure the lid, and pressure cook on high for 10 minutes.
- Quick release, then switch to saute and simmer to thicken, adding a cornstarch slurry if needed.
- Stir in most of the green onions, garnish with the rest, and serve hot over rice or noodles.
Nutrition: 380 calories
Made this? Rate it