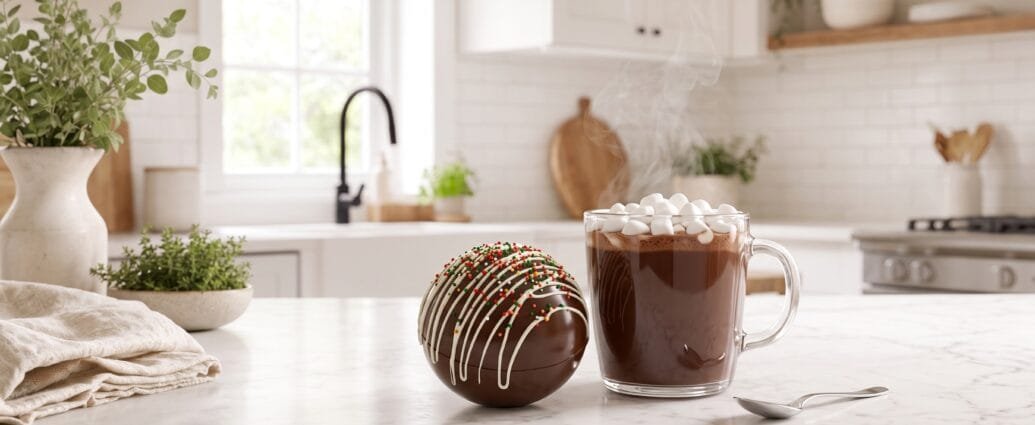
There’s something utterly magical about watching a chocolate sphere melt away in steaming milk to reveal hidden marshmallows and cocoa swirling into a perfect cup of hot chocolate. These hot cocoa bombs have taken the internet by storm, and for good reason! They’re not just delicious—they’re an experience that turns an ordinary winter evening into something special.
I started making these beauties last December when my nieces came to visit, and their faces absolutely lit up when they saw the chocolate shells dissolve into creamy cocoa goodness. Since then, I’ve perfected my technique and I’m so excited to share it with you. Trust me, once you make your first batch, you’ll be hooked on creating these little spheres of joy!
Why You’ll Love This Recipe
These hot cocoa bombs are easier to make than you might think! While they look incredibly impressive, you don’t need to be a chocolatier to pull them off. I promise that with just a silicone mold and a little patience, you’ll be creating Instagram-worthy treats in no time.
What I love most is how customizable they are. Want to add crushed peppermint? Go for it! Prefer dark chocolate over milk? Absolutely! You can even tuck in caramel bits, flavored marshmallows, or a pinch of sea salt. Each bomb becomes your own edible masterpiece.
They also make the most thoughtful gifts. I’ve packaged these in cellophane bags with ribbons for neighbors, teachers, and friends, and they’re always met with delighted gasps. Plus, they store beautifully for weeks, so you can make them ahead for parties or last-minute gift emergencies.
And let’s be honest—the fun factor is off the charts. Kids and adults alike are mesmerized by the melting spectacle, making these perfect for cozy family nights or elegant holiday gatherings.
Ingredients
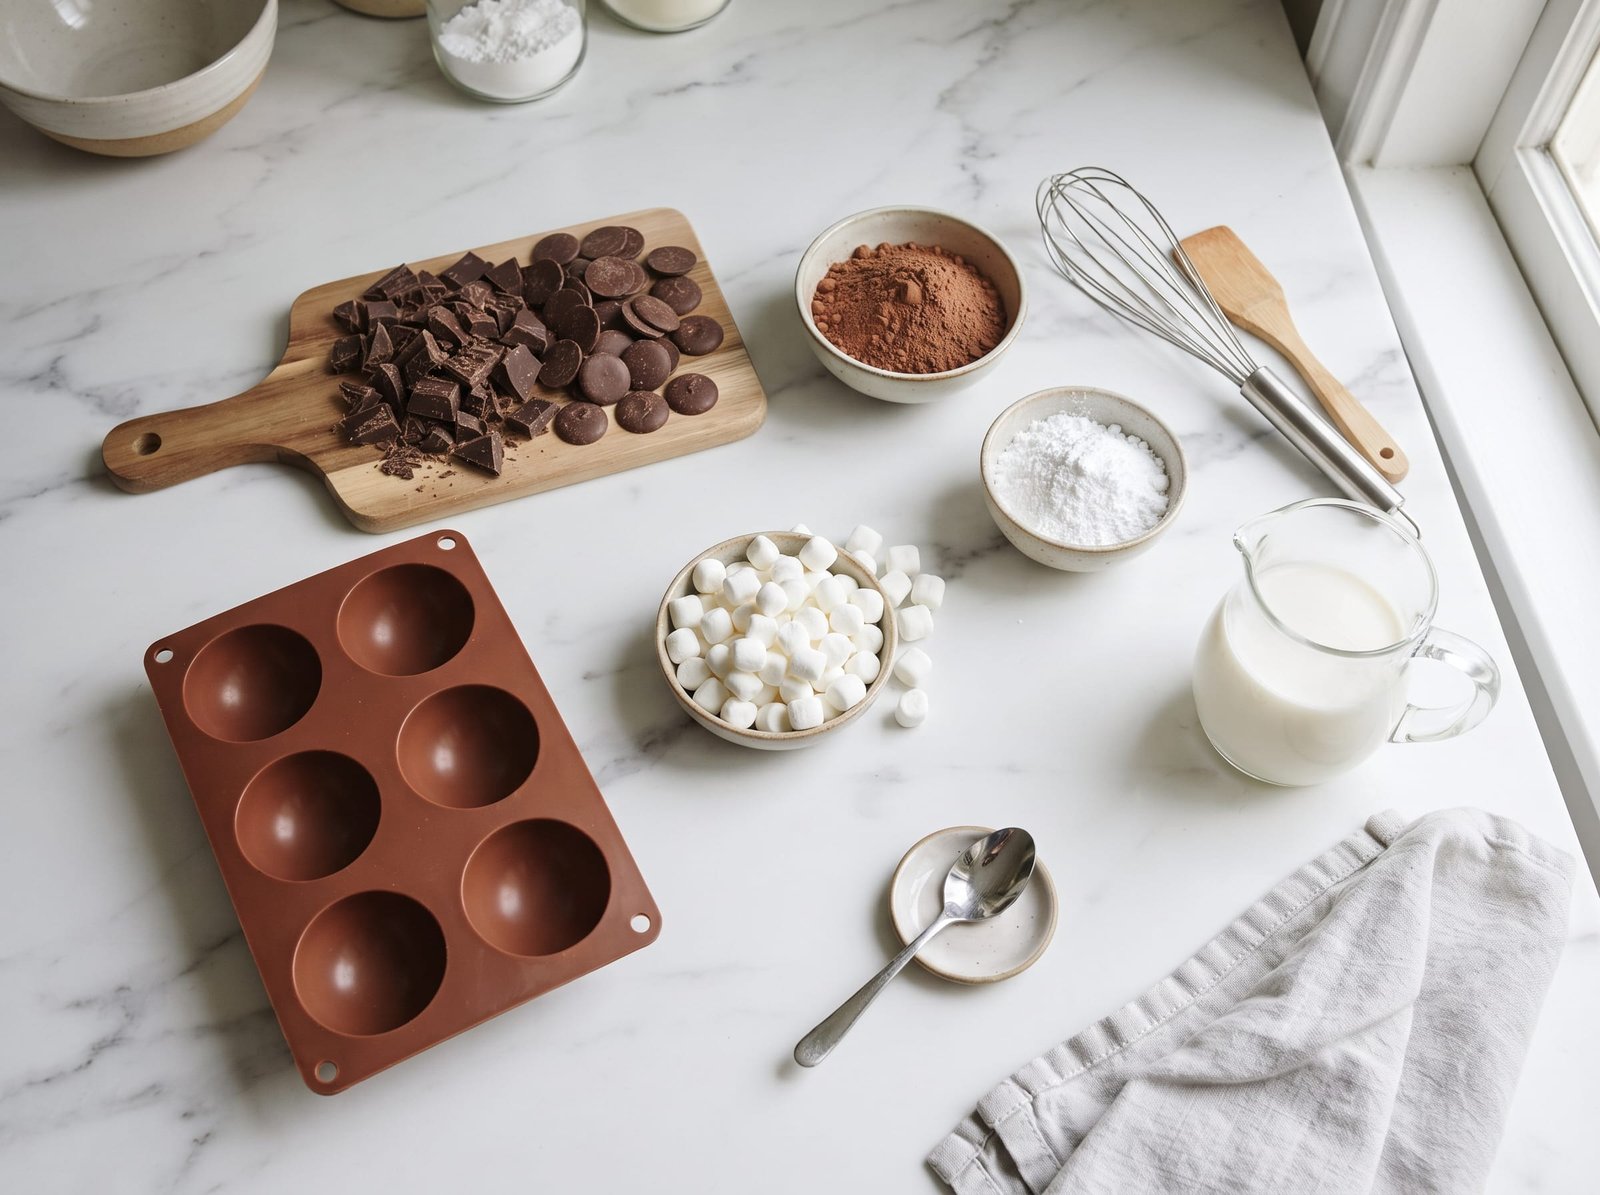
Here’s everything you’ll need to create these delightful hot cocoa bombs. The ingredient list is wonderfully simple, which means you can focus on the fun part—assembling and decorating!
- 12 oz chocolate melting wafers (milk, dark, or white chocolate)
- 6 tablespoons hot cocoa mix
- 1/2 cup mini marshmallows
- Sprinkles or crushed candy canes for decorating (optional)
I typically use high-quality chocolate melting wafers because they’re specially formulated to set up with a beautiful snap and shine. You can find them in the baking aisle labeled as candy melts or chocolate wafers.
Step-by-Step Instructions
Let me walk you through this process step by step. Don’t worry if your first batch isn’t perfect—mine certainly wasn’t! The beauty is that even slightly imperfect cocoa bombs still taste amazing.
Step 1: Melt the Chocolate
Place your chocolate wafers in a microwave-safe bowl. Microwave in 30-second intervals, stirring between each one, until the chocolate is completely smooth and melted. This usually takes about 90 seconds total, but every microwave is different. The key is not to overheat—you want it just melted, not hot.
Step 2: Coat the Mold
Using a spoon or a small silicone brush, coat the inside of each cavity in your silicone sphere mold with melted chocolate. Make sure you get an even layer that goes all the way up the sides—aim for about 1/8 inch thickness. I like to do two layers, letting the first one set for a few minutes before adding the second.
Step 3: Chill
Pop your mold into the refrigerator for about 10-15 minutes until the chocolate is completely set and firm to the touch. You’ll know it’s ready when the chocolate starts to pull away slightly from the edges of the mold.
Step 4: Remove from Mold
Gently pop out your chocolate half-spheres from the mold. Handle them carefully—they’re delicate! Set half of them aside as your “tops” and keep the other half ready for filling.
Step 5: Fill the Spheres
Add about 1 tablespoon of hot cocoa mix to each bottom half-sphere. Then nestle in a small handful of mini marshmallows—about 4-5 marshmallows per bomb. Don’t overfill or you won’t be able to seal them properly!
Step 6: Seal the Bombs
Warm a small plate in the microwave for about 30 seconds. Gently press the edge of a top half-sphere onto the warm plate for just a second or two to slightly melt the rim. Quickly place it on top of a filled bottom half and hold for a few seconds until it sets. The melted edge will act as glue!
Step 7: Decorate
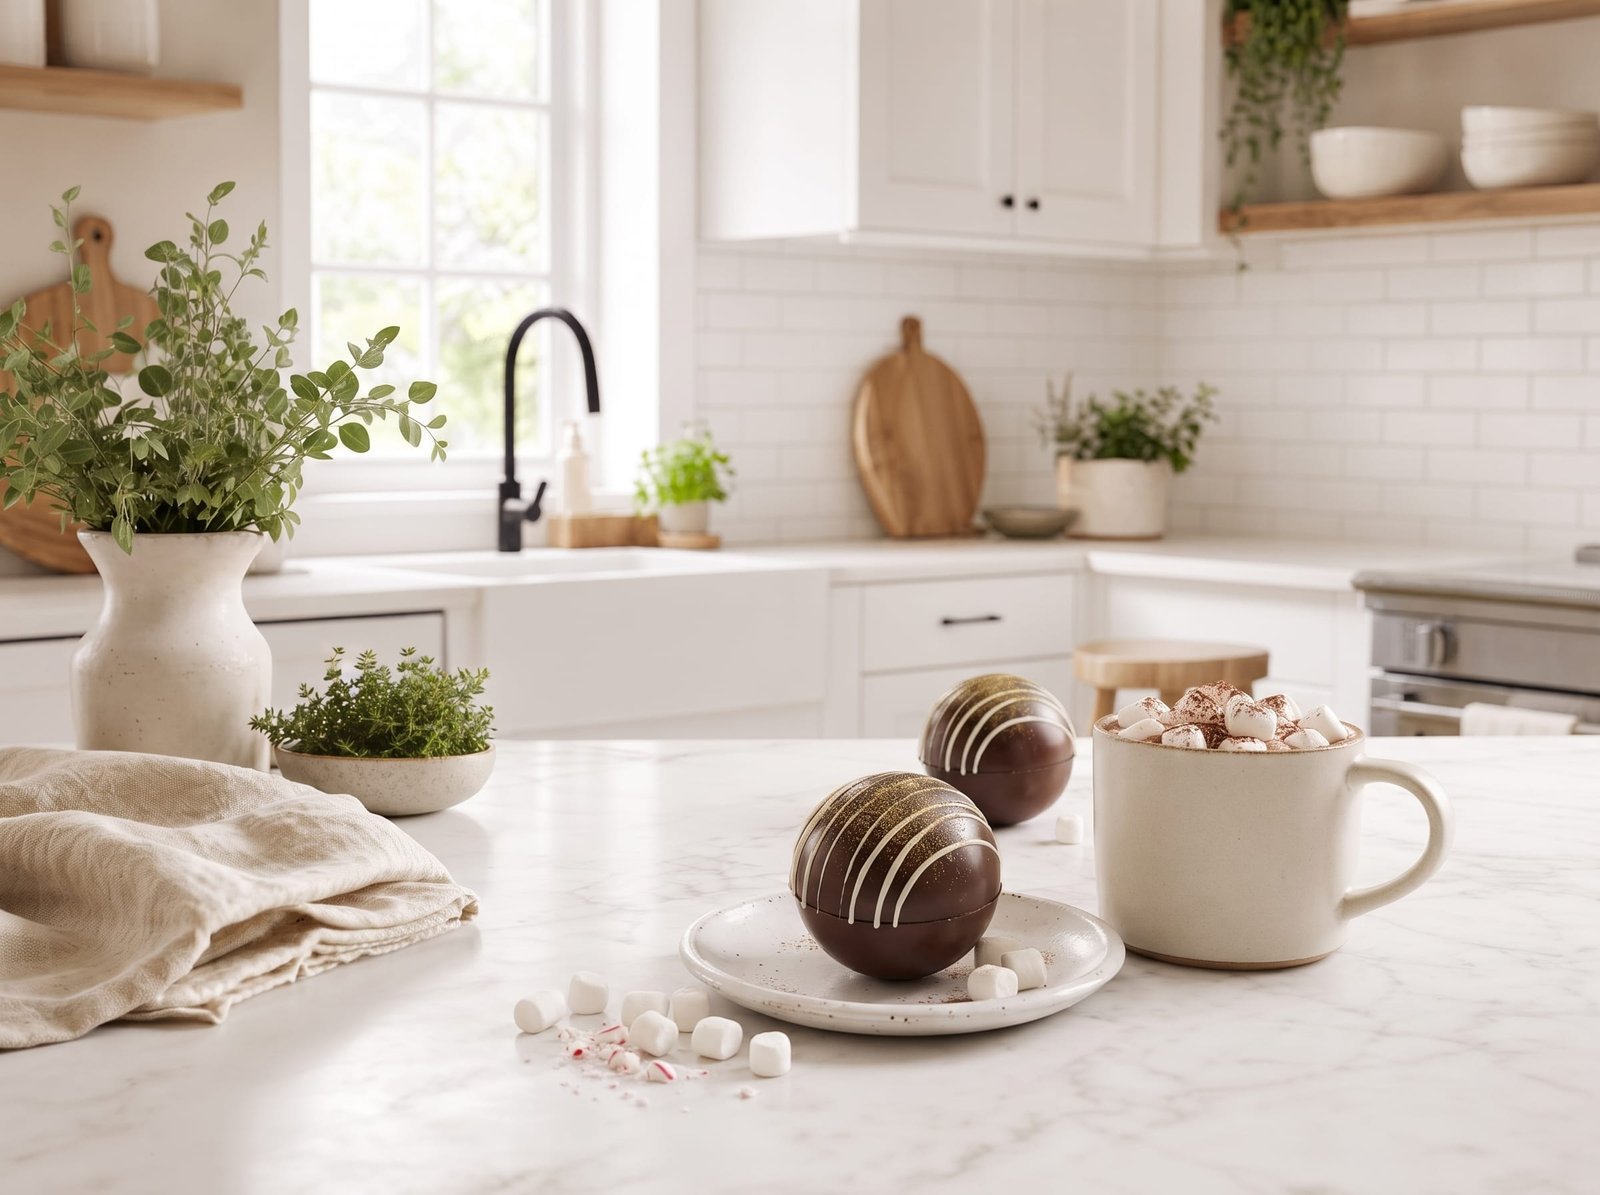
Now comes the fun part! Drizzle any remaining melted chocolate over the top of each bomb and immediately sprinkle with your decorations before the chocolate sets. I love using colorful sprinkles, crushed candy canes, or even edible glitter for special occasions.
Tips for Perfect Hot Cocoa Bombs
After making dozens of batches, I’ve learned a few tricks that make all the difference. First, invest in a good quality silicone sphere mold—the 2.5-inch size is perfect for a standard mug. Cheap molds can be frustrating to work with and don’t release the chocolate cleanly.
Temperature control is crucial. If your chocolate is too hot when you’re coating the molds, it’ll be too thin and fragile. If it’s too cool, it won’t spread smoothly. Aim for that perfect just-melted consistency.
Don’t skip the double coating! A single layer of chocolate is usually too thin and will crack when you try to remove it from the mold. That second layer provides the strength you need.
When sealing your bombs, work quickly but gently. The warmed edge needs only a brief kiss on the warm plate—too long and you’ll melt through the entire shell. Practice makes perfect here!
Store your finished bombs in an airtight container in a cool, dry place. They’ll keep for up to 6 weeks if you don’t eat them all first! Just avoid the refrigerator after they’re made, as condensation can make them weepy.
Kitchen Gear for This Recipe
- Instant-Read Meat Thermometer
- Enameled Cast Iron Dutch Oven
- Heavy-Duty Sheet Pan Set
- Glass Mixing Bowl Set
As an Amazon Associate, The Kitchen’s Aid earns from qualifying purchases at no extra cost to you.
Frequently Asked Questions
Can I use regular chocolate chips instead of melting wafers?
You can, but you’ll need to temper them properly or add a bit of coconut oil or shortening to help them set smoothly. Melting wafers are specifically designed to work without tempering, which is why I recommend them for beginners.
What size mold should I use?
I find that 2.5-inch silicone sphere molds work perfectly for a standard mug of hot cocoa. Smaller molds (2-inch) are cute but can be fiddly, while larger ones (3-inch) might not fit in some mugs.
Why did my chocolate crack when I removed it from the mold?
This usually means the chocolate layer was too thin. Make sure you’re coating each cavity generously and doing two layers. Also, let it chill completely before unmolding.
How do I use the hot cocoa bomb?
Simply place the bomb in the bottom of a mug and pour 8-10 ounces of hot milk (not water!) over it. Watch it melt and stir to combine. It’s pure magic!
Can I make these dairy-free?
Absolutely! Use dairy-free chocolate wafers and dairy-free cocoa mix, and you’re all set. Serve with your favorite non-dairy milk.
These hot cocoa bombs have become one of my favorite winter traditions, and I hope they bring as much joy to your home as they do to mine. Whether you’re making them for a cozy night in or packaging them up as heartfelt gifts, there’s something so special about sharing these little spheres of chocolatey happiness. So grab your mold, melt some chocolate, and get ready to create some magic in your kitchen!
If you would rather skip the molds entirely, our peppermint white hot chocolate gets you to the same mug faster. And the leftover melting chocolate has an obvious home in our dark chocolate peppermint bark fudge.
Hot Cocoa Bombs (Easy Homemade Recipe)
American · Dessert
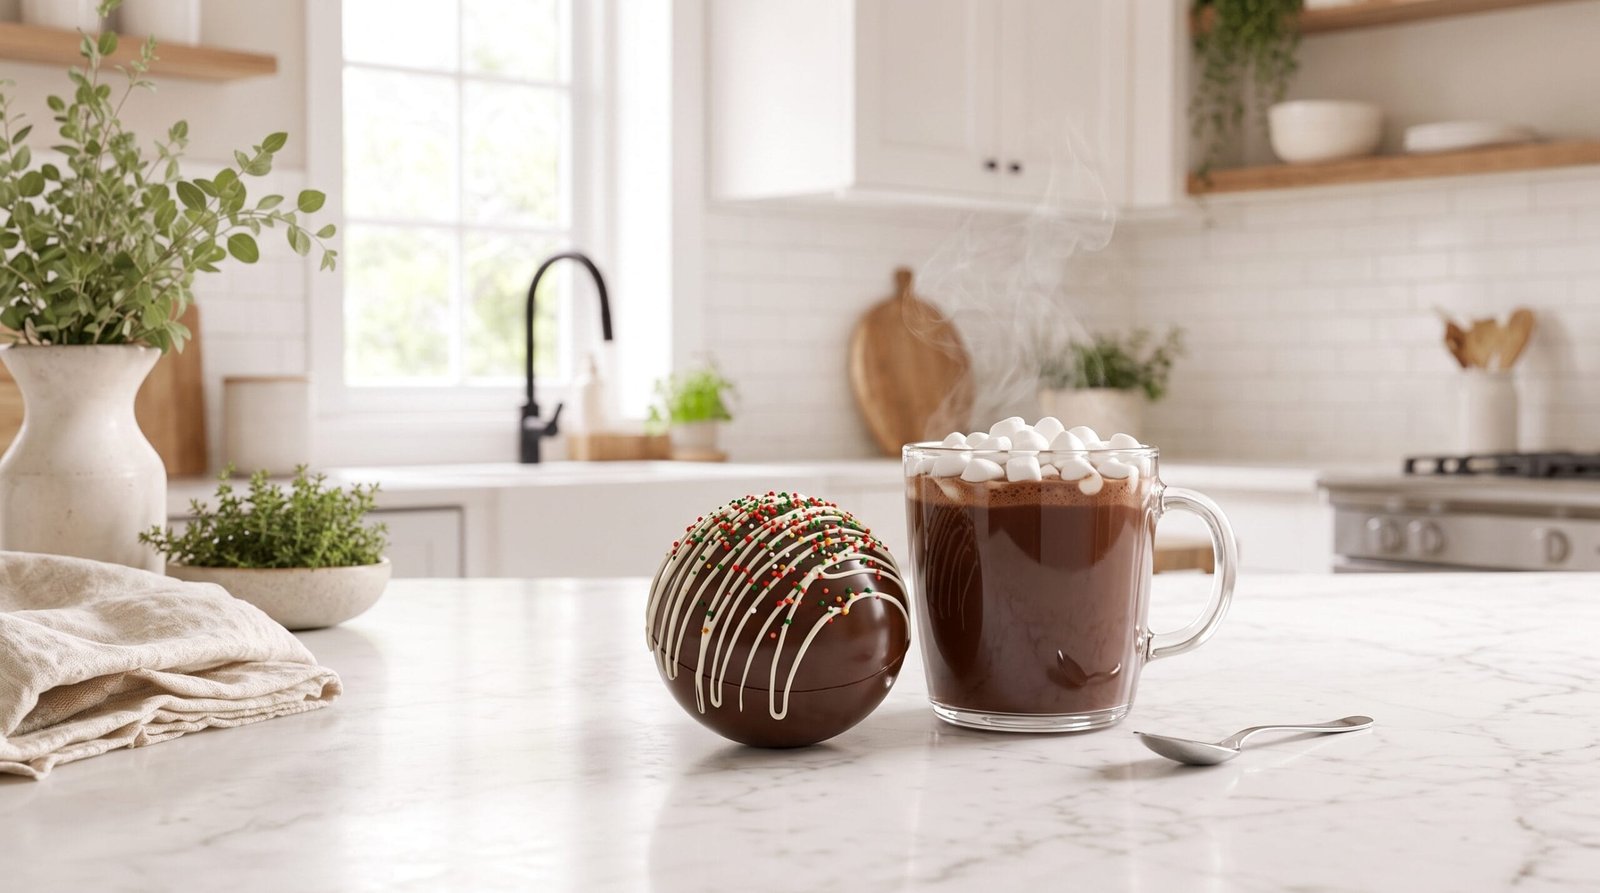
Magical chocolate spheres filled with cocoa mix and marshmallows that melt into perfect hot chocolate. Easy to make and fun to watch!
Ingredients
- 12 oz chocolate melting wafers (milk, dark, or white chocolate)
- 6 tablespoons hot cocoa mix
- 1/2 cup mini marshmallows
- Sprinkles or crushed candy canes for decorating (optional)
Instructions
- Melt chocolate wafers in a microwave-safe bowl in 30-second intervals, stirring between each, until completely smooth (about 90 seconds total).
- Using a spoon or silicone brush, coat the inside of each cavity in a silicone sphere mold with melted chocolate, creating an even 1/8-inch layer. Apply two coats, letting the first set for a few minutes before adding the second.
- Refrigerate the mold for 10-15 minutes until chocolate is completely set and firm.
- Gently remove chocolate half-spheres from the mold. Set half aside as tops.
- Fill each bottom half-sphere with 1 tablespoon hot cocoa mix and 4-5 mini marshmallows.
- Warm a small plate in the microwave for 30 seconds. Press the edge of a top half-sphere onto the warm plate for 1-2 seconds to slightly melt the rim.
- Quickly place the melted-edge top onto a filled bottom half and hold for a few seconds until sealed.
- Drizzle remaining melted chocolate over each bomb and immediately add sprinkles or crushed candy before chocolate sets.
- Store in an airtight container in a cool, dry place for up to 6 weeks.
- To use: Place bomb in a mug and pour 8-10 oz hot milk over it. Watch it melt, then stir and enjoy!
Nutrition: 245 calories
Made this? Rate it