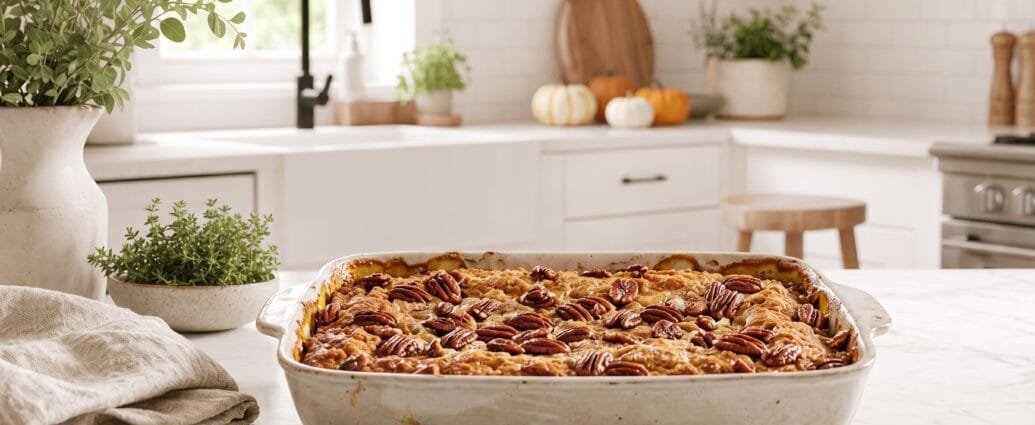
Hello, friends! Today I’m sharing one of my absolute favorite fall desserts—a glorious Pumpkin Dump Cake that requires minimal effort but delivers maximum comfort and flavor. If you’ve never made a dump cake before, you’re in for the easiest baking experience of your life. True to its name, you literally dump the ingredients into a pan and let the oven work its magic!
This dessert has become my go-to whenever I need to bring something to a potluck, host last-minute guests, or simply satisfy my autumn cravings without spending hours in the kitchen. The combination of spiced pumpkin, tender cake, and buttery, crispy topping is absolutely irresistible.
Why You’ll Love This Recipe
Let me tell you why this Pumpkin Dump Cake has earned a permanent spot in my fall baking rotation. First and foremost, it’s incredibly easy. I’m talking about five minutes of prep time—no mixer required, no complicated techniques, just simple layering and you’re done. Perfect for busy weeknights or when you want dessert without the fuss!
The flavor is phenomenal. We’re combining pumpkin puree with warm spices like cinnamon, nutmeg, and ginger, creating that classic pumpkin pie taste everyone loves. But here’s where it gets even better—the texture is absolutely divine. You get a creamy, custard-like pumpkin layer on the bottom, a tender cake middle, and a golden, buttery, slightly crispy top that’s studded with pecans. It’s like pumpkin pie and coffee cake had a delicious baby!
This recipe is also incredibly forgiving. There’s really no way to mess it up, making it perfect for novice bakers or anyone who gets nervous about baking. Plus, it feeds a crowd—one 9×13 pan serves at least 12 people, making it ideal for gatherings, holiday dinners, or meal prepping your desserts for the week.
I also love that it’s endlessly customizable. Want it extra spicy? Add more cinnamon. Prefer walnuts over pecans? Go for it. Want to make it a bit more indulgent? Serve it warm with vanilla ice cream or fresh whipped cream. The possibilities are endless!
Ingredients
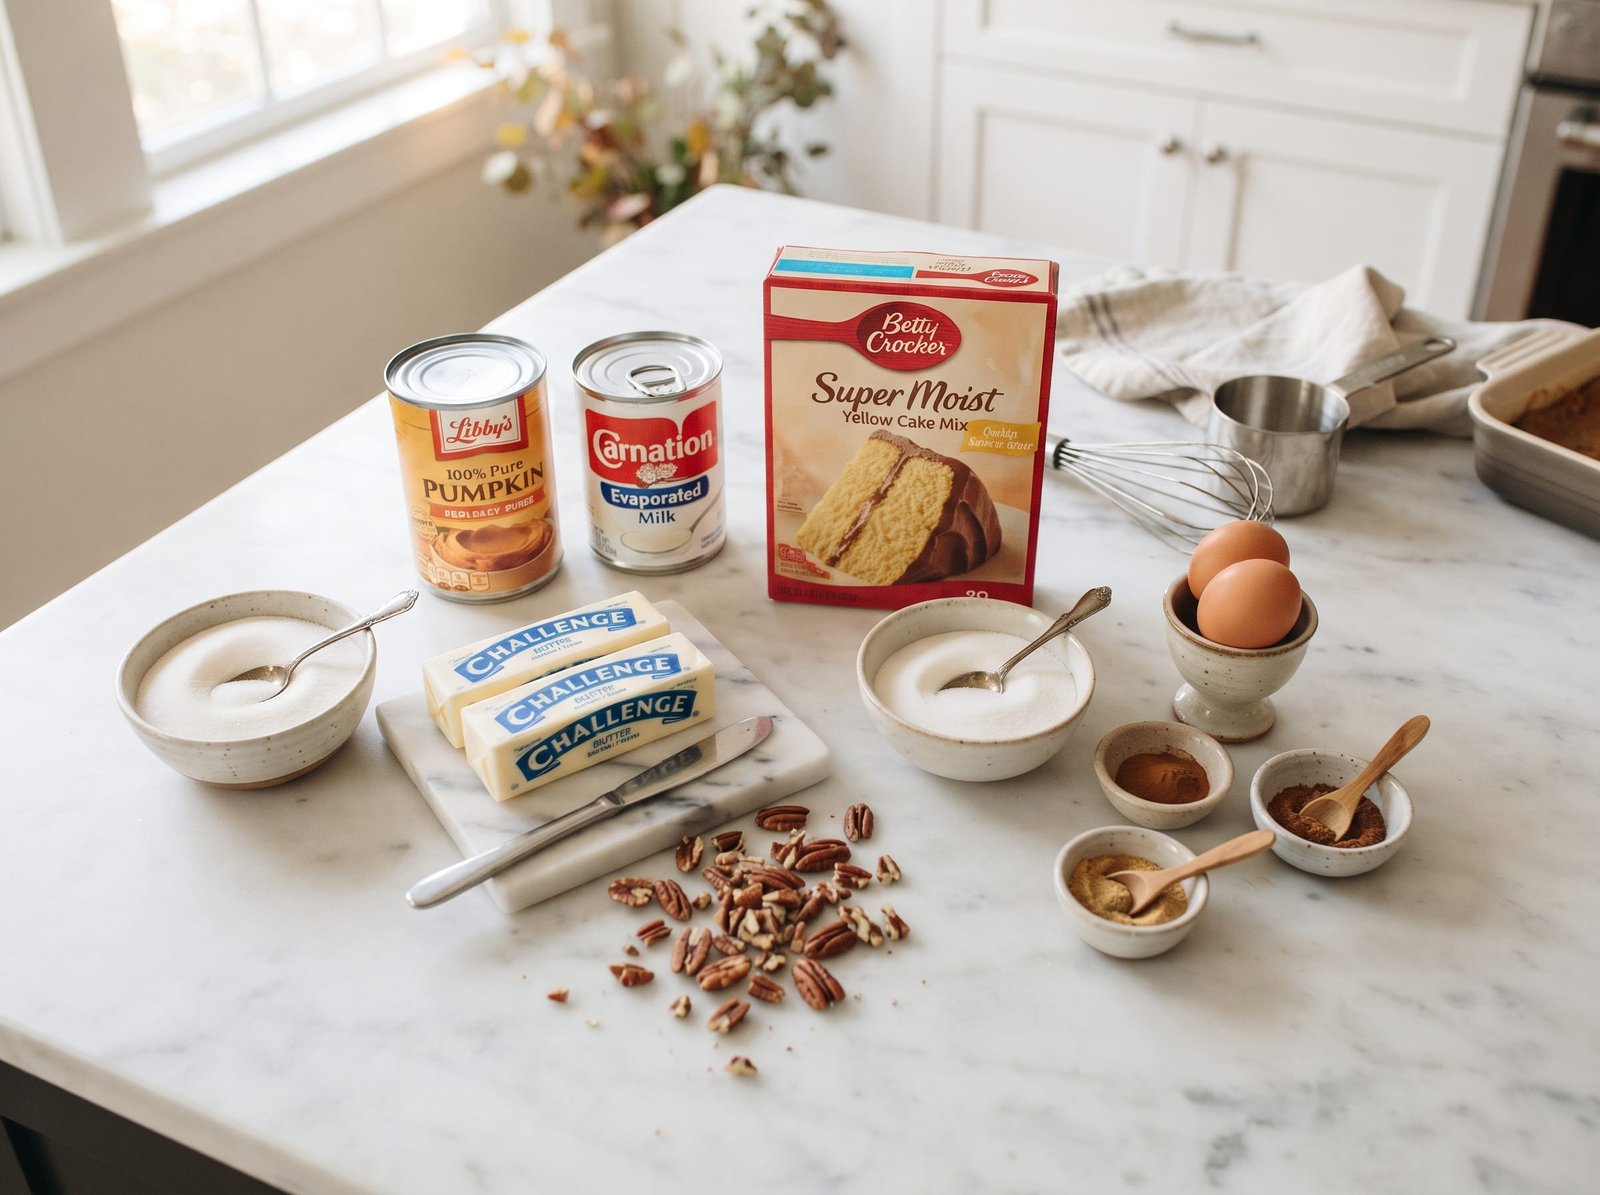
One of the things I love most about this recipe is the straightforward ingredient list. You probably have most of these items in your pantry already, especially during the fall season. Here’s what you’ll need:
- Pumpkin puree (15 oz can) – Make sure you’re using pure pumpkin puree, not pumpkin pie filling. The pure puree gives you control over the sweetness and spicing.
- Evaporated milk (12 oz can) – This adds richness and creaminess to the pumpkin layer. Don’t substitute with regular milk; the evaporated milk is key to getting that perfect custard-like texture.
- Granulated sugar (1 cup) – Sweetens the pumpkin layer perfectly.
- Eggs (3 large) – These help bind the pumpkin layer and give it structure.
- Ground cinnamon (2 teaspoons) – The backbone of our spice blend.
- Ground ginger (1 teaspoon) – Adds warmth and a slight zing.
- Ground nutmeg (½ teaspoon) – A classic pumpkin spice that adds depth.
- Salt (½ teaspoon) – Balances the sweetness and enhances all the other flavors.
- Yellow cake mix (15.25 oz box) – This is your cake layer! Keep it dry—don’t prepare it according to package directions.
- Unsalted butter (1 cup/2 sticks) – Melted and poured over the top, this creates that amazing golden, crispy crust.
- Chopped pecans (1 cup) – Optional but highly recommended! They add wonderful texture and nutty flavor.
Step-by-Step Instructions
Now let’s get to the fun part—making this incredibly easy dessert! I’m walking you through every step, though honestly, this is so simple you could probably do it with your eyes closed.
Step 1: Preheat and Prep
Preheat your oven to 350°F (175°C). Grease a 9×13-inch baking dish with butter or non-stick cooking spray. I like to give mine a good coating to ensure easy serving later.
Step 2: Make the Pumpkin Layer
In a large mixing bowl, whisk together the pumpkin puree, evaporated milk, granulated sugar, eggs, cinnamon, ginger, nutmeg, and salt. Whisk until everything is well combined and smooth—this should take about a minute. The mixture will be quite liquid, and that’s exactly what we want. Pour this beautiful pumpkin mixture into your prepared baking dish, spreading it out evenly.
Step 3: Add the Cake Mix
Here comes the “dump” part! Open your box of yellow cake mix and evenly sprinkle the dry mix over the pumpkin layer. Use the entire box, and make sure you’re covering the pumpkin mixture as evenly as possible. Don’t stir! Don’t mix! Just let it sit on top. I know it seems weird, but trust the process—this is the magic of a dump cake.
Step 4: Drizzle with Butter
Melt your butter (I use the microwave for about 90 seconds, but you can also do this on the stovetop). Once melted, drizzle it evenly over the dry cake mix. Try to get as much coverage as possible—the butter will help the cake mix transform into a golden, crispy topping. I like to pour it back and forth in lines across the pan to ensure even distribution.
Step 5: Add the Pecans
Sprinkle the chopped pecans evenly over the top. They’ll toast beautifully in the oven and add a wonderful crunch to every bite.
Step 6: Bake
Slide your pan into the preheated oven and bake for 50-60 minutes. You’ll know it’s done when the top is golden brown and the edges are bubbling. The center should be set but still have a slight jiggle—it will firm up as it cools. My kitchen smells absolutely incredible during this time, filled with cinnamon and pumpkin goodness!
Step 7: Cool and Serve
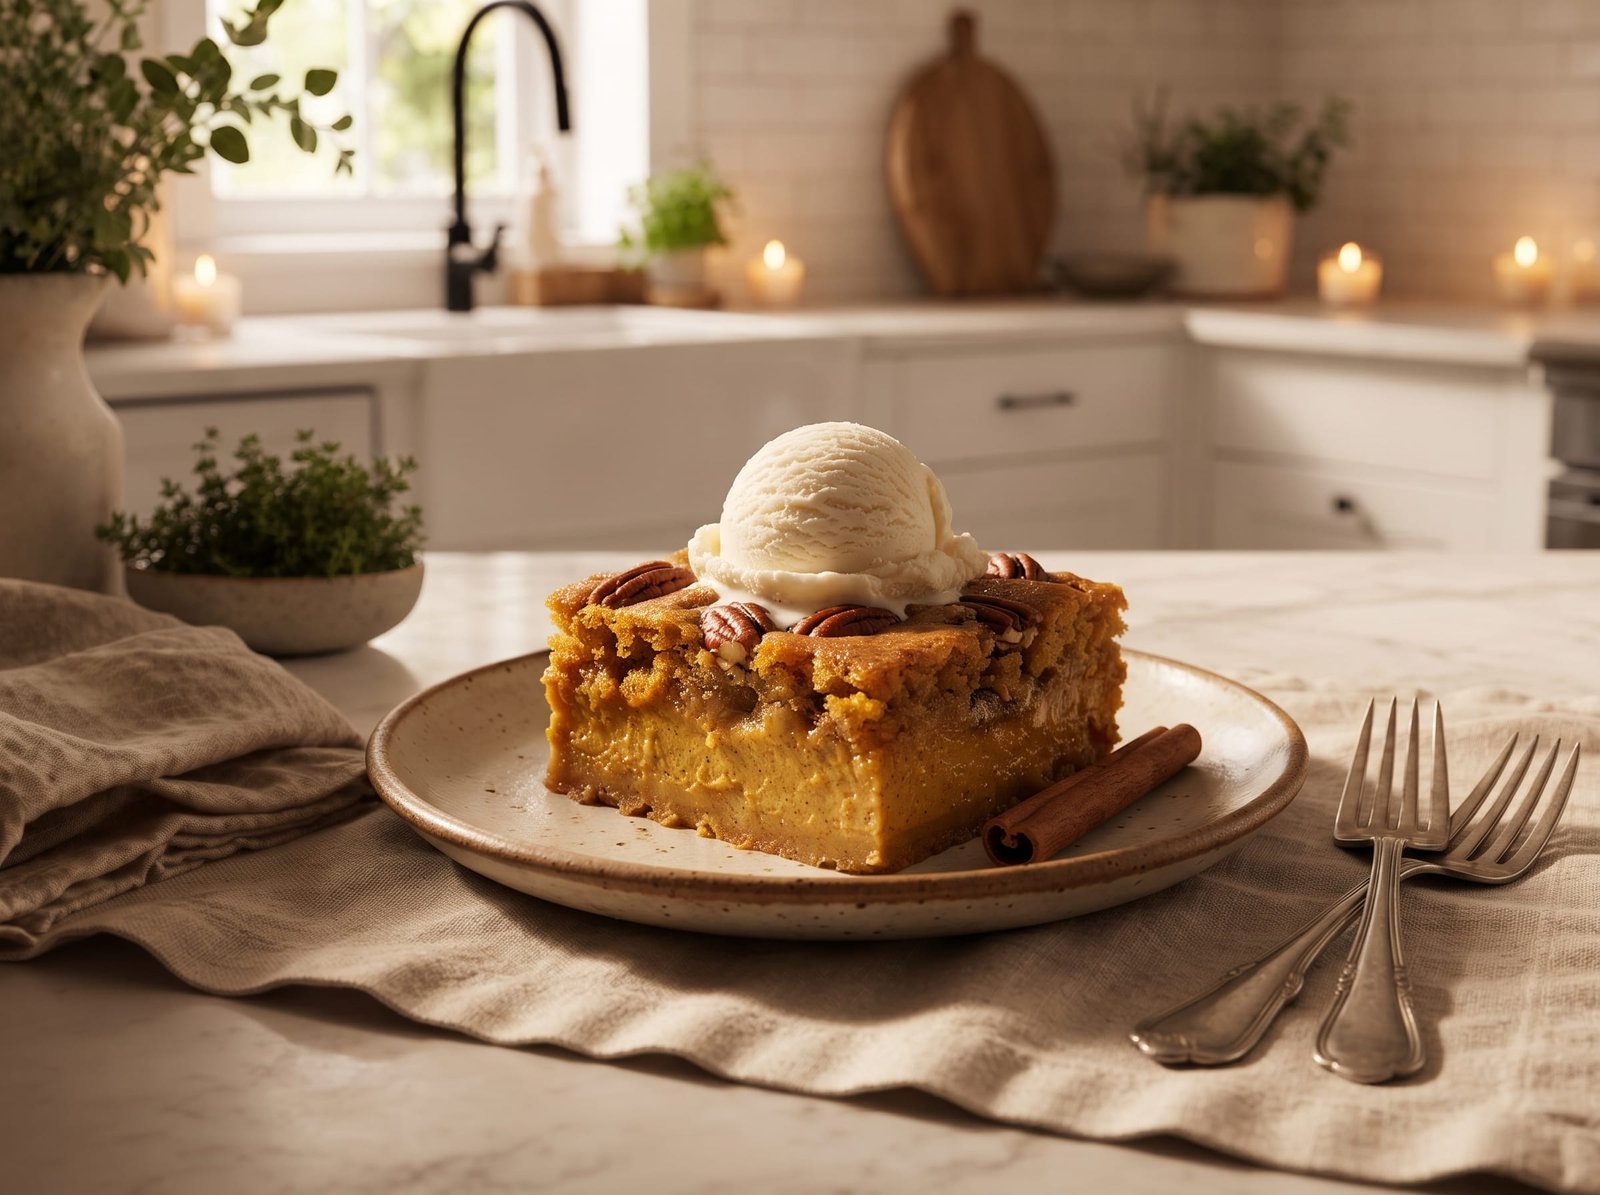
This is the hardest part—letting it cool! Allow the dump cake to cool for at least 15-20 minutes before serving. It will be piping hot straight from the oven, and the pumpkin layer needs a few minutes to set up properly. I like to serve it warm (not hot) with a scoop of vanilla ice cream or a dollop of whipped cream.
Tips for the Best Pumpkin Dump Cake
After making this recipe dozens of times, I’ve picked up a few tricks that ensure perfect results every single time:
Use the right pumpkin. Always, always use pure pumpkin puree, not pumpkin pie filling. The pie filling already has sugar and spices added, which will throw off the balance of the recipe. Check the ingredient list—it should only say “pumpkin.”
Don’t skip the evaporated milk. I’ve had readers ask if they can use regular milk, and I strongly advise against it. Evaporated milk has a thicker, creamier consistency that’s essential for the proper texture of the pumpkin layer. It’s what gives you that custardy, pumpkin-pie-like bottom.
Distribute the butter evenly. The more evenly you can drizzle that melted butter over the cake mix, the more evenly your topping will bake. I sometimes use a spoon to help spread it into any dry spots, though you don’t need to get every single speck of cake mix wet.
Try different nuts. While I love pecans, walnuts work beautifully too. You could also try a combination of both, or even add some white chocolate chips for a sweeter twist. If you have nut allergies, simply omit them—the cake is still delicious without them.
Serve it at the right temperature. This dessert is best served warm or at room temperature. If you make it ahead and refrigerate it, let it sit out for about 30 minutes before serving, or warm individual slices in the microwave for 15-20 seconds.
Storage tips: Cover leftovers tightly with plastic wrap or aluminum foil and refrigerate for up to 4 days. The dessert will firm up considerably in the fridge, which some people actually prefer! You can enjoy it cold, at room temperature, or warmed up.
Kitchen Gear for This Recipe
As an Amazon Associate, The Kitchen’s Aid earns from qualifying purchases at no extra cost to you.
Frequently Asked Questions
Can I make this ahead of time?
Absolutely! In fact, this is a wonderful make-ahead dessert. You can bake it up to 2 days in advance, let it cool completely, cover it tightly, and refrigerate. Just bring it to room temperature or warm it slightly before serving. The flavors actually deepen and meld together beautifully overnight.
Can I use fresh pumpkin instead of canned?
You can, but I honestly don’t think it’s worth the extra effort. Canned pumpkin puree is consistent, convenient, and produces excellent results. If you do want to use fresh, you’ll need to roast and puree your pumpkin, then strain it very well to remove excess moisture. Make sure you end up with the same thick consistency as canned puree.
What if I don’t have evaporated milk?
In a pinch, you can make a substitute by heating 1½ cups of whole milk over medium heat until it reduces to about 12 ounces (1½ cups). Let it cool before using. However, I really do recommend keeping a can of evaporated milk on hand—it’s inexpensive and makes such a difference in the texture.
Can I use a different cake mix flavor?
While yellow cake mix is traditional and works perfectly, you can absolutely experiment! Spice cake mix would be amazing and double down on those warm fall flavors. White cake mix would work too. I’d avoid chocolate cake mix as it would compete with the pumpkin flavor.
Why is it called a dump cake?
The name comes from the super simple preparation method—you literally dump the ingredients into the pan in layers without mixing them together first. It’s an old-fashioned dessert style that’s been around for decades, and it’s experiencing a revival because people are rediscovering how easy and delicious these cakes are!
Is this similar to pumpkin pie?
The bottom layer is very similar to pumpkin pie filling in both flavor and texture—it’s custardy and spiced just like a traditional pumpkin pie. But the cake topping gives you a completely different experience. Think of it as pumpkin pie’s more casual, easier-going cousin!
Can I halve this recipe?
You can, but you’ll need to adjust your baking dish. Use an 8×8-inch or 9×9-inch square pan, and check for doneness around the 40-minute mark. Everything else stays proportionally the same—just cut all the ingredients in half.
This Pumpkin Dump Cake has become one of my most-requested recipes every fall, and I’m so excited for you to try it. There’s something deeply satisfying about creating such a spectacular dessert with so little effort. It’s perfect for those cozy autumn evenings when you want something sweet and comforting without spending your entire evening in the kitchen. The combination of creamy pumpkin, tender cake, and that buttery, crunchy pecan topping is pure fall bliss in every bite. Serve it warm with a scoop of vanilla ice cream, and watch it disappear before your eyes! Happy baking, friends!
Dump cake is the shortcut. When you want something a little tidier to hand round, our maple pumpkin pie bars cut into neat squares, and there is plenty more in our 18 best fall dessert recipes.
Pumpkin Dump Cake
American · Dessert
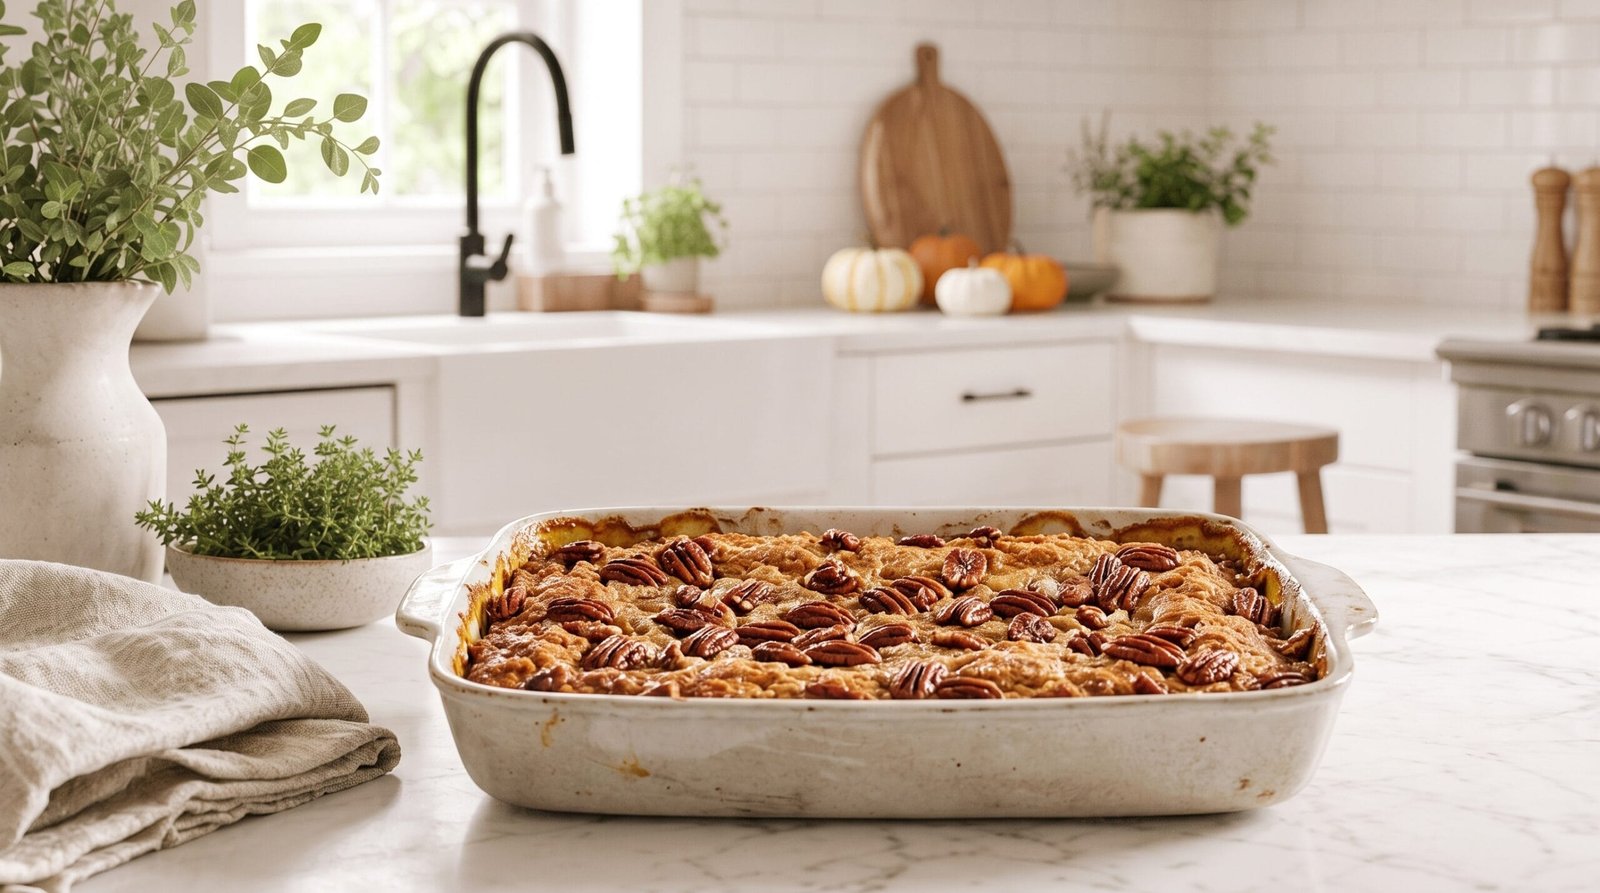
Easy pumpkin dump cake with layers of spiced pumpkin custard, yellow cake mix, and buttery pecans. A no-fuss fall dessert that tastes like pumpkin pie!
Ingredients
- 1 (15 oz) can pumpkin puree
- 1 (12 oz) can evaporated milk
- 1 cup granulated sugar
- 3 large eggs
- 2 teaspoons ground cinnamon
- 1 teaspoon ground ginger
- 1/2 teaspoon ground nutmeg
- 1/2 teaspoon salt
- 1 (15.25 oz) box yellow cake mix
- 1 cup (2 sticks) unsalted butter, melted
- 1 cup chopped pecans
Instructions
- Preheat oven to 350°F (175°C). Grease a 9x13-inch baking dish.
- In a large bowl, whisk together pumpkin puree, evaporated milk, sugar, eggs, cinnamon, ginger, nutmeg, and salt until smooth.
- Pour pumpkin mixture into the prepared baking dish, spreading evenly.
- Sprinkle the dry cake mix evenly over the pumpkin layer. Do not stir.
- Drizzle melted butter evenly over the cake mix, covering as much of the surface as possible.
- Sprinkle chopped pecans evenly over the top.
- Bake for 50-60 minutes, until the top is golden brown and the edges are bubbling. The center should be set with a slight jiggle.
- Remove from oven and let cool for 15-20 minutes before serving.
- Serve warm or at room temperature, optionally topped with vanilla ice cream or whipped cream.
Nutrition: 385 calories
Made this? Rate it