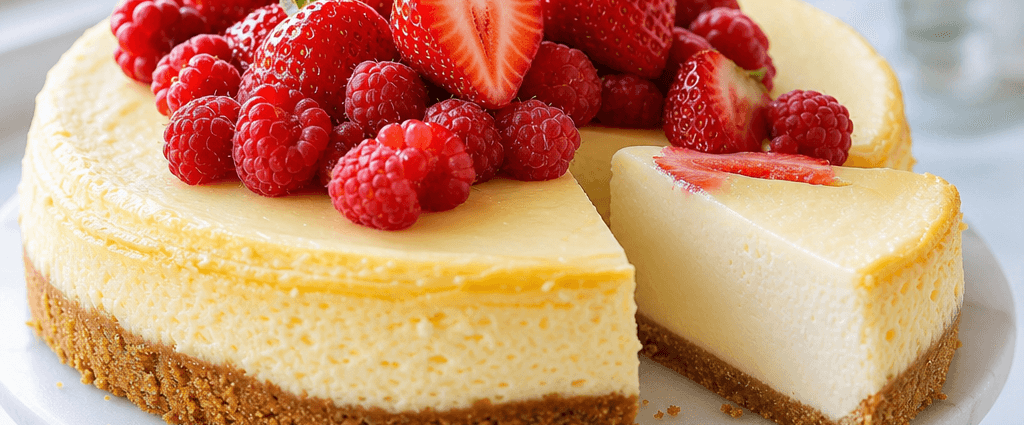
Cheesecake has always held a special place in my dessert-loving heart, but making one the traditional way can feel like a real project. That is exactly where this Instant Pot cheesecake changes the game. The gentle, steamy environment inside the pressure cooker produces a cheesecake that is creamy, perfectly balanced between sweet and tangy, and far less intimidating to make than you might expect, all in nearly half the time of a conventional oven-baked version.
If you have ever been hesitant to tackle cheesecake because of cracks, water baths, or fussy timing, this recipe will make you a believer. The Instant Pot does the hard work of maintaining even, moist heat, which means you get that velvety, luxurious texture without any of the usual stress. Rich, smooth, and practically foolproof, this is the dessert that will have your baking game on point in no time.
Why You’ll Love This Recipe
This cheesecake is genuinely foolproof. The steam inside the Instant Pot creates the ideal environment for a smooth, crack-free top, taking all the guesswork out of a dessert that intimidates so many home cooks. There is no water bath to wrangle and no cracked surface to disguise.
It is also a wonderful time saver. Compared to traditional baking, the Instant Pot dramatically cuts down both the cooking and cooling time, so you can go from mixing to chilling much faster. And because it uses simple ingredients you likely already have in your pantry and fridge, there is no need for a special shopping trip.
Above all, this cheesecake is deliciously creamy. Every single bite is a taste of silky, rich indulgence, the kind of dessert that feels special enough for company yet easy enough to make just because. Once you try it, you may never go back to the oven method.
Ingredients
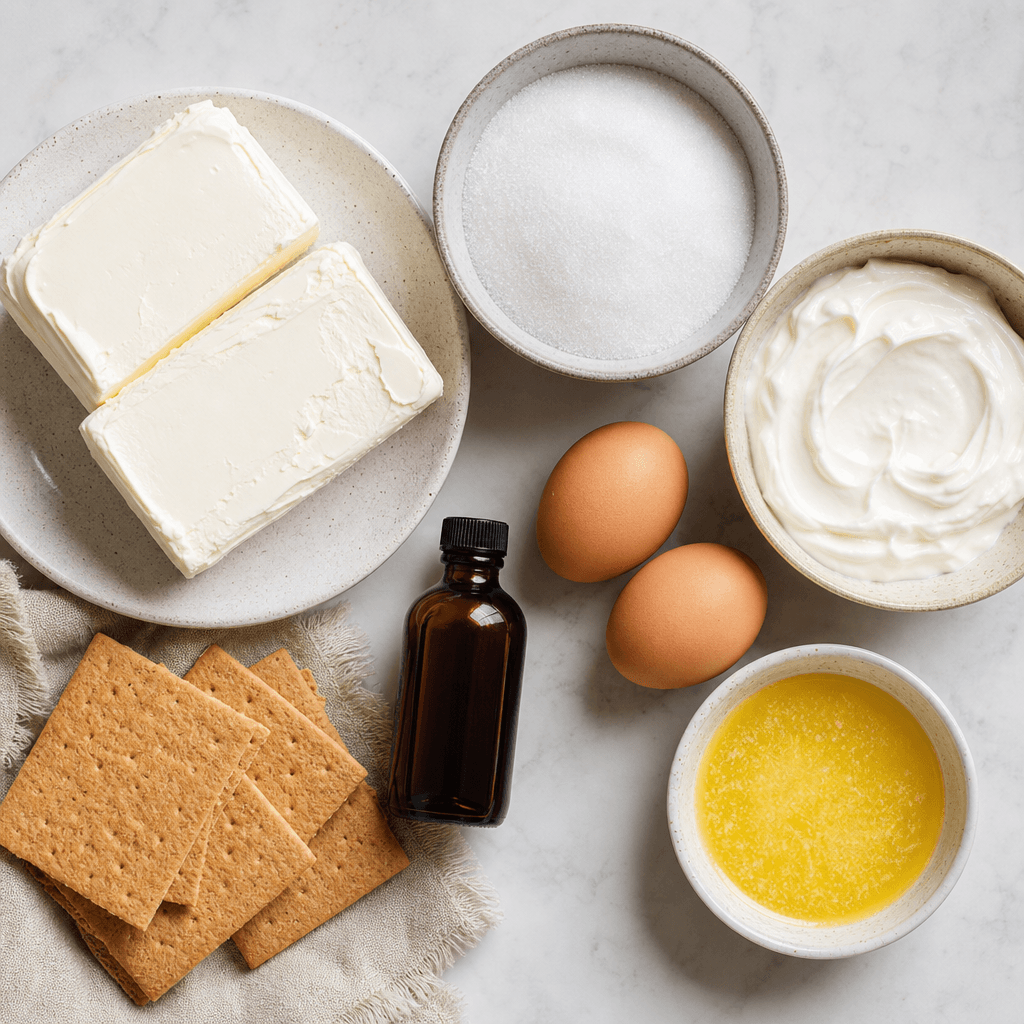
The heart of this cheesecake is 16 ounces of cream cheese, and it is worth setting it out ahead of time because room-temperature cream cheese is the key to a smooth, lump-free filling. You will sweeten it with 2/3 cup of granulated sugar, which balances the tang of the cream cheese beautifully, and add 1/2 cup of sour cream for extra richness and that ultra-creamy texture.
To bind everything together you will need 2 large eggs, again at room temperature for the best results, plus 1 teaspoon of vanilla extract. Do not skimp on the vanilla, since pure extract truly makes a difference in the final flavor. For the crust, combine 1 cup of graham cracker crumbs with 4 tablespoons of melted butter, which gives that classic buttery base its flavor and structure. You will also need 1 cup of water for the Instant Pot itself.
If you do not have graham crackers on hand, crushed digestive biscuits, vanilla wafers, or even Oreos make excellent substitutes for the crust. And remember the golden rule for a smooth filling: always use room-temperature dairy and beat the mixture on low to medium speed rather than high, which helps you avoid incorporating too much air that can cause cracks.
Step-by-Step Instructions
Begin with the crust. In a small bowl, mix together the graham cracker crumbs and melted butter, adding a pinch of sugar if you like a slightly sweeter base. Press the mixture evenly into the bottom of a 7-inch springform pan lined with parchment paper, then set it in the freezer to chill while you prepare the filling.
For the filling, beat the softened cream cheese and sugar in a large bowl until completely smooth. Add the sour cream and vanilla, mixing gently, then add the eggs one at a time, mixing just until each is incorporated. It is important not to overmix at this stage, since beating too much air into the batter is what leads to cracks, so keep things gentle and low.
Pour the filling over the chilled crust and smooth the top with the back of a spoon or a spatula. Cover the pan tightly with aluminum foil to keep condensation from dripping down onto your cheesecake as it cooks. Place a trivet in the bottom of your Instant Pot, add 1 cup of water, and carefully lower the springform pan onto the trivet, using a folded foil sling for easier handling if you have one.
Seal the lid and cook on high pressure for 30 minutes. When the timer goes off, allow a natural pressure release for 10 to 15 minutes before carefully removing the lid. Lift the cheesecake out and let it cool on the counter for about an hour, then transfer it to the fridge to chill for at least 4 hours, though overnight is best for a fully set, sliceable dessert. With about 15 minutes of prep plus cooling and chilling time, this recipe yields 8 rich slices.
Tips for the Best Instant Pot Cheesecake
A silicone sling or a trivet with handles makes lifting the finished cheesecake out of the Instant Pot far easier and safer, so it is worth having one on hand. Patience is also essential here: let the cheesecake rest and chill completely before slicing, because cutting into it too soon will undo that gorgeous, set texture you worked to create.
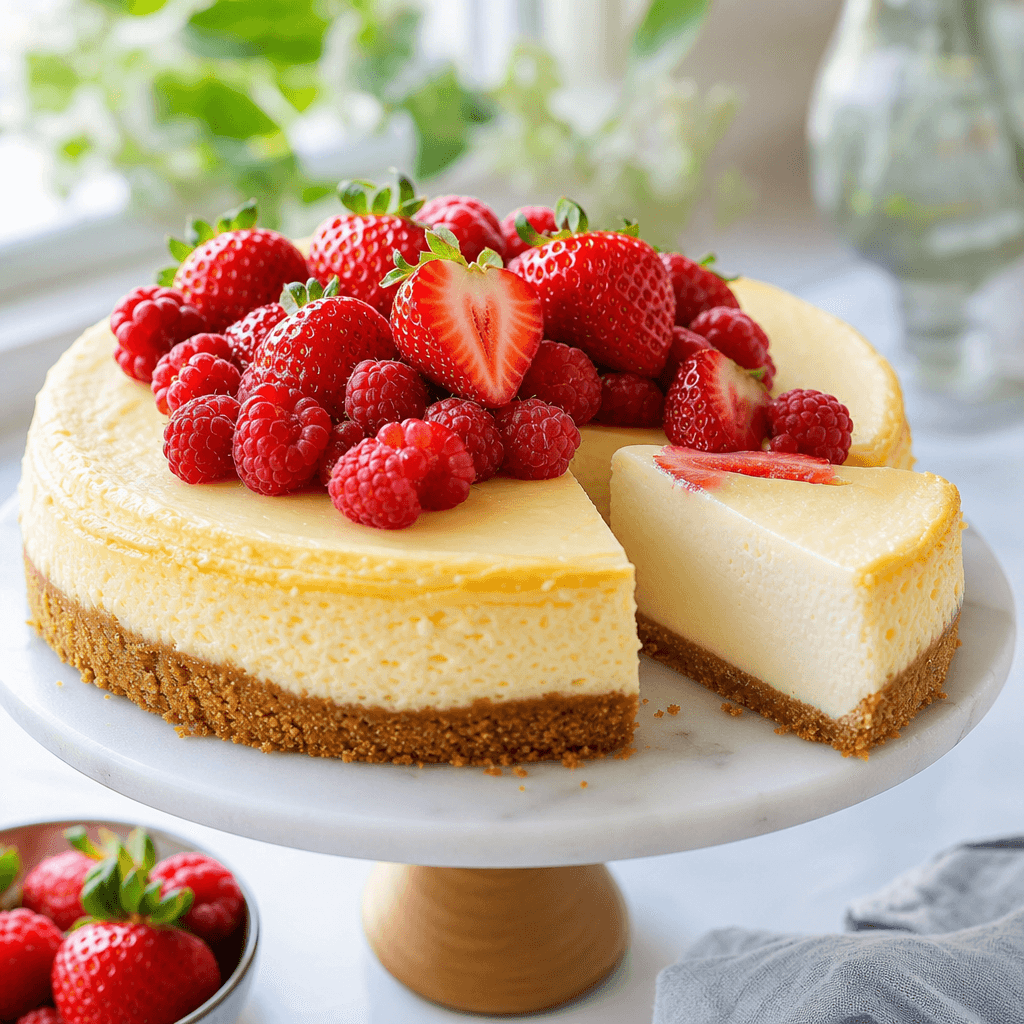
If you notice any condensation on the top after removing the foil, gently blot it away with a paper towel right away to keep the surface pristine. From there, the flavor possibilities are endless. Top your cheesecake with fresh strawberries, blueberries, or raspberries for a fruity finish, swirl melted chocolate into the filling before cooking for a richer version, or drizzle salted caramel over each slice just before serving.
Serve this cheesecake with a steaming cup of coffee or a flute of prosecco for a true dessert masterpiece moment. It is the perfect sweet ending after a cozy dinner, and if you love how effortless Instant Pot cooking is, you will enjoy starting the day with a bowl of Instant Pot steel cut oats or planning a comforting meal around easy crockpot baked ziti.
Kitchen Gear for This Recipe
- Instant Pot Duo 6-Quart
- Tempered Glass Instant Pot Lid
- Steamer Basket & Trivet Set
- Instant-Read Meat Thermometer
As an Amazon Associate, The Kitchen’s Aid earns from qualifying purchases at no extra cost to you.
Frequently Asked Questions
How do I store Instant Pot cheesecake?
Wrap it tightly in plastic wrap or place it in an airtight container and store it in the fridge for up to 5 days. The flavor and texture actually improve after a day of chilling.
Can I freeze Instant Pot cheesecake?
Yes. Wrap individual slices in plastic wrap and freeze them in an airtight container for up to 3 months. Simply defrost in the fridge overnight before enjoying.
Why did my cheesecake crack?
Cracks usually come from overmixing and incorporating too much air, or from opening the pot too abruptly. Beat gently on low to medium speed and allow a full natural pressure release to help prevent them.
What size pan do I need?
A 7-inch springform pan is ideal because it fits inside most 6-quart Instant Pots. Line it with parchment and cover it with foil to protect the cheesecake from condensation.
Can I make it without graham crackers?
Definitely. Crushed digestive biscuits, vanilla wafers, or Oreos all make delicious crust alternatives, so use whichever you have or prefer for the base.
If you try this recipe, I would love to hear about it. For more healthy eating ideas to balance out your sweet treats, look beyond the kitchen, and be sure to share your creation by tagging @thekitchensaid on Instagram. Happy cheesecake-making!
Decadent Instant Pot Cheesecake Recipe
American · Dessert
A creamy, crack-free Instant Pot cheesecake with a buttery graham cracker crust, ready in a fraction of the time of traditional baking.
Ingredients
- 16 oz cream cheese, softened
- 2/3 cup granulated sugar
- 1/2 cup sour cream
- 2 large eggs
- 1 tsp vanilla extract
- 1 cup graham cracker crumbs
- 4 tbsp melted butter
- 1 cup water (for Instant Pot)
Instructions
- Mix graham cracker crumbs and melted butter, press into a lined 7-inch springform pan, and freeze.
- Beat cream cheese and sugar until smooth, then gently mix in sour cream, vanilla, and eggs without overmixing.
- Pour filling over the crust, smooth the top, and cover the pan tightly with foil.
- Place on a trivet in the Instant Pot with 1 cup water and cook on high pressure for 30 minutes.
- Allow a natural release, cool on the counter, then chill in the fridge at least 4 hours before serving.
Nutrition: 380 calories
Made this? Rate it