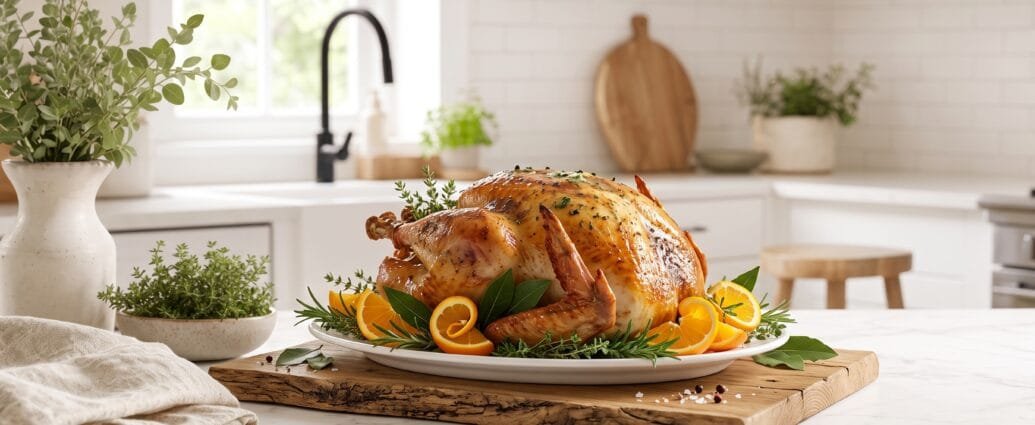
Hello, friends! Today I’m sharing one of my absolute favorite turkey secrets that will completely transform your holiday bird. If you’ve ever wondered how restaurants and professional chefs get that incredibly juicy, flavorful turkey, brining is the answer. This easy wet brine recipe is my go-to method for ensuring every single bite of turkey is moist, tender, and bursting with flavor.
I still remember the first Thanksgiving I brined a turkey. My family couldn’t stop raving about how it was the best turkey they’d ever tasted. The meat was so tender it practically fell off the bone, and even the breast meat—which usually dries out—was succulent and delicious. Since then, I’ve never looked back. Brining has become my non-negotiable step for any turkey I cook, whether it’s for Thanksgiving, Christmas, or just a special Sunday dinner.
The science behind brining is actually quite simple. The salt in the brine breaks down the protein structure in the meat, allowing it to absorb and retain more moisture during cooking. The result? A turkey that stays juicy even if you accidentally overcook it slightly. Plus, all those aromatics and spices in the brine infuse the meat with incredible flavor from the inside out.
Why You’ll Love This Recipe
This wet brine recipe is truly foolproof, and I love it for so many reasons. First, it’s incredibly forgiving—even if you’re a first-time turkey cook, this brine will help ensure your bird turns out beautifully. The ingredient list is simple and uses aromatics you probably already have in your kitchen: salt, sugar, herbs, and spices.
What I appreciate most is how versatile this brine is. You can customize it with your favorite herbs and spices, or keep it classic with the combination I’m sharing today. I’ve tried countless variations over the years, and this balanced blend never disappoints.
Another reason I love this recipe is that it actually makes your cooking day easier. Because the turkey is so well-seasoned and moist from the brine, you don’t need to fuss with constant basting or complicated cooking techniques. You can simply roast your turkey and trust that it will turn out phenomenally.
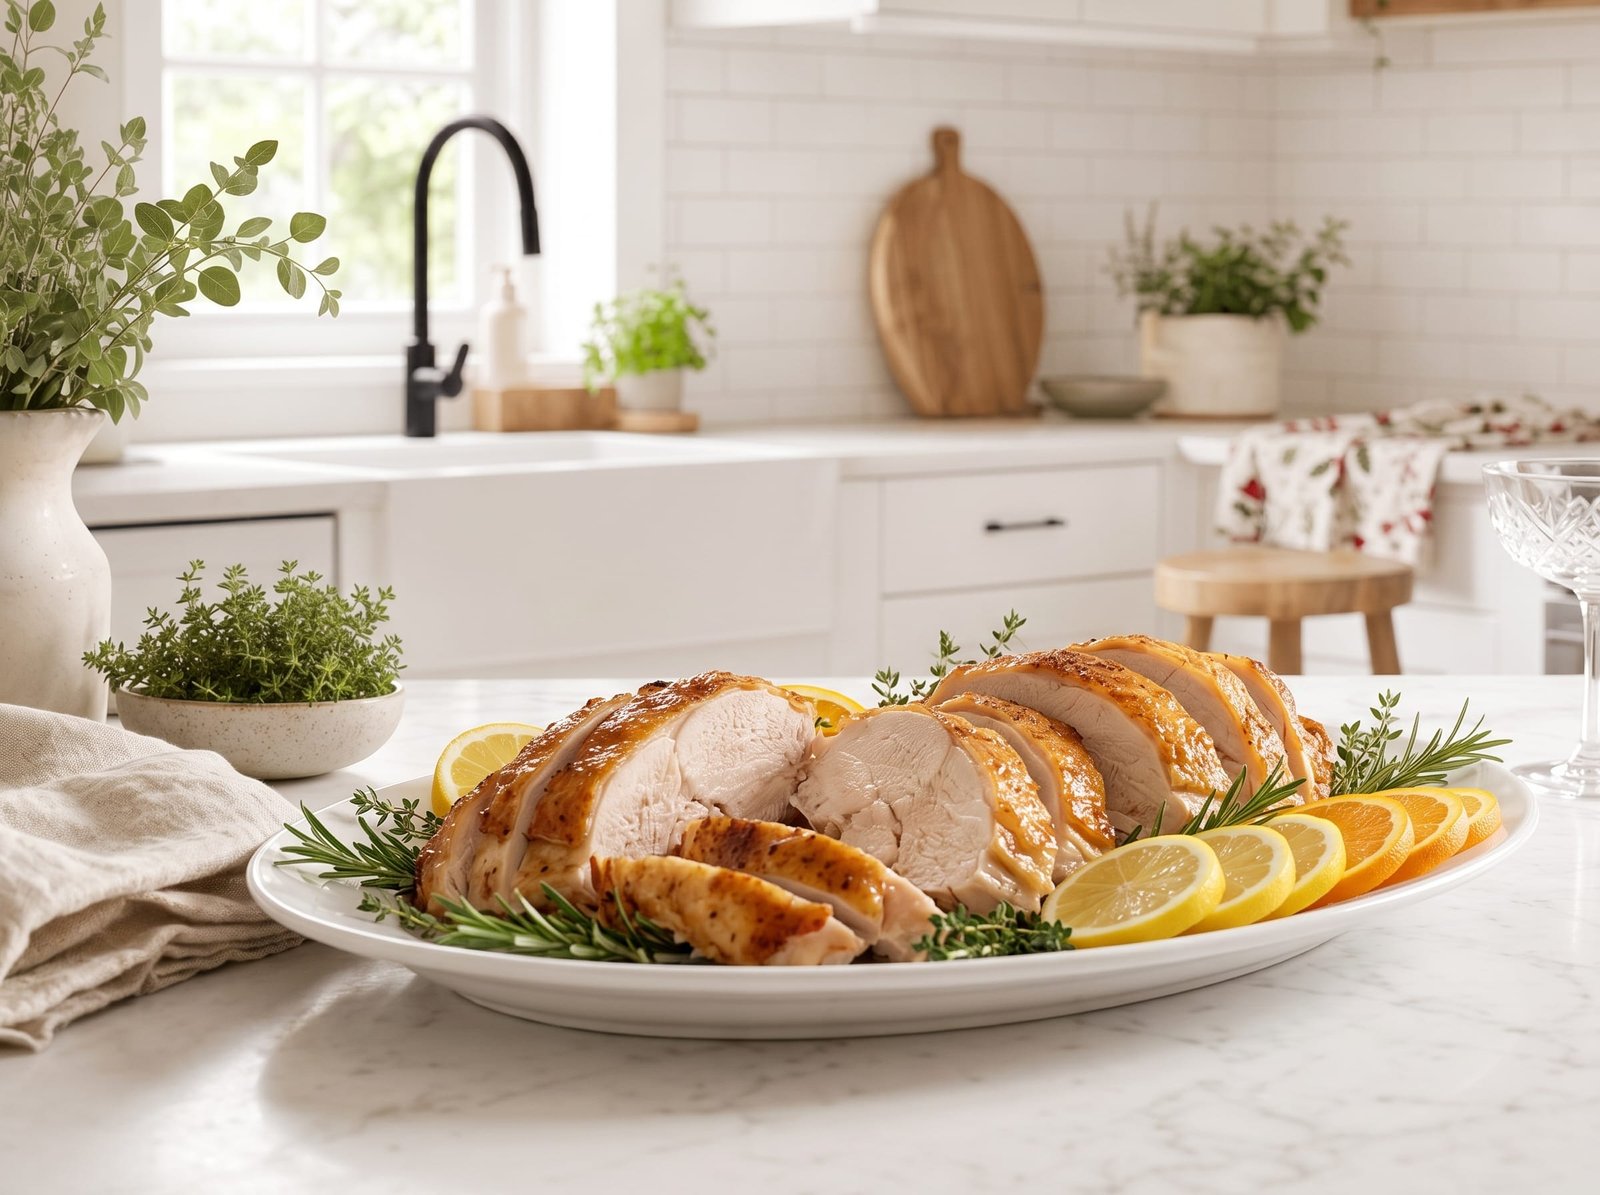
The brine also creates the most gorgeous golden-brown skin when roasted. That combination of crispy, flavorful skin and juicy meat underneath is exactly what holiday dreams are made of. And let me tell you, the compliments you’ll receive are absolutely worth the minimal extra effort!
Ingredients
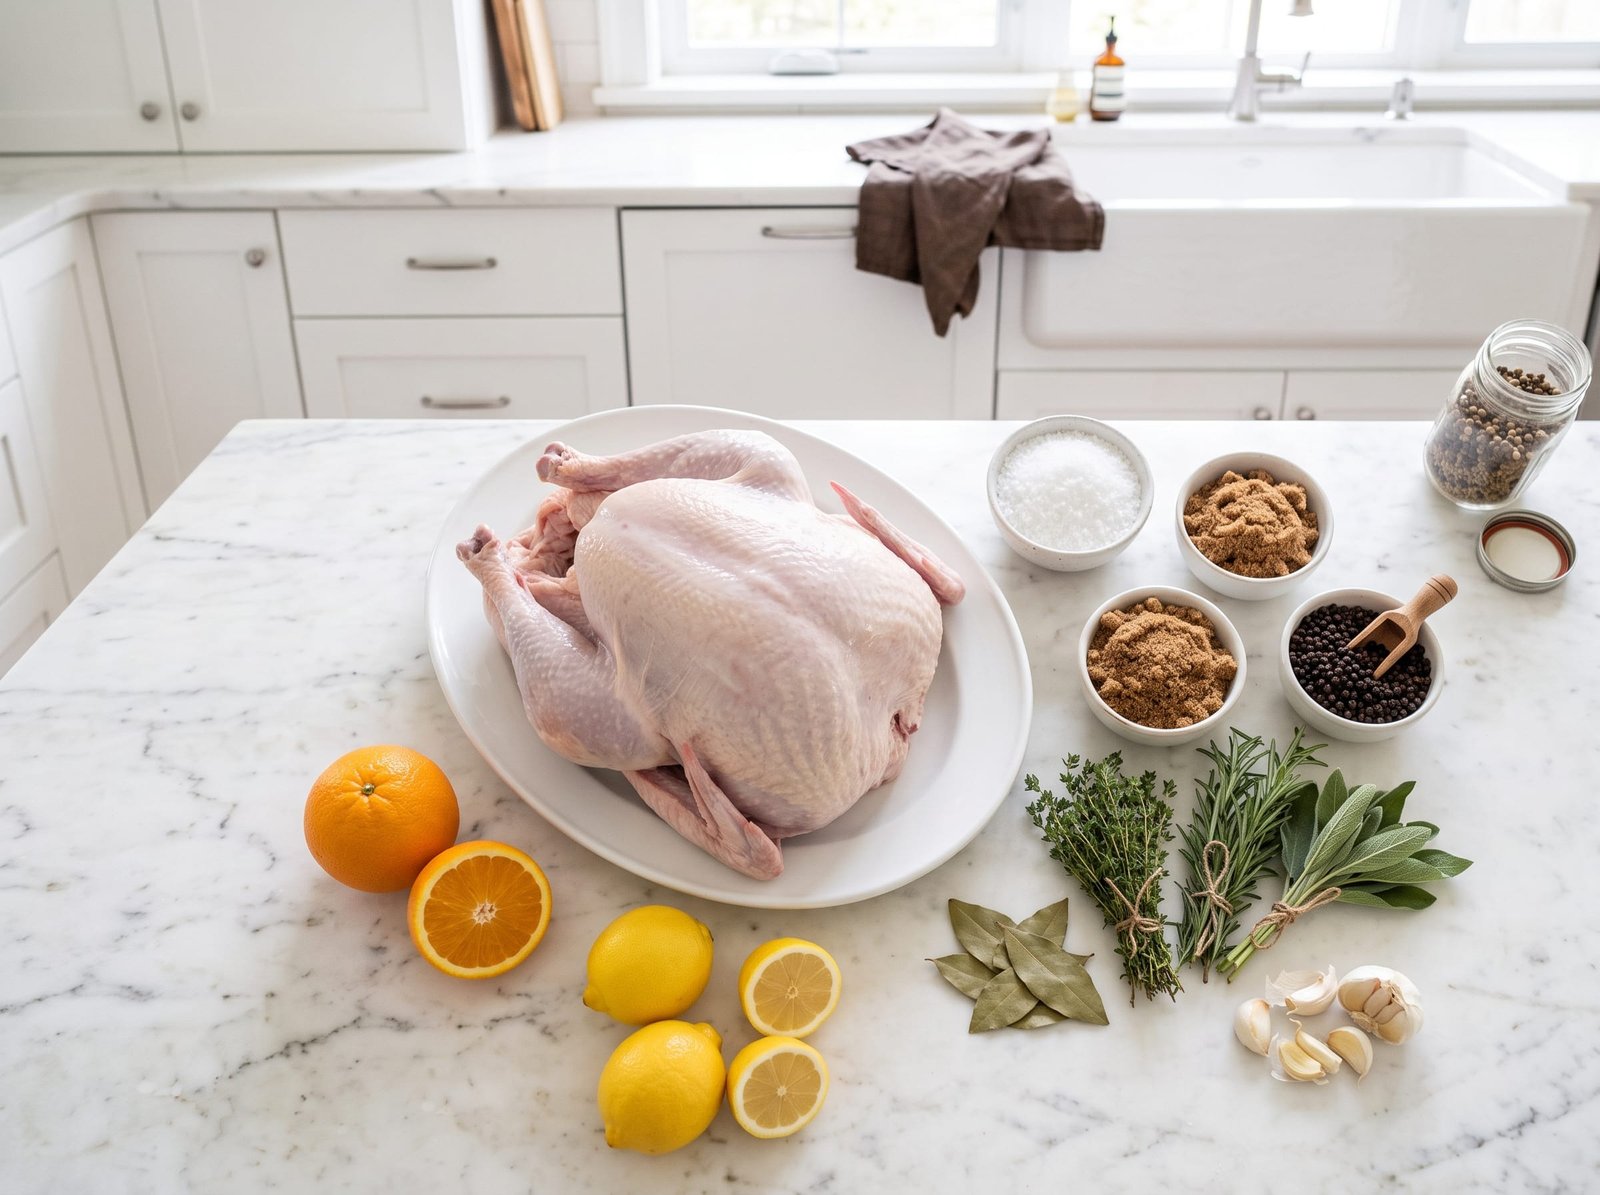
For this wet brine, you’ll need a combination of salt, sugar, water, and aromatics that work together to create magic. The salt is the workhorse here—it’s what actually changes the protein structure and helps the meat retain moisture. I use kosher salt because it dissolves easily and has a clean flavor without any additives.
The sugar balances the salt and adds a subtle sweetness that complements the savory flavors beautifully. Brown sugar adds a hint of molasses depth, but you can use regular granulated sugar if that’s what you have on hand.
For aromatics, I include fresh herbs like thyme, rosemary, and sage—the classic poultry trio. These woody herbs stand up well to the long brining time and infuse the turkey with that quintessential holiday flavor. Garlic adds savory depth, while peppercorns provide a gentle spice.
I also love adding citrus—both oranges and lemons—which brighten everything up and add a lovely subtle fragrance. Bay leaves contribute an earthy, slightly floral note that rounds out all the flavors perfectly.
The recipe calls for a combination of hot water (to dissolve the salt and sugar) and cold water or ice (to cool the brine down quickly). This is important because you never want to put your turkey in warm brine—it needs to stay cold for food safety reasons.
Step-by-Step Instructions
Let me walk you through the brining process step by step. It’s easier than you might think, and I promise the results are so worth it!
Step 1: Make the Brine Base
Start by bringing about 4 quarts of water to a boil in a large stockpot. Once it’s boiling, add the kosher salt, brown sugar, peppercorns, bay leaves, and dried herbs. Stir everything together until the salt and sugar are completely dissolved. This usually takes just a minute or two. The hot water is essential here because it helps extract the flavors from the aromatics and ensures everything dissolves properly.
Step 2: Add the Aromatics
Now add your fresh herbs, smashed garlic cloves, and citrus. I like to cut the oranges and lemons into quarters and give them a good squeeze before adding them to the brine—this releases their juices and oils. Let this mixture simmer for about 5 minutes to really meld all those flavors together. Your kitchen will smell absolutely amazing at this point!
Step 3: Cool the Brine
This is a crucial step that many people overlook. Remove the pot from heat and add the remaining cold water or ice. You need to cool the brine down to at least 40°F before adding your turkey. I usually transfer the brine to a large container and refrigerate it for at least an hour, or I’ll add a full bag of ice to speed up the cooling process. Never skip this step—putting turkey in warm brine can promote bacterial growth.
Step 4: Prepare Your Container
You’ll need a container large enough to hold your turkey and all the brine. I use a large brining bag placed inside a cooler, but you can also use a large stockpot or a clean 5-gallon bucket. Make sure whatever you use is food-safe and can fit in your refrigerator, or can be kept cold with ice.
Step 5: Brine the Turkey
Remove your turkey from its packaging and take out the giblets and neck (save these for gravy if you like). Rinse the turkey under cold water and pat it dry. Place the turkey in your brining container breast-side down, then pour the cooled brine over it. Make sure the turkey is completely submerged. If it’s floating, you can weigh it down with a plate.
Step 6: Keep It Cold
Refrigerate the turkey in the brine for 12-24 hours. I find that 18 hours is the sweet spot for a 12-14 pound turkey. If you’re using a cooler, make sure to add ice packs around the container to keep everything at a safe temperature below 40°F. Check periodically and add more ice if needed.
Step 7: Rinse and Dry
When you’re ready to cook, remove the turkey from the brine and rinse it thoroughly under cold water, inside and out. This removes excess salt from the surface. Pat the turkey completely dry with paper towels—this is important for getting crispy skin. Let the turkey sit uncovered in the refrigerator for a few hours or overnight if you have time. This extra drying time helps create even crispier skin.
Step 8: Roast as Usual
Now you can roast your turkey according to your favorite recipe. Because it’s brined, you won’t need to add any additional salt to your bird. I like to rub the outside with butter and herbs, then roast at 325°F until the internal temperature reaches 165°F in the thickest part of the thigh.
Tips for Perfect Brining
Over the years, I’ve learned quite a few tricks that make brining even easier and more effective. First, timing is everything. Don’t brine your turkey for more than 24 hours, or it can become too salty and the texture can turn a bit mushy. For a 12-14 pound turkey, 12-18 hours is perfect. Smaller birds need less time (10-12 hours), while larger turkeys can go the full 24 hours.
Always make sure your brine is completely cool before adding the turkey. I can’t stress this enough! Room temperature or warm brine is a food safety hazard. When in doubt, it’s better to wait an extra hour for the brine to chill than to risk it.
If you’re short on refrigerator space (and who isn’t during the holidays?), a cooler is your best friend. Line it with a large brining bag, add your turkey and brine, then surround it with ice packs or bags of ice. Just remember to monitor the temperature and add fresh ice as needed.
Don’t skip the rinsing step after brining. I made this mistake once in my early brining days, and the turkey skin was far too salty. A thorough rinse removes excess salt from the surface while keeping all that moisture and flavor locked inside the meat.
For extra-crispy skin, after rinsing and drying your turkey, let it air-dry in the refrigerator uncovered for 4-8 hours or even overnight. This process, called air-chilling, dries out the skin so it crisps up beautifully during roasting.
You can absolutely customize this brine to your taste! Try adding apple cider instead of some of the water, or throw in some whole allspice berries, star anise, or juniper berries for a different flavor profile. Just keep the salt-to-water ratio the same.
Kitchen Gear for This Recipe
- Instant-Read Meat Thermometer
- Enameled Cast Iron Dutch Oven
- Heavy-Duty Sheet Pan Set
- Glass Mixing Bowl Set
As an Amazon Associate, The Kitchen’s Aid earns from qualifying purchases at no extra cost to you.
Frequently Asked Questions
Do I need to brine my turkey?
While it’s not absolutely necessary, I highly recommend it! Brining makes such a noticeable difference in the moisture and flavor of your turkey. Even if you’re an experienced cook, brining gives you that extra insurance for a perfect bird.
Can I brine a frozen turkey?
You need to completely thaw your turkey before brining. The brine can’t penetrate frozen meat. Plan ahead and allow 24 hours of thawing time in the refrigerator for every 4-5 pounds of turkey.
What if I don’t have room in my refrigerator?
A cooler works perfectly! Just make sure to keep it packed with ice and monitor the temperature. The brine should stay below 40°F at all times. I’ve brined turkeys in my garage in a cooler many times during the holidays.
Can I use this brine for a turkey breast?
Absolutely! Just reduce the brining time to 4-6 hours for a bone-in turkey breast. The smaller size means it will absorb the brine more quickly.
Will brining make my turkey too salty?
Not if you follow the recipe and don’t over-brine! The salt in the brine seasons the meat perfectly. Just remember not to add additional salt when seasoning the outside of your turkey, and definitely don’t brine longer than 24 hours.
Can I reuse the brine?
No, you should always discard the brine after use. It’s been in contact with raw poultry and isn’t safe to reuse.
Do I need to adjust my cooking time for a brined turkey?
Brining doesn’t significantly affect cooking time, but brined turkeys can sometimes cook slightly faster. Always use a meat thermometer and cook to the proper internal temperature of 165°F rather than relying solely on time.
I hope this recipe transforms your turkey cooking as much as it did mine! There’s something so satisfying about serving a perfectly juicy, flavorful turkey to your loved ones. The brining process might seem like an extra step, but I promise it’s one of the easiest ways to elevate your holiday meal. Once you try a brined turkey, you’ll never go back to cooking one without this magical step. Happy cooking, friends!
Not every year calls for a whole bird. When it does not, our Instant Pot turkey breast with gravy covers a smaller table, and our maple glazed holiday ham is the other centerpiece worth considering.
How to Brine a Turkey (Easy Wet Brine Recipe)
American · Main Course
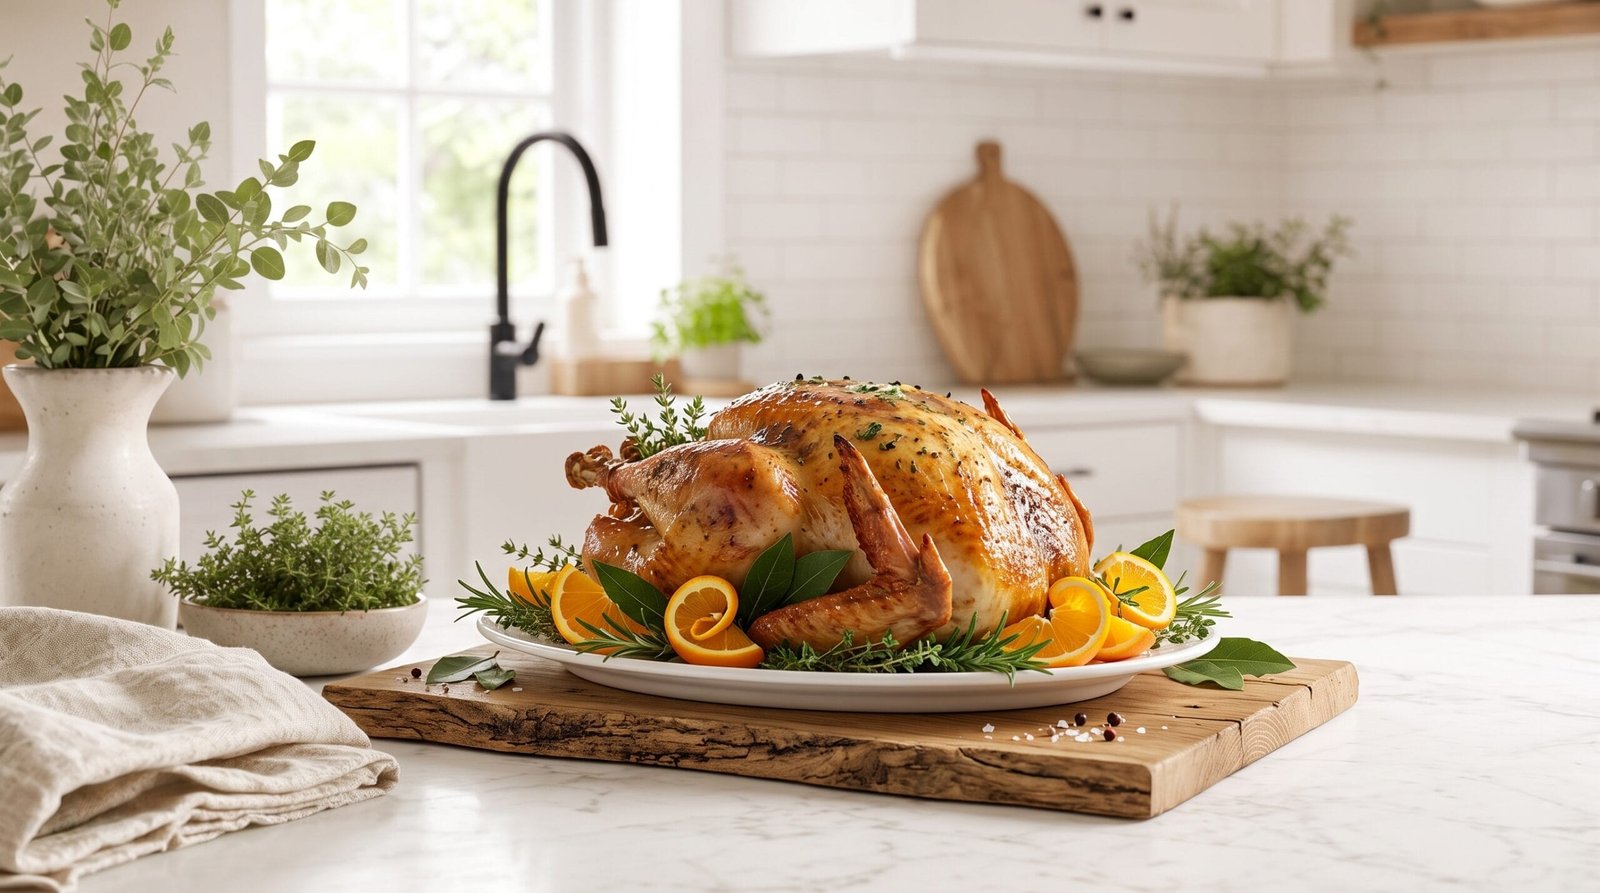
This easy wet brine recipe creates the juiciest, most flavorful turkey you've ever tasted. Simple aromatics and perfect seasoning guarantee success!
Ingredients
- 2 gallons cold water, divided
- 2 cups kosher salt
- 1 cup brown sugar
- 2 tablespoons whole black peppercorns
- 6 bay leaves
- 1 tablespoon dried thyme
- 1 tablespoon dried rosemary
- 6 fresh thyme sprigs
- 4 fresh rosemary sprigs
- 6 fresh sage leaves
- 6 garlic cloves, smashed
- 2 oranges, quartered
- 2 lemons, quartered
- 1 (12-14 pound) whole turkey
- Ice as needed
Instructions
- In a large stockpot, bring 4 quarts (1 gallon) of water to a boil over high heat.
- Add the kosher salt, brown sugar, peppercorns, bay leaves, dried thyme, and dried rosemary. Stir until the salt and sugar are completely dissolved, about 2 minutes.
- Add the fresh thyme, rosemary, sage, and smashed garlic cloves. Squeeze the orange and lemon quarters over the pot to release their juices, then add them to the brine.
- Reduce heat and simmer for 5 minutes to allow the flavors to meld.
- Remove from heat and add the remaining 4 quarts (1 gallon) of cold water or add ice to cool the brine quickly.
- Transfer the brine to a large container and refrigerate until completely cooled to 40°F or below, at least 1-2 hours.
- Remove the turkey from packaging, remove giblets and neck, and rinse under cold water. Pat dry with paper towels.
- Place the turkey in a large brining bag set inside a cooler, or use a large food-safe container that fits in your refrigerator.
- Pour the cooled brine over the turkey, making sure it's completely submerged. Add ice packs around the container if using a cooler.
- Refrigerate or keep chilled with ice for 12-24 hours (18 hours is ideal for a 12-14 pound turkey).
- Remove the turkey from the brine and rinse thoroughly under cold water, inside and out.
- Pat the turkey completely dry with paper towels. For extra-crispy skin, place on a rack over a baking sheet and refrigerate uncovered for 4-8 hours.
- Roast the turkey according to your preferred method. Do not add additional salt to the bird.
Nutrition: Approximately 45 calories per serving (based on turkey meat only)
Made this? Rate it