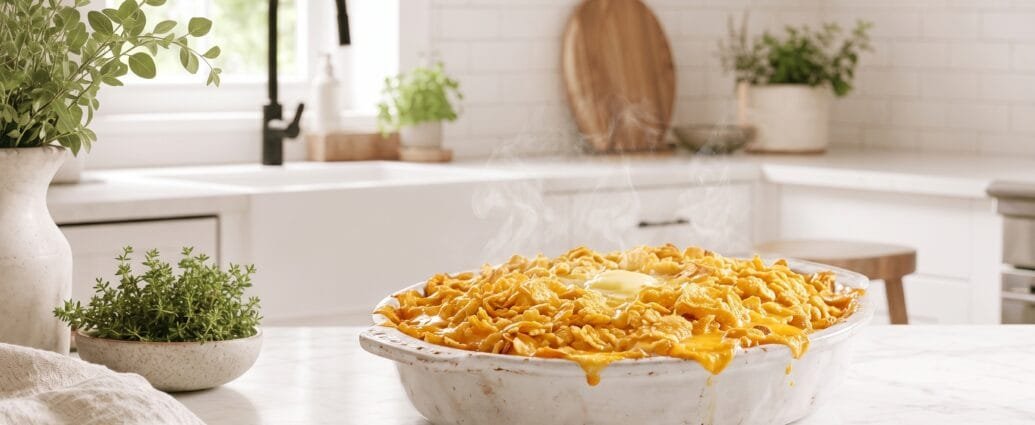
There’s something deeply comforting about a bubbling pan of cheesy funeral potatoes fresh from the oven. This beloved Midwestern and Mormon casserole has earned its place at potlucks, holidays, and yes, funeral receptions across America. Despite its somber name, this hash brown casserole is pure celebration on a plate—creamy, cheesy, and topped with the most irresistible buttery crunch.
I first fell in love with funeral potatoes at a church potluck years ago, and I’ve been making them ever since. The combination of tender hash browns, rich sour cream, melted cheese, and that iconic cornflake topping creates layers of flavor and texture that keep everyone coming back for seconds. Whether you’re bringing comfort to a grieving family or simply want the ultimate side dish for your holiday table, these cheesy funeral potatoes deliver every single time.
Why You’ll Love This Recipe
This funeral potatoes recipe has become my go-to whenever I need to feed a crowd or bring something that I know will disappear completely. The beauty of this dish lies in its simplicity—you can have it assembled in just 15 minutes, and the oven does all the heavy lifting. No peeling or chopping potatoes required!
What makes these funeral potatoes truly special is the perfect balance of flavors and textures. The creamy interior contrasts beautifully with the golden, crunchy cornflake topping. The cheese melts into every crevice of the hash browns, while the sour cream and cream of chicken soup create an incredibly rich sauce that coats everything in comfort.
I also love how flexible this recipe is. You can make it ahead and refrigerate it overnight before baking, which makes it perfect for stress-free entertaining. It reheats beautifully, and honestly, some people say it’s even better the next day. Plus, it’s endlessly customizable—add bacon, switch up the cheese, or make it your own.
Whether you call them funeral potatoes, cheesy potatoes, hash brown casserole, or party potatoes, one thing is certain: this dish brings people together and provides the kind of comfort that only good food can offer.
Ingredients
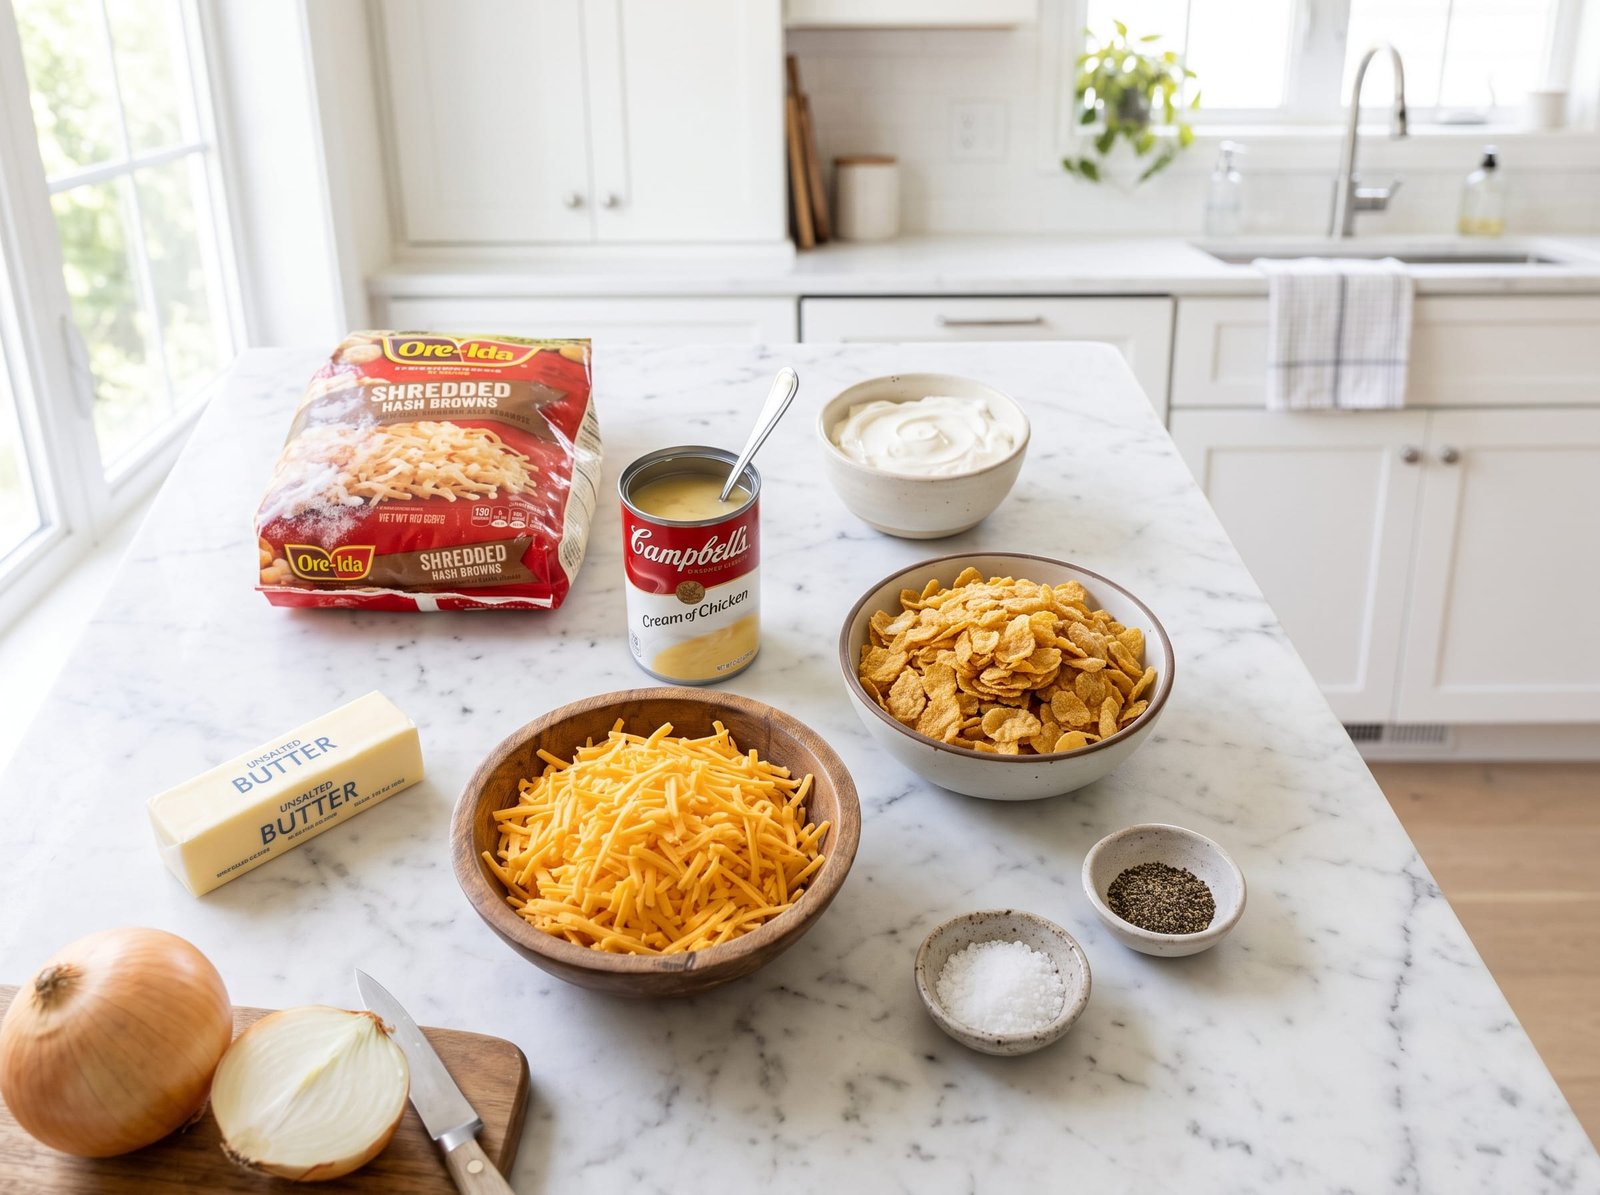
The genius of funeral potatoes is that they rely on simple, accessible ingredients that you probably already have in your kitchen or can easily grab at any grocery store. Here’s what you’ll need to make this crowd-pleasing casserole:
- Frozen hash browns: I use a 30-ounce bag of shredded frozen hash browns. There’s no need to thaw them first, which makes prep even easier. The shredded style works best for this recipe.
- Sour cream: Two cups of full-fat sour cream create that signature tangy, creamy base. Don’t skimp on the fat content here—it makes a real difference in the richness.
- Cream of chicken soup: One 10.5-ounce can provides additional creaminess and savory flavor. You can use cream of mushroom or cream of celery if you prefer.
- Cheddar cheese: Two cups of shredded sharp cheddar cheese give these potatoes their cheesy goodness. I prefer sharp cheddar for more flavor, but medium works too.
- Butter: You’ll need half a cup, melted and divided. Part goes into the casserole mixture, and part goes into the topping.
- Onion: Half a cup of finely diced onion adds savory depth. You can use fresh, frozen, or even dried minced onion in a pinch.
- Cornflakes: Two cups of crushed cornflakes create that iconic crunchy topping that everyone loves. Crush them yourself for the best texture.
- Salt and pepper: Simple seasoning brings all the flavors together. I use about one teaspoon of salt and half a teaspoon of black pepper.
Optional additions include cooked, crumbled bacon, diced ham, green onions for garnish, or a pinch of garlic powder for extra flavor.
Step-by-Step Instructions
Making funeral potatoes is wonderfully straightforward, but I’ll walk you through each step to ensure yours turn out perfectly creamy and golden every time.
Step 1: Preheat and Prepare
Preheat your oven to 350°F (175°C). Grease a 9×13-inch baking dish with butter or cooking spray. This prevents sticking and makes cleanup so much easier later.
Step 2: Mix the Casserole Base
In a large mixing bowl, combine the frozen hash browns, sour cream, cream of chicken soup, 1½ cups of the shredded cheddar cheese (save the remaining half cup for later), the diced onion, ¼ cup of the melted butter, salt, and pepper. Stir everything together until well combined. The mixture will be thick and creamy. Don’t worry that the hash browns are still frozen—they’ll cook perfectly in the oven.
Step 3: Transfer to Baking Dish
Spread the hash brown mixture evenly into your prepared baking dish. Use a spatula to smooth the top into an even layer. This ensures uniform cooking and browning.
Step 4: Prepare the Cornflake Topping
In a separate bowl, combine the crushed cornflakes with the remaining ¼ cup of melted butter. Stir until all the cornflakes are coated with butter. This is what creates that irresistible golden, crunchy topping.
Step 5: Add Toppings
Sprinkle the remaining half cup of shredded cheddar cheese evenly over the hash brown mixture. Then distribute the buttered cornflakes over the top in an even layer. The combination of cheese and cornflakes creates the most delicious crust.
Step 6: Bake
Place the casserole in your preheated oven and bake for 45-50 minutes, or until the casserole is bubbling around the edges, the center is hot throughout, and the cornflake topping is golden brown. You’ll know it’s done when you can see the creamy mixture bubbling up around the sides.
Step 7: Rest and Serve
Remove the casserole from the oven and let it rest for about 5-10 minutes before serving. This allows the sauce to thicken slightly and makes it easier to serve neat portions. Garnish with chopped fresh parsley or green onions if desired.
Tips for Perfect Funeral Potatoes
Don’t thaw the hash browns: Using frozen hash browns straight from the bag prevents them from becoming mushy. The moisture from thawed hash browns can make your casserole watery.
Crush your own cornflakes: Instead of buying pre-crushed cornflakes, place whole cornflakes in a zip-top bag and crush them with a rolling pin. This gives you better control over the texture—you want some larger pieces for crunch.
Use freshly shredded cheese: Pre-shredded cheese contains anti-caking agents that prevent it from melting as smoothly. Shredding your own cheese from a block takes just a minute and makes a noticeable difference in creaminess.
Make it ahead: You can assemble this casserole completely, cover it tightly with plastic wrap and aluminum foil, and refrigerate it for up to 24 hours before baking. Add an extra 10-15 minutes to the baking time if starting from cold.
Customize the flavor: Try adding a teaspoon of garlic powder, some chopped green chiles for a Southwestern twist, or swapping half the cheddar for Monterey Jack cheese. Cooked bacon or diced ham mixed into the casserole adds wonderful savory flavor.
Watch the topping: If your cornflake topping is browning too quickly, tent the casserole loosely with aluminum foil for the remaining baking time. You want golden brown, not burned.
Serve it hot: Funeral potatoes are best served hot and fresh from the oven when the cheese is melted and gooey and the topping is at its crunchiest.
Kitchen Gear for This Recipe
- Instant-Read Meat Thermometer
- Enameled Cast Iron Dutch Oven
- Heavy-Duty Sheet Pan Set
- Glass Mixing Bowl Set
As an Amazon Associate, The Kitchen’s Aid earns from qualifying purchases at no extra cost to you.
Frequently Asked Questions
Why are they called funeral potatoes?
Funeral potatoes earned their name because they’re commonly served at funeral luncheons, particularly in Mormon and Midwestern communities. They’re easy to make in large quantities, transport well, and provide comforting, crowd-pleasing food during difficult times. But don’t let the name fool you—they’re perfect for any gathering!
Can I make funeral potatoes without cream of chicken soup?
Absolutely! You can make a simple white sauce with 3 tablespoons of butter, 3 tablespoons of flour, and 1½ cups of chicken broth or milk. Cook until thickened, then use in place of the canned soup. Some people also use cream of mushroom or cream of celery soup.
How do I store and reheat leftovers?
Cover leftover funeral potatoes tightly and refrigerate for up to 4 days. Reheat individual portions in the microwave, or reheat the entire casserole covered with foil in a 350°F oven for about 20-25 minutes until heated through.
Can I freeze funeral potatoes?
Yes! You can freeze the unbaked casserole (without the cornflake topping) for up to 3 months. Thaw overnight in the refrigerator, add the topping, and bake as directed. You can also freeze baked funeral potatoes, though the cornflake topping won’t be quite as crispy when reheated.
What can I serve with funeral potatoes?
Funeral potatoes pair beautifully with roasted or grilled meats like ham, turkey, roast beef, or pork chops. They’re a classic Easter and Thanksgiving side dish. Add a simple green salad or steamed vegetables to round out the meal.
Can I use fresh potatoes instead of frozen hash browns?
You can, but you’ll need to parboil peeled and shredded or diced potatoes first until they’re just tender. The beauty of using frozen hash browns is the convenience—they’re already prepped and partially cooked.
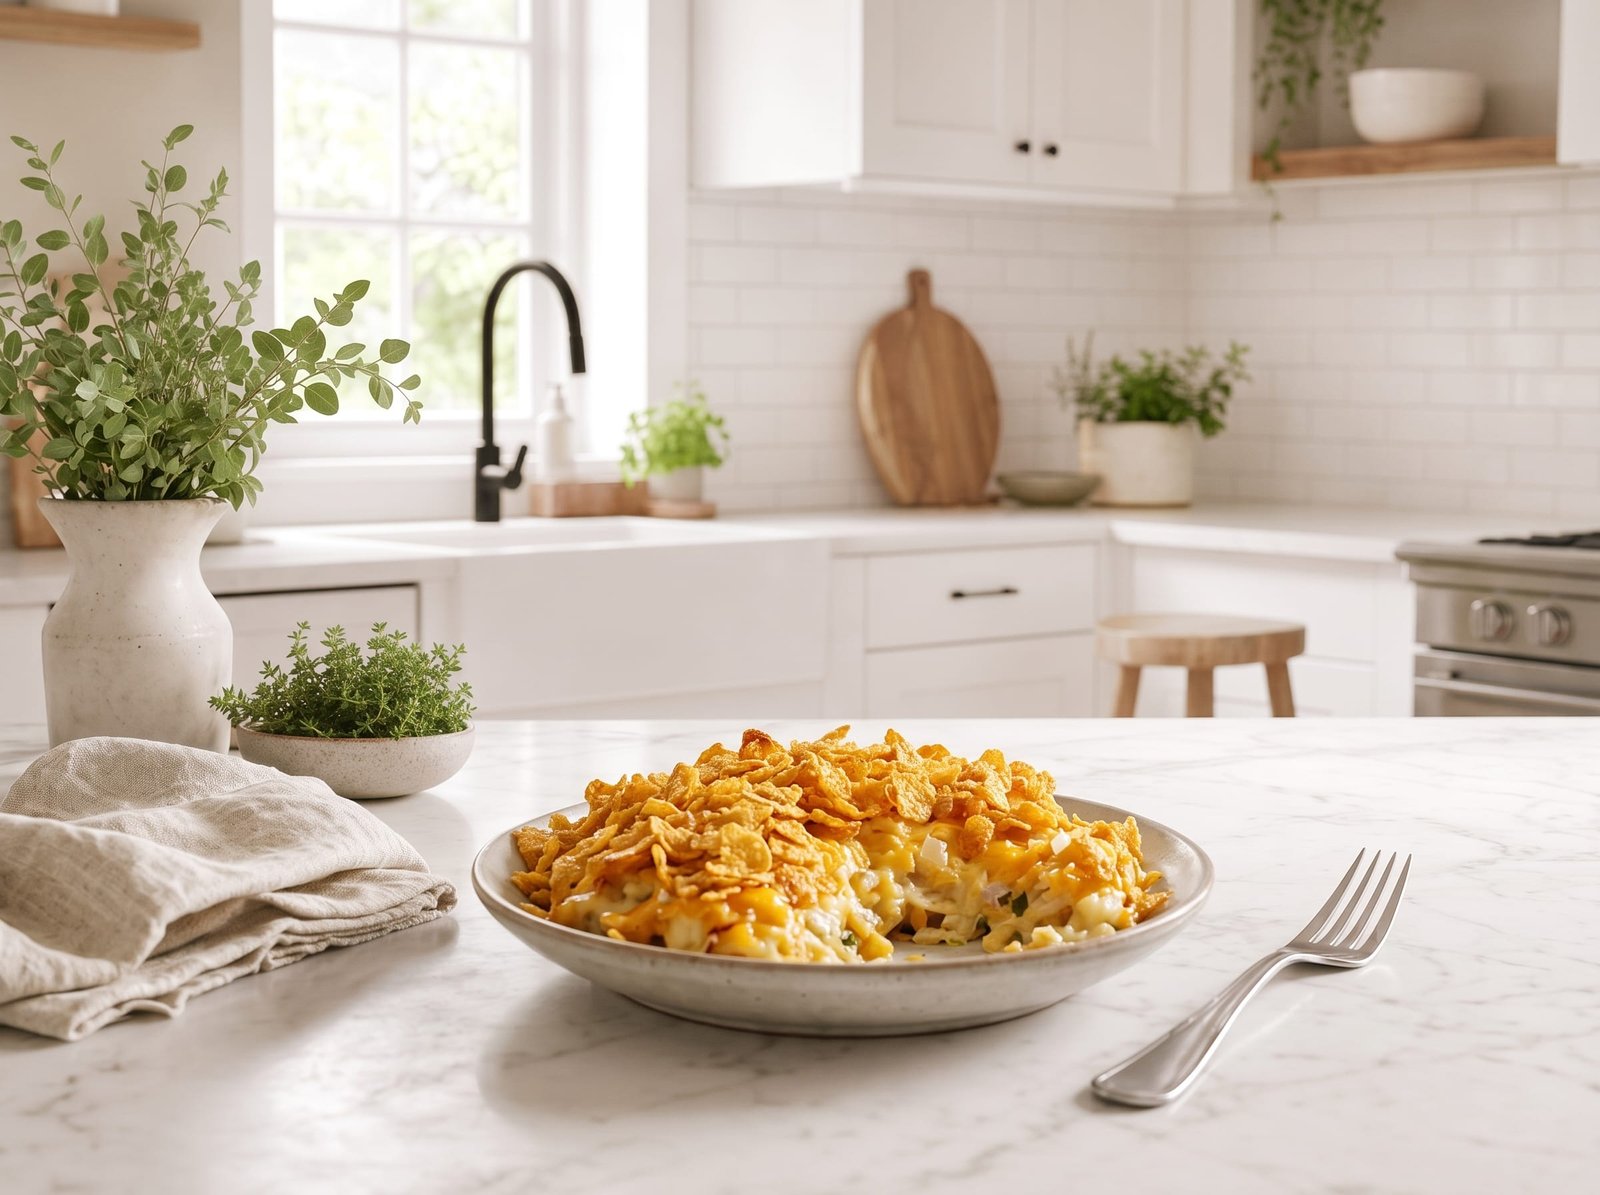
There’s a reason funeral potatoes have remained a beloved staple for generations. This cheesy hash brown casserole delivers everything we crave in comfort food—it’s rich, satisfying, and brings people together around the table. Whether you’re making these for a holiday gathering, a potluck, or just because your family loves them, I promise this recipe will become one you reach for again and again. The combination of creamy, cheesy potatoes and that crunchy, buttery cornflake topping is simply irresistible. Make a pan this weekend, and watch it disappear!
For a lighter potato on the same plate, our herb butter roasted baby potatoes balance all that cheese. And if you are cooking for a crowd, our 18 best casserole recipes will fill out the rest of the table.
Cheesy Funeral Potatoes (Hash Brown Casserole)
American · Side Dish
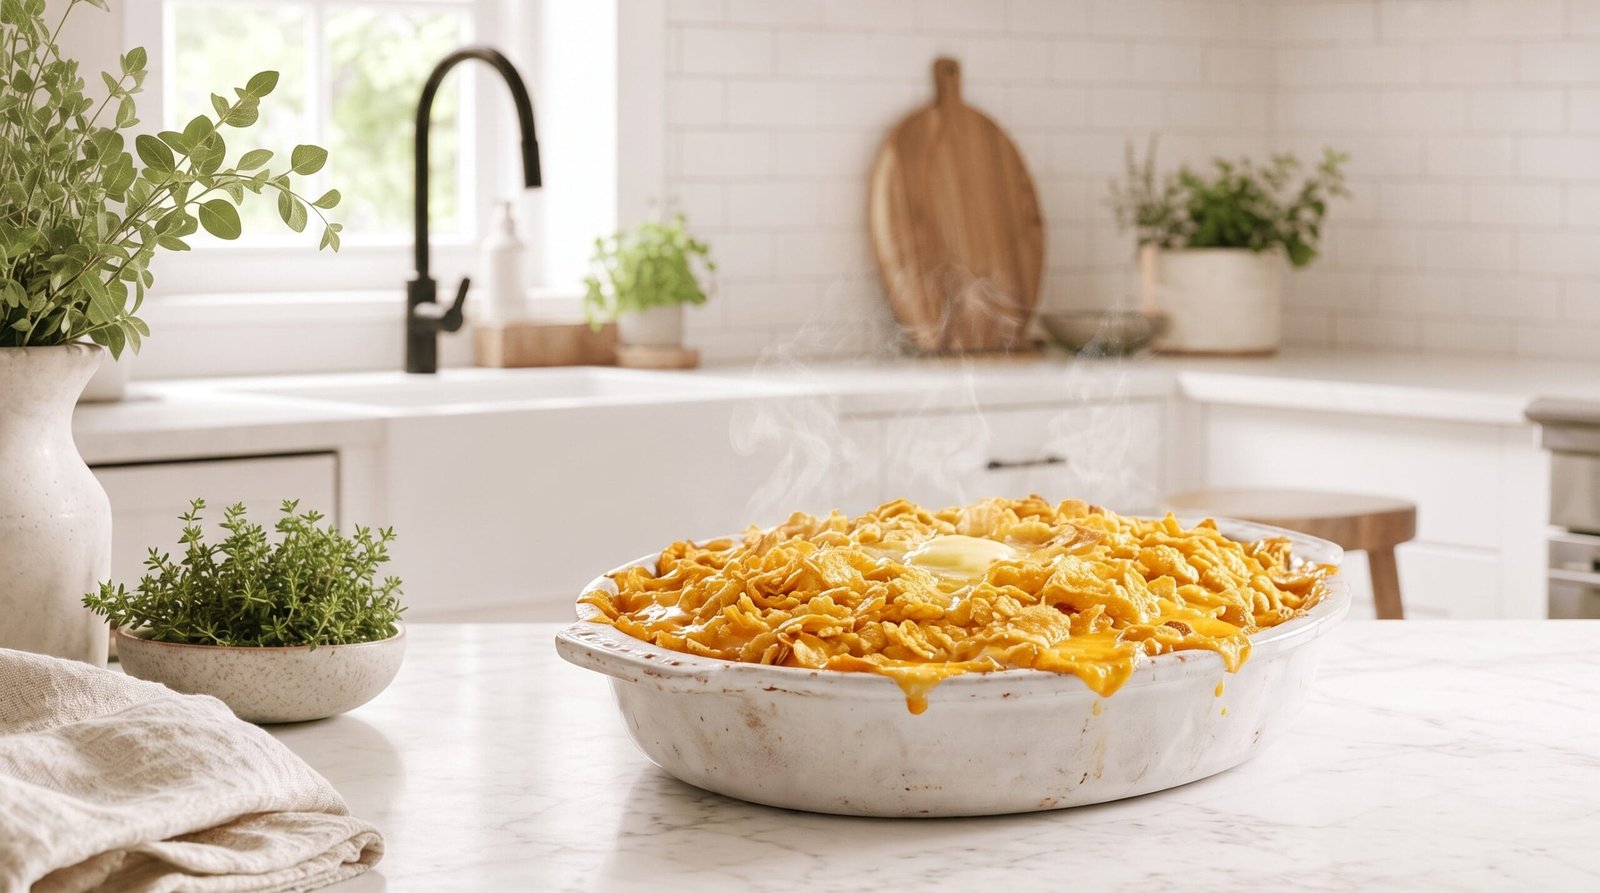
Classic creamy hash brown casserole loaded with cheese, sour cream, and topped with buttery cornflakes. The ultimate comfort food side dish.
Ingredients
- 30 ounces frozen shredded hash browns
- 2 cups sour cream
- 1 can (10.5 ounces) cream of chicken soup
- 2 cups shredded sharp cheddar cheese, divided
- 1/2 cup butter, melted and divided
- 1/2 cup finely diced onion
- 2 cups cornflakes, crushed
- 1 teaspoon salt
- 1/2 teaspoon black pepper
Instructions
- Preheat oven to 350°F (175°C). Grease a 9x13-inch baking dish with butter or cooking spray.
- In a large mixing bowl, combine frozen hash browns, sour cream, cream of chicken soup, 1½ cups shredded cheddar cheese, diced onion, ¼ cup melted butter, salt, and pepper. Stir until well combined.
- Spread the hash brown mixture evenly into the prepared baking dish.
- In a separate bowl, combine crushed cornflakes with remaining ¼ cup melted butter. Stir until cornflakes are coated.
- Sprinkle remaining ½ cup shredded cheddar cheese evenly over the hash brown mixture.
- Distribute the buttered cornflakes over the top in an even layer.
- Bake for 45-50 minutes, until the casserole is bubbling around the edges and the cornflake topping is golden brown.
- Remove from oven and let rest for 5-10 minutes before serving.
Nutrition: 320 calories
Made this? Rate it