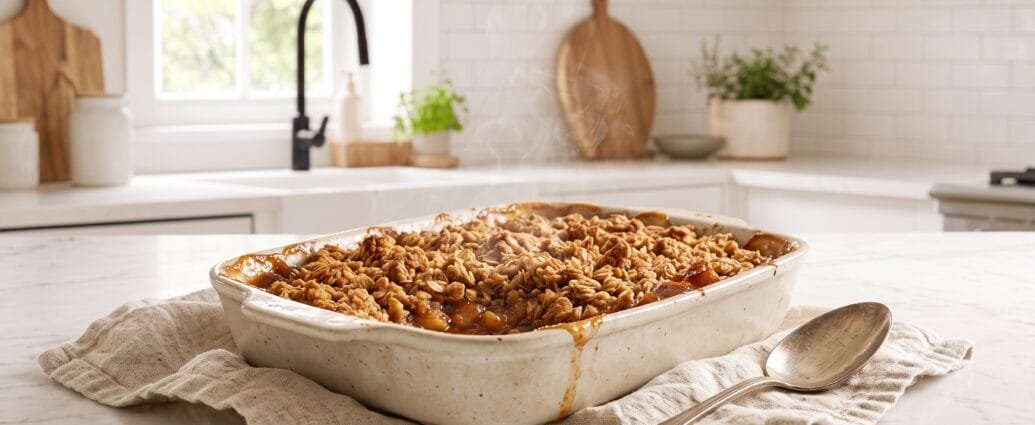
There’s something magical about the smell of cinnamon and baked apples wafting through your kitchen. This Easy Apple Crisp has been my go-to dessert for years, and I’m thrilled to share it with you today. It’s one of those recipes that feels like a warm hug – comforting, simple, and absolutely delicious.
I remember the first time I made this for my family on a chilly autumn evening. The combination of tender, spiced apples topped with a buttery, golden crisp topping had everyone coming back for seconds. What I love most is that it tastes like you spent hours in the kitchen, but it actually comes together in just minutes!
Why You Will Love This Recipe
This Easy Apple Crisp is going to become your new favorite dessert, and here’s why. First, it’s incredibly simple – if you can slice apples and mix a few ingredients in a bowl, you can make this recipe. There’s no complicated technique or special equipment required.
The texture is absolutely perfect. You get tender, cinnamon-spiced apples that are slightly jammy on the bottom, topped with a crispy, buttery oat topping that has the most wonderful crunch. It’s that contrast of textures that makes each bite so satisfying.
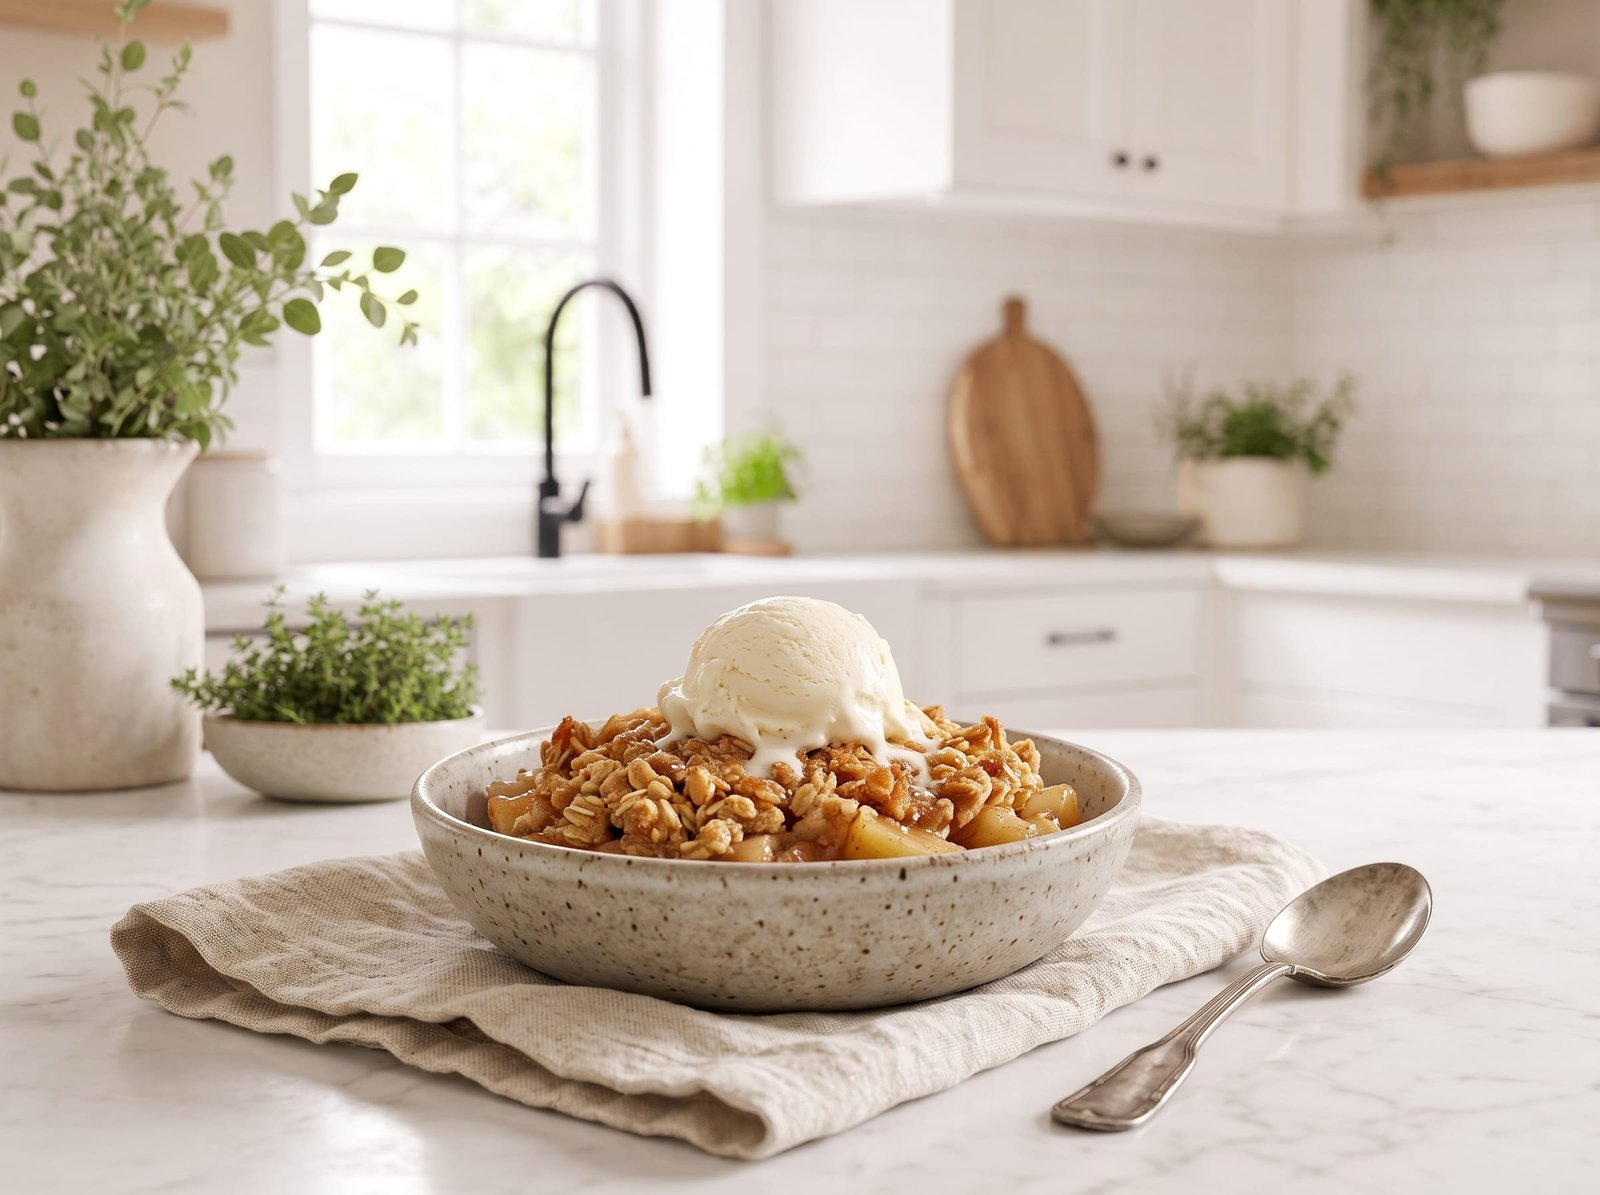
I also love how versatile this recipe is. Serve it warm with a scoop of vanilla ice cream for a classic presentation, or enjoy it for breakfast with a dollop of Greek yogurt. It’s fancy enough for entertaining but casual enough for a weeknight treat.
Another reason I adore this recipe is that it uses pantry staples you probably already have on hand. No need for a special trip to the grocery store – just grab those apples and get baking! Plus, it’s easily adaptable. Use whatever apples you have, adjust the sweetness to your liking, and even throw in some berries if you’re feeling adventurous.
Ingredients
Let me walk you through what you’ll need for this wonderful dessert. The ingredients are simple, wholesome, and create the most amazing flavors when combined.
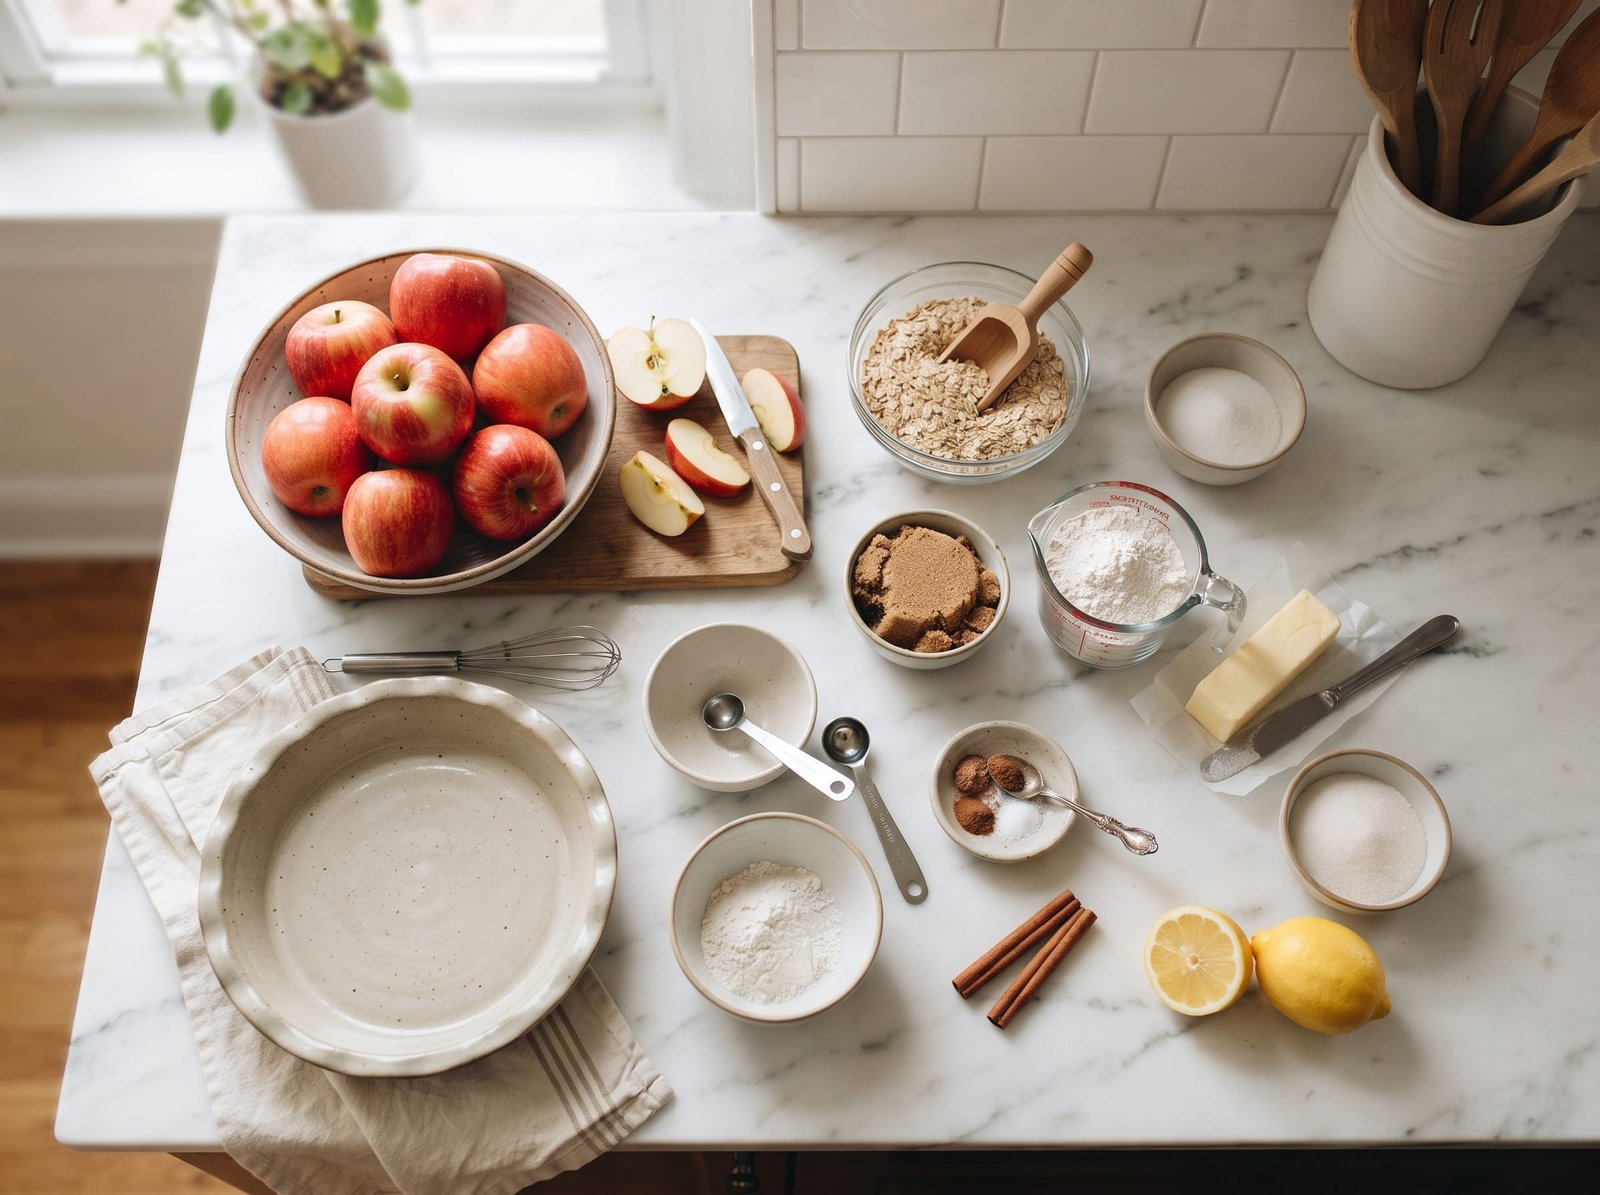
For the apple filling, you’ll need about two pounds of apples. I like to use a mix of Granny Smith and Honeycrisp for the perfect balance of tart and sweet, but any baking apple will work beautifully. You’ll also need granulated sugar, cinnamon, a touch of nutmeg, and a squeeze of lemon juice to keep those apples from browning and to brighten the flavors.
The crisp topping is where the magic happens! Old-fashioned rolled oats form the base – they give that wonderful texture we’re looking for. All-purpose flour helps bind everything together, while brown sugar adds a deep, caramel-like sweetness. Cold butter is essential for creating those crispy clusters, and a pinch of salt balances all the sweetness perfectly.
The beauty of these ingredients is that they’re probably already in your pantry. There’s nothing exotic or hard to find, which makes this recipe perfect for those spontaneous baking moments when you need dessert in a hurry.
Step-by-Step Instructions
Let me guide you through making this Easy Apple Crisp. Trust me, it’s so straightforward that you’ll have it memorized after making it just once!
Prepare Your Apples: Start by preheating your oven to 350°F (175°C). Peel your apples (or leave the peels on if you prefer – I sometimes do for extra fiber and texture), then core and slice them into roughly ¼-inch thick pieces. Place them in a large mixing bowl and toss with the granulated sugar, cinnamon, nutmeg, and lemon juice. Make sure every slice is coated with those warm spices. Transfer this beautiful apple mixture into a greased 9×13 inch baking dish, spreading it out evenly.
Make the Crisp Topping: In another bowl, combine your oats, flour, brown sugar, and salt. Give it a quick stir to distribute everything evenly. Now here’s the fun part – cut your cold butter into small cubes and add it to the oat mixture. Using your fingers or a pastry cutter, work the butter into the dry ingredients until the mixture resembles coarse crumbs with some pea-sized pieces of butter still visible. This is what creates those irresistible crispy clusters!
Assemble and Bake: Sprinkle the crisp topping evenly over your prepared apples, making sure to cover them completely. Don’t pack it down – let it sit loosely on top. Pop the dish into your preheated oven and bake for 45-50 minutes. You’ll know it’s done when the topping is golden brown and crispy, and you can see the apple filling bubbling up around the edges.
Cool and Serve: This is the hardest part – letting it cool for at least 15 minutes before serving! I know it’s tempting to dive right in, but giving it a little time to set makes it so much easier to serve. Plus, it prevents any burnt tongues from that piping hot apple filling.
Tips
After making this recipe countless times, I’ve picked up a few tricks that will help you achieve apple crisp perfection every single time.
Choose the Right Apples: Not all apples are created equal when it comes to baking. I recommend using firm, tart apples like Granny Smith, Honeycrisp, or Braeburn. These varieties hold their shape during baking and won’t turn to mush. My personal favorite is using a combination of two different types for more complex flavor.
Keep the Butter Cold: This is crucial for achieving that perfectly crispy topping. Cold butter creates steam pockets as it melts in the oven, which results in a flakier, crispier texture. If your kitchen is warm, pop the butter cubes in the freezer for a few minutes before incorporating them into the topping.
Don’t Overmix the Topping: When working the butter into the oat mixture, stop when you still see some larger pieces of butter. Overmixing will give you more of a solid crust rather than those delicious crispy clusters we’re after.
Slice Apples Uniformly: Try to keep your apple slices roughly the same thickness so they cook evenly. If some pieces are much thicker than others, you’ll end up with some that are perfectly tender and others that are still crunchy.
Customize Your Spices: While I love the classic cinnamon and nutmeg combination, feel free to experiment! A pinch of cardamom, ginger, or even a splash of vanilla extract can add wonderful depth to your apple filling.
Make It Ahead: You can assemble this entire dish up to 24 hours in advance. Just cover it tightly with plastic wrap and refrigerate. When you’re ready to bake, you may need to add an extra 5-10 minutes to the baking time since it’s starting cold.
Kitchen Gear for This Recipe
As an Amazon Associate, The Kitchen’s Aid earns from qualifying purchases at no extra cost to you.
Frequently Asked Questions
Can I use quick oats instead of old-fashioned oats?
I don’t recommend it for this recipe. Quick oats are more processed and will absorb more moisture, resulting in a softer, less crispy topping. Old-fashioned rolled oats give you that wonderful texture and distinct oat flavor we’re looking for in a crisp.
Do I have to peel the apples?
Not necessarily! While I usually peel them for a more refined texture, leaving the peels on adds extra fiber and nutrients. The peels will soften during baking, though they’ll add a slightly chewier texture to your filling.
How do I store leftovers?
Cover your apple crisp tightly with plastic wrap or transfer it to an airtight container. It will keep in the refrigerator for up to 5 days. I actually think it tastes even better the next day after the flavors have had time to meld! Reheat individual portions in the microwave or warm the whole dish in a 350°F oven for about 15 minutes.
Can I freeze apple crisp?
Absolutely! You can freeze it either baked or unbaked. For unbaked, assemble the crisp completely, wrap it tightly in plastic wrap and then aluminum foil, and freeze for up to 3 months. Bake from frozen, adding about 15-20 extra minutes to the baking time. For baked crisp, cool completely before freezing. Thaw overnight in the refrigerator and reheat in the oven.
My topping isn’t getting crispy. What am I doing wrong?
This usually happens if the butter was too soft or if the topping was packed down too firmly. Make sure you’re using cold butter and sprinkling the topping loosely over the apples. Also, make sure your oven temperature is accurate – an oven thermometer is a great investment!
Can I add other fruits to this recipe?
Definitely! Pears are a wonderful addition or substitution. You can also add fresh or frozen berries, though be aware that berries release quite a bit of juice, so you may want to add a tablespoon of cornstarch to the filling to thicken it up.
What’s the difference between apple crisp and apple crumble?
They’re very similar! The main difference is that crisps traditionally include oats in the topping, while crumbles typically don’t. Both are delicious, but the oats in a crisp give it that extra-special texture and heartiness.
This Easy Apple Crisp truly is one of the most comforting desserts I know. Whether you’re serving it at a holiday gathering, bringing it to a potluck, or simply treating yourself on a quiet evening at home, it never fails to delight. The combination of warm, spiced apples and that incredible crispy topping is simply irresistible. I hope this recipe brings as much joy to your kitchen as it has to mine. Happy baking!
Easy Apple Crisp
American · Dessert
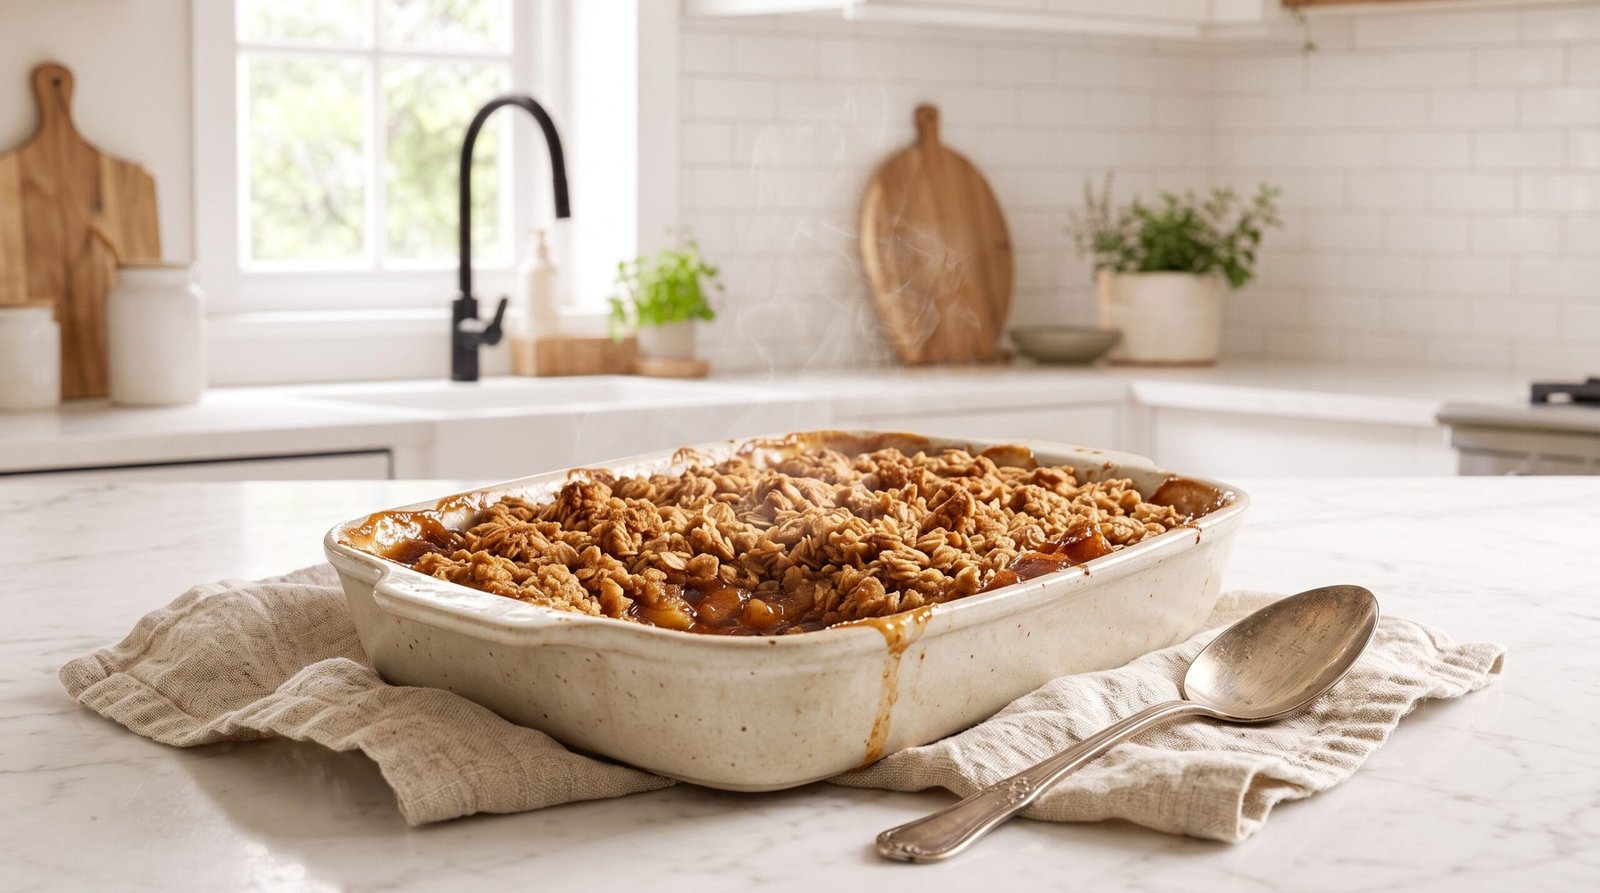
A classic apple crisp with tender cinnamon-spiced apples and a buttery, golden oat topping. Simple to make and absolutely delicious!
Ingredients
- 2 pounds (about 6 medium) apples, peeled, cored, and sliced
- ¼ cup granulated sugar
- 1 teaspoon ground cinnamon
- ¼ teaspoon ground nutmeg
- 1 tablespoon lemon juice
- 1 cup old-fashioned rolled oats
- ¾ cup all-purpose flour
- ¾ cup packed brown sugar
- ½ teaspoon salt
- ½ cup (1 stick) cold unsalted butter, cut into cubes
Instructions
- Preheat oven to 350°F (175°C). Grease a 9x13 inch baking dish.
- In a large bowl, combine sliced apples, granulated sugar, cinnamon, nutmeg, and lemon juice. Toss until apples are evenly coated.
- Transfer apple mixture to the prepared baking dish and spread into an even layer.
- In a separate bowl, combine oats, flour, brown sugar, and salt. Stir to mix.
- Add cold butter cubes to the oat mixture. Using your fingers or a pastry cutter, work the butter into the dry ingredients until the mixture resembles coarse crumbs with some pea-sized pieces of butter remaining.
- Sprinkle the crisp topping evenly over the apples, covering them completely. Do not pack down.
- Bake for 45-50 minutes, until the topping is golden brown and crispy, and the apple filling is bubbling around the edges.
- Remove from oven and let cool for at least 15 minutes before serving.
- Serve warm, optionally topped with vanilla ice cream or whipped cream.
Nutrition: 285 calories
Made this? Rate it