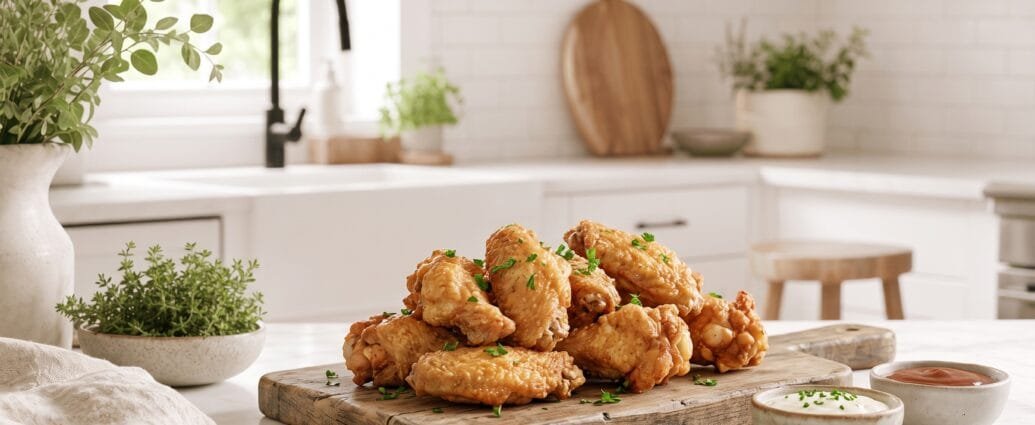
Crispy Air Fryer Chicken Wings: Perfectly Golden Every Time
Hey there, friends! It’s Mia, and today I’m sharing one of my absolute favorite game-day (or any day!) recipes that has completely transformed how I make chicken wings at home. These crispy air fryer chicken wings are so incredibly crunchy on the outside and juicy on the inside, you won’t believe they weren’t deep-fried!
I discovered this method about two years ago when I was looking for a healthier alternative to traditional fried wings, and let me tell you—I’ve never looked back. The air fryer creates the most beautiful, golden-brown exterior with a fraction of the oil, and cleanup is an absolute breeze. Whether you’re hosting a Super Bowl party, having friends over for movie night, or just treating yourself to something special, these wings are guaranteed to disappear in minutes.
Why You’ll Love This Recipe
I genuinely get excited every time I make these wings, and here’s why you will too:
Incredibly Crispy: The air fryer circulation creates that coveted restaurant-quality crunch that we all crave. I’m talking shatteringly crisp skin that gives way to tender, juicy meat. It’s the kind of texture that makes you close your eyes and savor every bite.
Healthier Option: Using minimal oil means you can enjoy wings without the heavy, greasy feeling. I love that I can indulge in my favorite comfort food while still feeling good about what I’m eating. You’re cutting out so much unnecessary fat without sacrificing any of the flavor or texture.
Quick and Easy: From start to finish, these wings come together in under an hour. There’s no dealing with a pot of hot oil, no splattering, and no lingering fried food smell in your kitchen. Just pop them in the air fryer and let it work its magic.
Endlessly Versatile: The beauty of this recipe is that it creates a perfect blank canvas for any sauce or seasoning you love. I’ve made these with buffalo sauce, honey garlic glaze, Korean gochujang, dry rubs, lemon pepper—the possibilities are truly endless. You can customize them to match any craving.
Perfect for Meal Prep: These wings reheat beautifully, so I often make a double batch and enjoy them throughout the week. They’re fantastic in salads, wraps, or just straight from the fridge as a protein-packed snack.
Ingredients
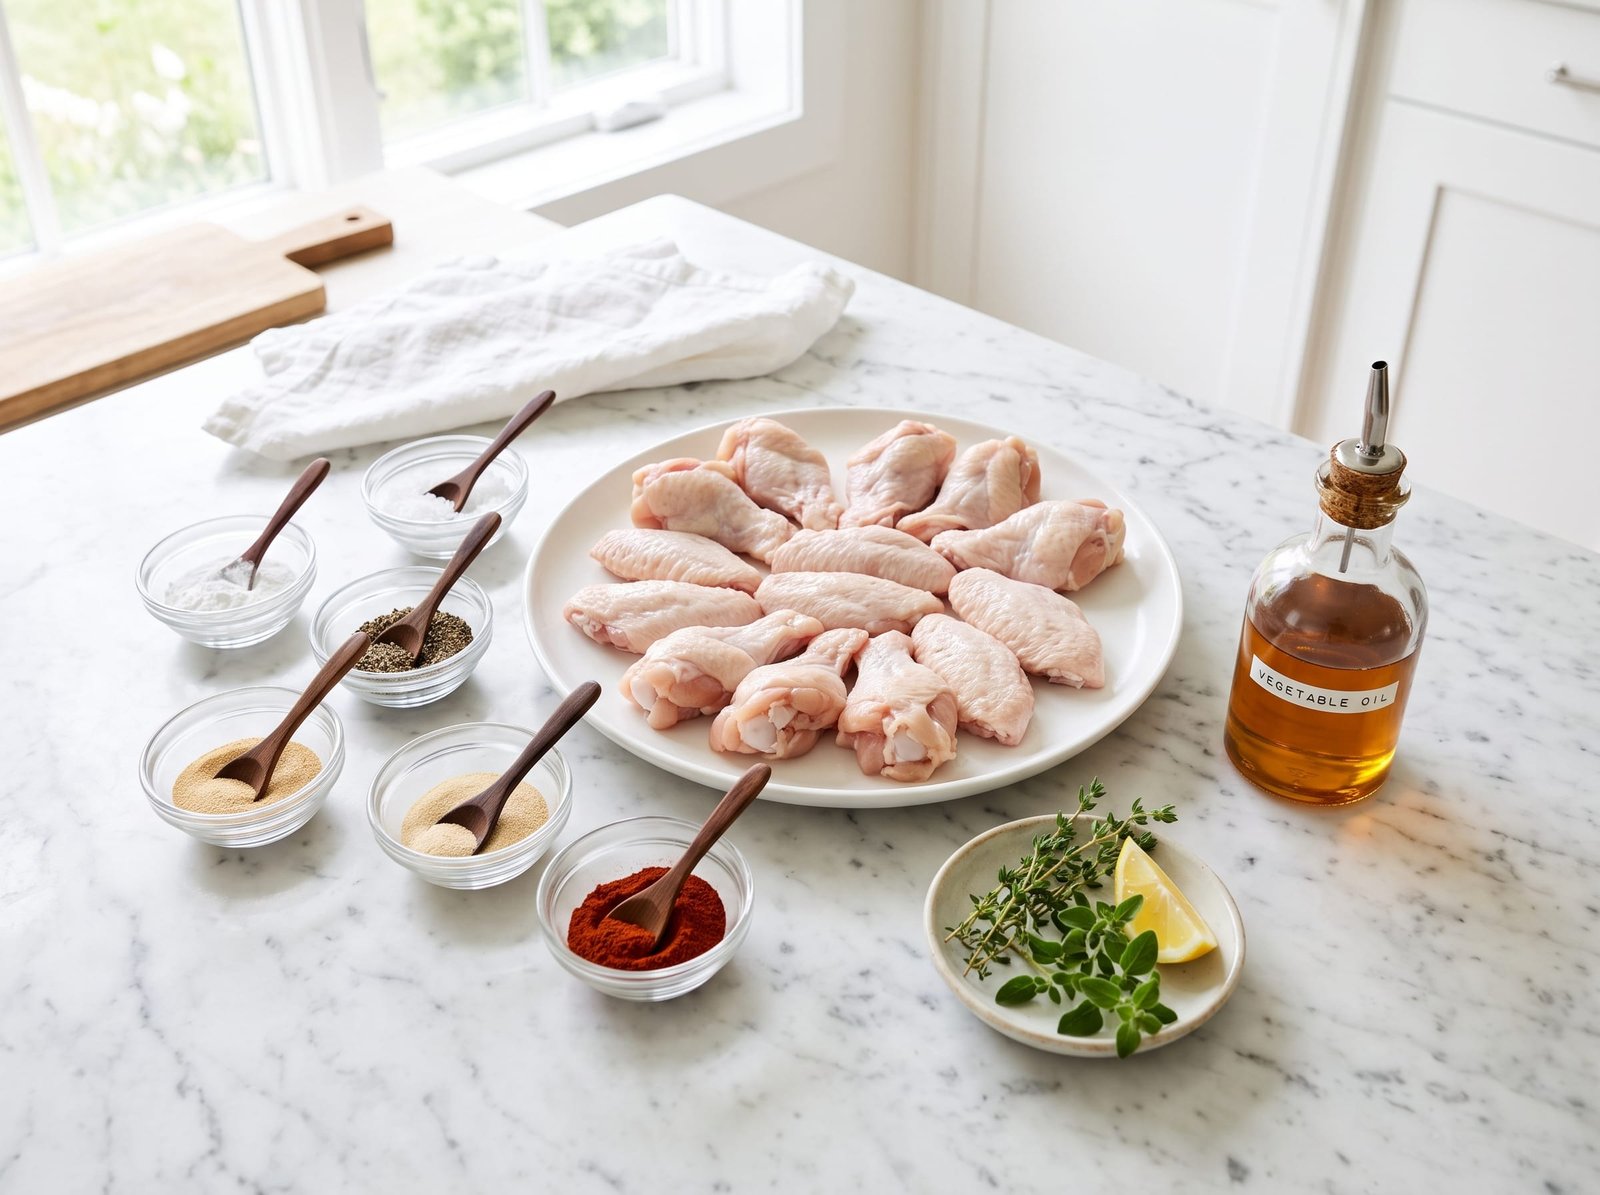
The ingredient list for these wings is refreshingly simple, which is one of the things I love most about this recipe. You probably have most of these items in your pantry already:
- 2 pounds chicken wings, separated into drumettes and flats
- 1 tablespoon baking powder (not baking soda!)
- 1 teaspoon kosher salt
- 1/2 teaspoon black pepper
- 1/2 teaspoon garlic powder
- 1/2 teaspoon onion powder
- 1/4 teaspoon paprika
- 1 tablespoon vegetable oil or avocado oil
- Optional: your favorite wing sauce for tossing
A quick note on the baking powder—this is the secret ingredient that creates that ultra-crispy skin! It raises the pH of the chicken skin, which helps it brown and crisp up beautifully. Just make sure you’re using baking powder and not baking soda, as they’re very different.
Step-by-Step Instructions
Let me walk you through exactly how I make these perfect wings every single time. I’ve refined this process through countless batches, and these steps will ensure your success!
Step 1: Pat the Wings Dry
This is absolutely crucial, friends! Take your chicken wings and pat them completely dry with paper towels. I mean really dry—any moisture on the surface will create steam instead of allowing the skin to crisp up. I usually go through several paper towels to make sure every wing is thoroughly dried. This step alone makes a huge difference in the final texture.
Step 2: Season the Wings
In a large bowl, combine the baking powder, salt, black pepper, garlic powder, onion powder, and paprika. Add your dried wings to the bowl and toss them thoroughly to coat every surface. The baking powder should be evenly distributed—you don’t want any clumps. Then drizzle the oil over the wings and toss again until everything is well combined and each wing has a light coating.
Step 3: Preheat the Air Fryer
Preheat your air fryer to 380°F for about 3-5 minutes. I find that preheating helps the wings start cooking immediately and promotes even crisping. While it’s preheating, I arrange my wings in a single layer, making sure they’re ready to go.
Step 4: First Cook
Place the wings in a single layer in your air fryer basket. Don’t overcrowd them—the air needs to circulate around each wing for maximum crispiness. Depending on your air fryer size, you may need to work in batches. Cook at 380°F for 12 minutes.
Step 5: Flip and Continue Cooking
After the first 12 minutes, carefully flip each wing over using tongs. This ensures even browning on both sides. Return the basket to the air fryer and cook for another 12 minutes at 380°F.
Step 6: Increase Temperature for Extra Crisp
Here’s where the magic happens! Increase the temperature to 400°F and cook for an additional 5-7 minutes. This final blast of high heat creates that incredible, shatteringly crisp exterior. Keep an eye on them during this stage—you want them golden brown, not burnt.
Step 7: Rest and Sauce
Remove the wings from the air fryer and let them rest for about 2-3 minutes. This allows the juices to redistribute and the exterior to set up even crispier. If you’re tossing them in sauce, now’s the time! Transfer them to a large bowl, add your sauce of choice, and toss until evenly coated. If you prefer them plain with the dry seasoning, they’re absolutely delicious that way too.
Tips for Perfect Air Fryer Wings
After making these wings dozens of times, I’ve learned a few tricks that take them from good to absolutely incredible:
Don’t Skip Drying: I know I mentioned this already, but it bears repeating—dry wings are the foundation of crispy wings. Sometimes I even let them air-dry in the refrigerator on a wire rack for an hour before cooking. This extra step removes even more moisture and results in the crispiest wings imaginable.
Work in Batches: I’d rather cook multiple batches than crowd the basket. Overcrowding creates steam and results in soggy, unevenly cooked wings. Give each wing its space to shine! The first batch can stay warm in a low oven while you finish the rest.
Temperature Matters: If your wings aren’t getting crispy enough, try increasing the temperature slightly or adding a few extra minutes to the final high-heat stage. Every air fryer is a bit different, so don’t be afraid to adjust based on your specific model.
Sauce Smart: If you’re using a wet sauce like buffalo or BBQ, toss the wings right before serving. The longer they sit in sauce, the softer the coating becomes. For maximum crispiness, I sometimes serve the sauce on the side for dipping instead of tossing.
Experiment with Flavors: The basic seasoning in this recipe is fantastic, but it’s also a perfect foundation for experimentation. I love adding smoked paprika for a smoky flavor, cayenne for heat, or even a touch of brown sugar for sweet and spicy wings. Have fun with it!
Check for Doneness: Wings should reach an internal temperature of 165°F. I use an instant-read thermometer to check the thickest part of a few wings to be sure. They should also have nice, golden-brown skin and the juices should run clear.
Kitchen Gear for This Recipe
As an Amazon Associate, The Kitchen’s Aid earns from qualifying purchases at no extra cost to you.
Frequently Asked Questions
Can I use frozen chicken wings?
While I always prefer fresh wings for the best texture, you can use frozen wings in a pinch. Just make sure they’re completely thawed and then pat them extra dry. Frozen wings tend to have more surface moisture, so that drying step becomes even more critical. You may also need to add a few extra minutes to the cooking time.
Do I need to use baking powder?
The baking powder is really the secret weapon in this recipe! It’s what creates that restaurant-quality crispy skin. While you could skip it, your wings won’t be nearly as crispy. Just remember—it’s baking powder, not baking soda. Using baking soda will give your wings an unpleasant metallic taste.
What if I don’t have an air fryer?
You can absolutely make these in a conventional oven! Place the seasoned wings on a wire rack set over a baking sheet and bake at 425°F for about 40-45 minutes, flipping halfway through. They won’t be quite as crispy as air-fried wings, but they’ll still be delicious.
How do I store leftover wings?
Store any leftover wings in an airtight container in the refrigerator for up to 4 days. To reheat, pop them back in the air fryer at 375°F for about 5-7 minutes to re-crisp the skin. You can also freeze cooked wings for up to 3 months—just thaw in the fridge overnight before reheating.
What sauces work best with these wings?
The sky’s the limit! I love classic buffalo sauce made with hot sauce and butter, sweet chili glaze, honey garlic, teriyaki, BBQ sauce, or even a spicy Korean gochujang sauce. For a dry rub option, try lemon pepper, Cajun seasoning, or a garlic parmesan coating. Each time I make these, I try a different flavor—it keeps things exciting!
Can I make these ahead of time?
I don’t recommend cooking them too far in advance, but you can definitely prep them ahead! Season the wings up to 24 hours before cooking and store them covered in the refrigerator. This actually helps dry out the skin even more and can result in extra crispy wings. Just take them out about 15 minutes before air frying to take the chill off.
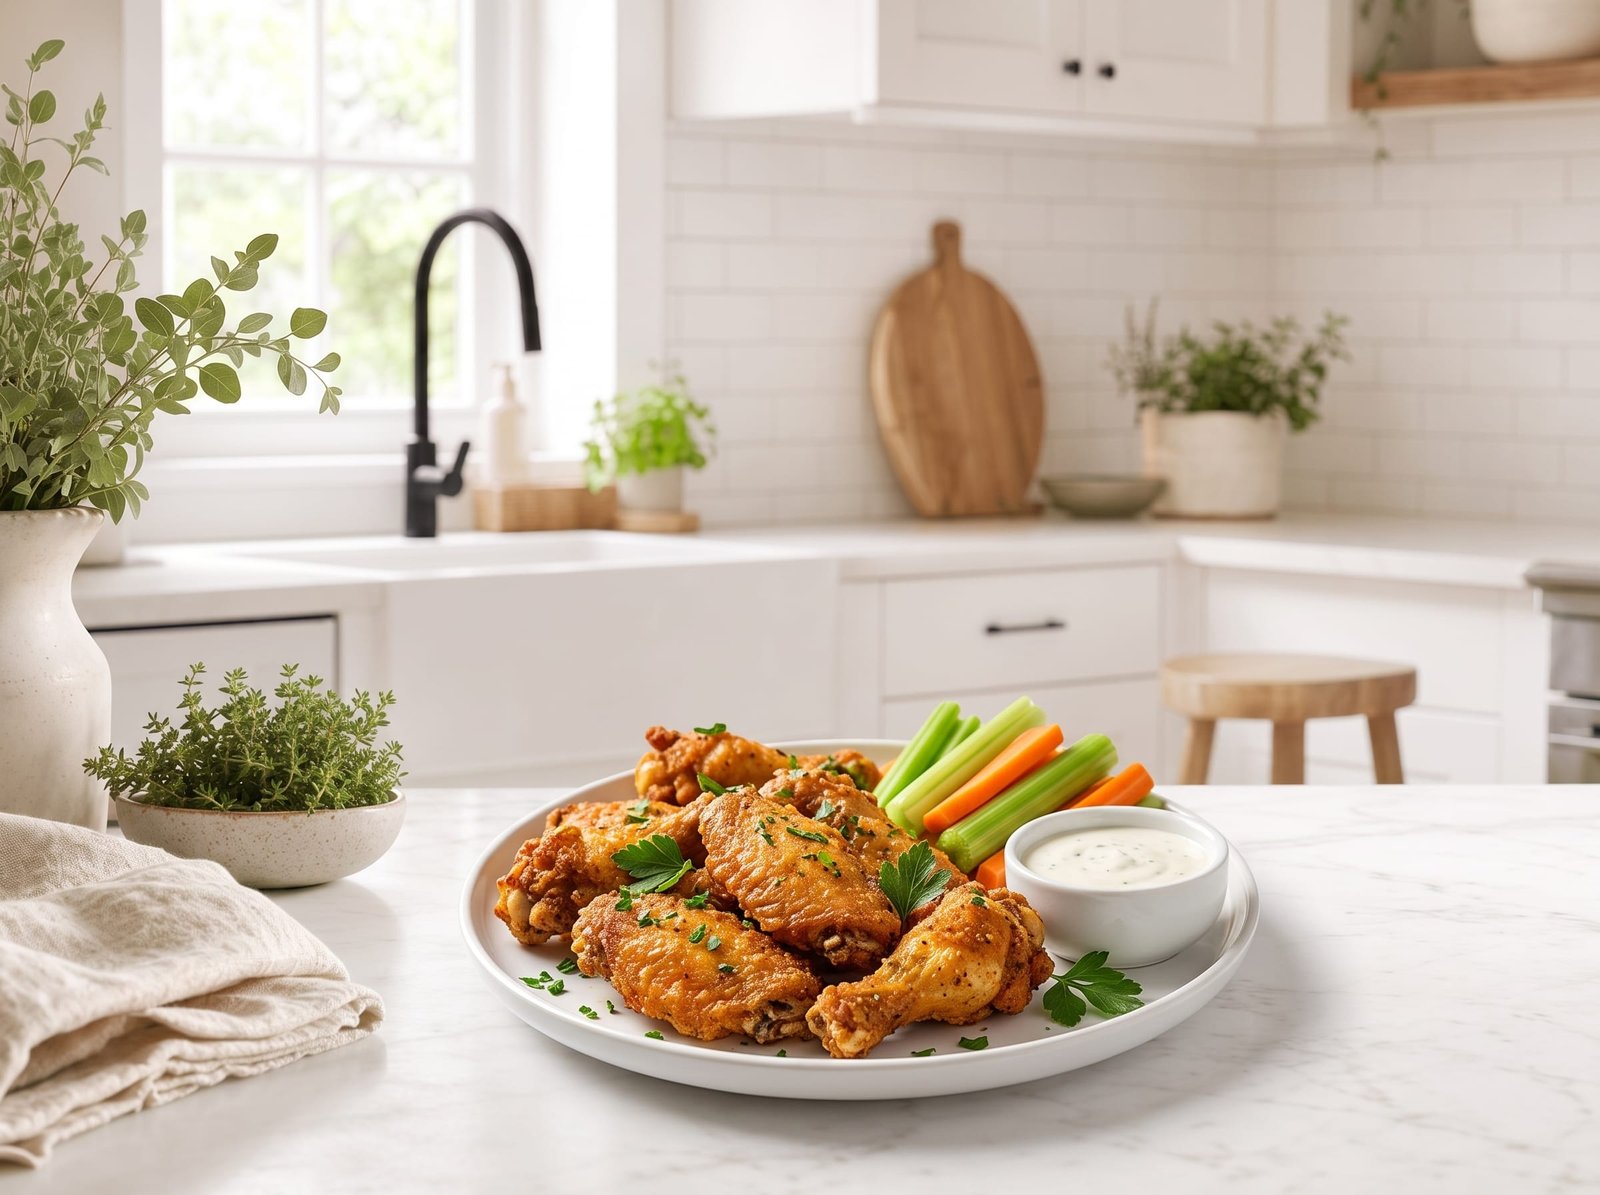
These crispy air fryer chicken wings have become an absolute staple in my kitchen, and I have a feeling they’ll become one in yours too. There’s something so satisfying about achieving that perfect crunch without all the fuss and mess of deep frying. Whether you’re making them for a crowd or just treating yourself to a delicious dinner, these wings deliver every single time.
I love serving these with celery sticks, carrot sticks, and a creamy blue cheese or ranch dressing for dipping. Add some crispy french fries or sweet potato fries on the side, and you’ve got yourself a meal that rivals any sports bar—except you’re enjoying it in the comfort of your own home!
I’d love to hear how your wings turn out! What’s your favorite way to season or sauce them? Drop a comment below and let me know, and don’t forget to share a photo of your crispy creations. Happy cooking, friends!
Crispy Air Fryer Chicken Wings
American · Main Course
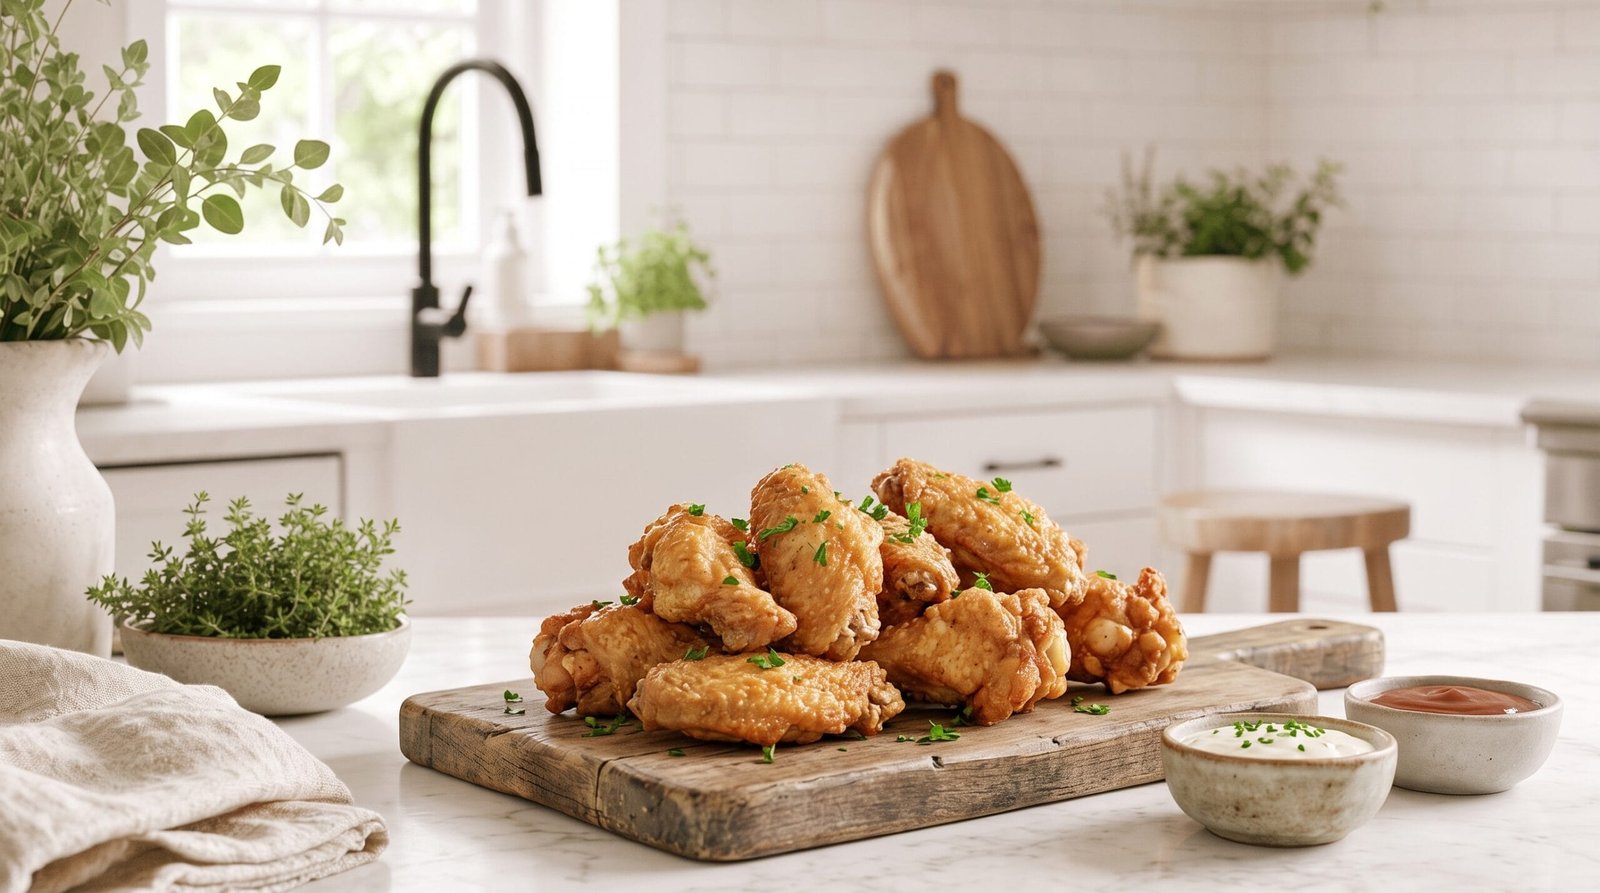
Ultra-crispy air fryer chicken wings with golden-brown skin and juicy meat. Simple seasoning and minimal oil create restaurant-quality wings at home.
Ingredients
- 2 pounds chicken wings, separated into drumettes and flats
- 1 tablespoon baking powder
- 1 teaspoon kosher salt
- 1/2 teaspoon black pepper
- 1/2 teaspoon garlic powder
- 1/2 teaspoon onion powder
- 1/4 teaspoon paprika
- 1 tablespoon vegetable oil or avocado oil
- Optional: your favorite wing sauce for tossing
Instructions
- Pat the chicken wings completely dry with paper towels, removing all surface moisture.
- In a large bowl, combine baking powder, salt, black pepper, garlic powder, onion powder, and paprika.
- Add dried wings to the bowl and toss thoroughly to coat evenly with the seasoning mixture.
- Drizzle oil over the wings and toss again until well combined.
- Preheat air fryer to 380°F for 3-5 minutes.
- Arrange wings in a single layer in the air fryer basket without overcrowding. Work in batches if necessary.
- Cook at 380°F for 12 minutes.
- Flip wings using tongs and cook for another 12 minutes at 380°F.
- Increase temperature to 400°F and cook for an additional 5-7 minutes until golden brown and crispy.
- Remove wings and let rest for 2-3 minutes.
- Toss with your favorite sauce if desired, or serve as-is with the dry seasoning.
Nutrition: 385 calories
Made this? Rate it