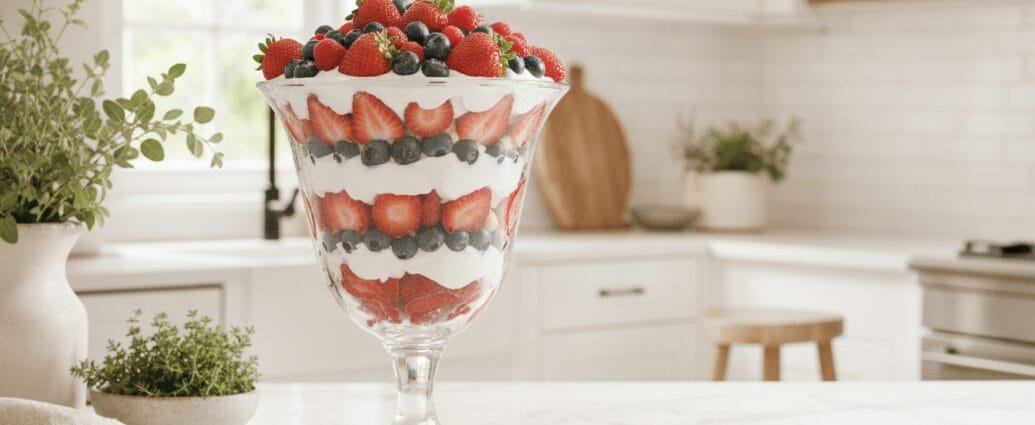
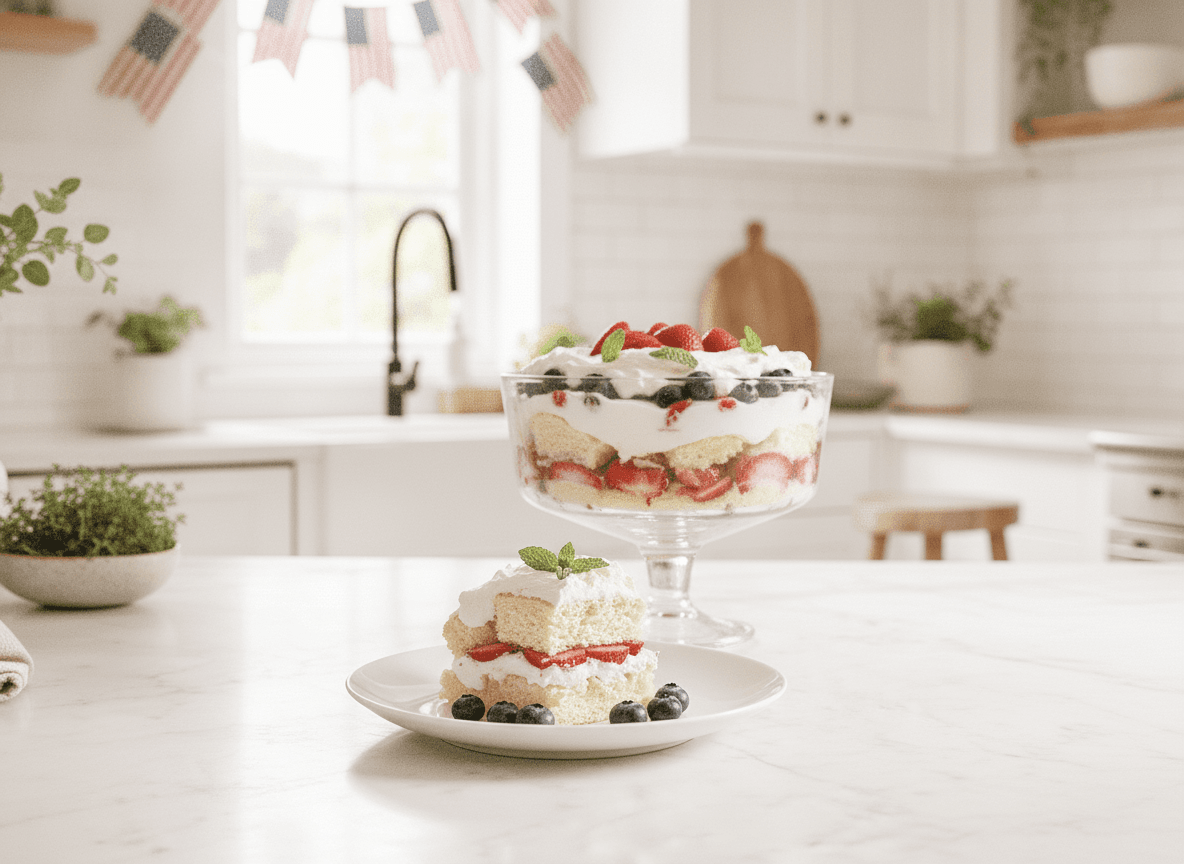
There’s something magical about gathering with loved ones on the 4th of July, and nothing says celebration quite like a stunning dessert that captures the spirit of the day. This 4th of July Berry Trifle has become my go-to recipe for Independence Day gatherings, and I’m thrilled to share it with you today!
The first time I made this trifle was for a neighborhood block party, and I’ll never forget the reactions when I brought it out. The layers of red strawberries, white cream, and blue blueberries created this gorgeous patriotic presentation that had everyone reaching for their cameras before their forks. But the real magic happened when people took that first bite – the combination of fluffy cake, velvety cream, and fresh berries is absolutely irresistible.
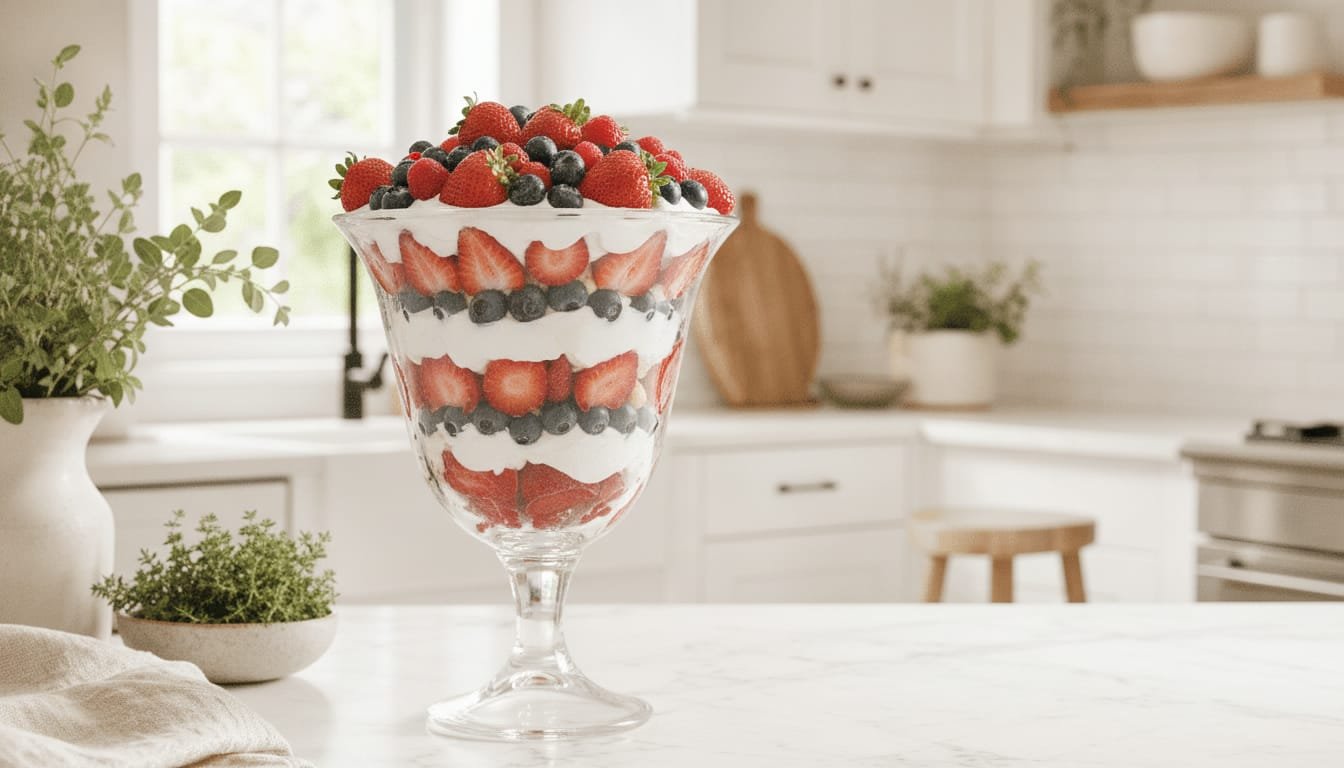
What I love most about this recipe is how it balances impressive presentation with simple preparation. You don’t need fancy pastry skills or special equipment – just a clear trifle bowl or even a large glass bowl to show off those beautiful layers. It’s the kind of dessert that makes you look like a culinary genius while keeping you cool in the kitchen on a hot summer day.
Why You’ll Love This Recipe
This 4th of July Berry Trifle is truly the perfect patriotic dessert, and here’s why it’ll become your Independence Day tradition too:
Make-ahead friendly: One of my favorite things about this trifle is that it actually gets better as it sits! You can assemble it the night before your celebration, which means one less thing to stress about on the day of your party. The cake soaks up the creamy layers and berry juices, creating an even more delicious dessert.
Feeds a crowd: This recipe serves 12-15 people easily, making it ideal for those big family gatherings and neighborhood cookouts. I’ve even doubled the recipe in two separate bowls for larger parties, and it’s always the first dessert to disappear.
No baking required: Well, unless you decide to make your cake from scratch (which I’ll give you options for). But on a hot July day, using a store-bought pound cake or angel food cake means you can skip turning on the oven entirely. Your air conditioning will thank you!
Customizable sweetness: I love that you can adjust the sweetness to your taste. Prefer things less sweet? Use unsweetened whipped cream and let the natural berry flavors shine. Got a serious sweet tooth? Add a little extra sugar or drizzle some berry sauce between the layers.
Stunning presentation: The layers of red, white, and blue are naturally festive and beautiful. Every single time I serve this, people comment on how gorgeous it looks. It’s Instagram-worthy without even trying!
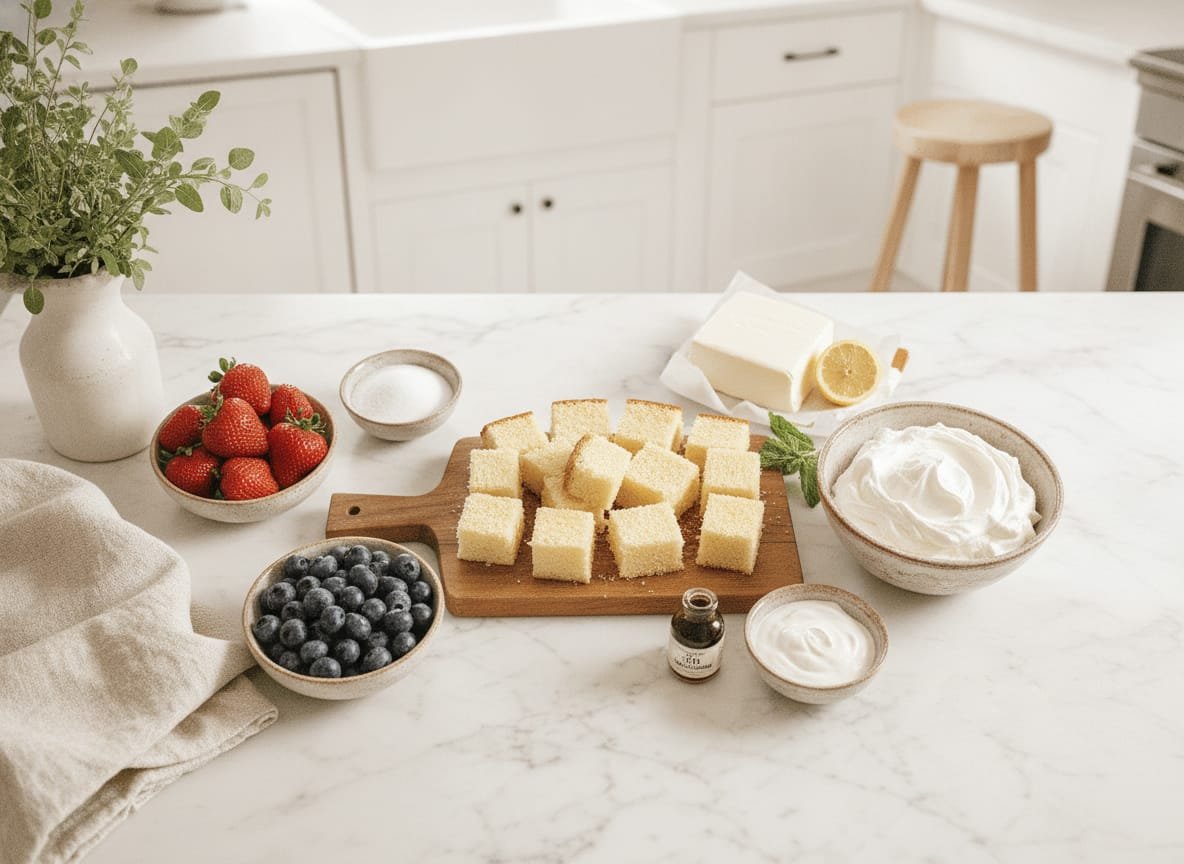
Ingredients
The beauty of this trifle is in its simplicity. Here’s what you’ll need to create this show-stopping dessert:
For the cake layer:
- 1 pound cake (store-bought or homemade) OR 1 angel food cake, cut into 1-inch cubes
- 1/4 cup berry liqueur or orange juice (optional, for brushing the cake)
For the cream layer:
- 2 cups heavy whipping cream, cold
- 1/4 cup powdered sugar
- 1 teaspoon vanilla extract
- 8 ounces cream cheese, softened to room temperature
- 1/2 cup granulated sugar
- 1 cup sour cream
For the berry layers:
- 2 pounds fresh strawberries, hulled and sliced
- 2 cups fresh blueberries
- 3 tablespoons granulated sugar (for macerating berries)
- 1 tablespoon lemon juice
For garnish:
- Additional fresh berries
- Fresh mint leaves (optional)
- Powdered sugar for dusting (optional)
A quick note on ingredients: I always use fresh berries for this recipe because they hold their shape and color better than frozen. The strawberries should be bright red and firm, and the blueberries should be plump and sweet. If you’re making this in early July, you’re in luck – that’s peak berry season in most places!
Step-by-Step Instructions
Let me walk you through creating this beautiful trifle. Take your time with the layering – it’s actually quite meditative and fun!
Step 1: Prepare the berries
In a medium bowl, combine your sliced strawberries with 2 tablespoons of sugar and the lemon juice. In a separate bowl, toss the blueberries with the remaining 1 tablespoon of sugar. Let both sit for about 15-20 minutes to macerate. This process draws out the natural juices and intensifies the berry flavor. You’ll see the berries start to release their gorgeous red and purple juices – that’s exactly what we want! Drain off about half the juice before using (save it for cocktails or drizzling over pancakes later).
Step 2: Make the cream mixture
In a large mixing bowl, beat the softened cream cheese with an electric mixer until it’s smooth and fluffy, about 2 minutes. Add the 1/2 cup granulated sugar and beat until well combined. Mix in the sour cream until smooth. In a separate bowl, whip the cold heavy cream with the powdered sugar and vanilla extract until stiff peaks form – this usually takes about 3-4 minutes. Gently fold the whipped cream into the cream cheese mixture using a spatula. Be gentle here; you want to maintain that beautiful, fluffy texture. The mixture should be thick, creamy, and spreadable.
Step 3: Prepare the cake
Cut your pound cake or angel food cake into 1-inch cubes. If you’re using the optional berry liqueur or orange juice, lightly brush it over the cake cubes in a large bowl. This adds moisture and extra flavor, but it’s totally optional – the trifle will be delicious either way!
Step 4: Start layering
Now for the fun part! In your trifle bowl or large glass bowl, start with a layer of cake cubes covering the bottom. You’ll use about one-third of your cake here. Press them down gently to create an even layer. Next, spread about one-third of your cream mixture over the cake, making sure to spread it all the way to the edges of the bowl so people can see those beautiful white layers from the outside.
Step 5: Add the strawberry layer
Arrange about half of your macerated strawberries over the cream layer. I like to press some of them against the glass sides for that gorgeous visual effect. The bright red against the white cream is just stunning.
Step 6: Continue layering
Repeat with another layer: cake cubes, cream mixture, and this time add your blueberries. Again, press some against the glass for that beautiful blue layer that everyone will see. Continue with one more layer of cake, cream, and finish with the remaining strawberries on top.
Step 7: Create the final touches
For the top layer, I like to get a bit artistic. Arrange fresh strawberry slices and blueberries in a decorative pattern. You could create stars, stripes, or just a beautiful scattered arrangement. I sometimes add fresh mint leaves for a pop of green and extra freshness. A light dusting of powdered sugar adds an elegant finish.
Step 8: Chill and serve
Cover your trifle with plastic wrap and refrigerate for at least 4 hours, or preferably overnight. This chilling time allows all the flavors to meld together and the cake to soak up some of that delicious cream. The texture becomes more cohesive, and somehow everything tastes even better. When you’re ready to serve, use a large spoon to scoop down through all the layers so everyone gets a taste of everything in each serving.
Tips for the Perfect Berry Trifle
Choose the right bowl: A clear glass trifle bowl is ideal because it shows off all those beautiful layers, but any large glass bowl will work. I’ve even used a large glass salad bowl in a pinch! Just make sure it holds at least 3 quarts.
Keep everything cold: Cold cream whips better and holds its shape longer. I even chill my mixing bowl and beaters for about 15 minutes before whipping cream. This is especially important on hot summer days.
Don’t overdrain the berries: You want to remove excess liquid so your trifle doesn’t become soggy, but leaving some of that delicious berry juice adds moisture and flavor. I usually drain about half and keep the rest.
Cake alternatives: While I love pound cake for its buttery richness, angel food cake makes a lighter version that’s perfect for hot weather. Ladyfingers also work beautifully! For a fun twist, try vanilla or lemon cake.
Make it boozy: For an adults-only version, brush the cake layers with berry liqueur, Grand Marnier, or even champagne. It adds a sophisticated touch that pairs beautifully with the berries.
Storage tips: This trifle keeps well covered in the refrigerator for up to 3 days, though the cake will continue to soften. I actually think it’s best on day two when everything has really melded together.
Serving size hack: Use individual glasses or mason jars to make personal trifles! They’re easier to serve at casual gatherings and look adorable. Plus, everyone loves getting their own dessert.
Keep berries fresh: Don’t wash your berries until you’re ready to use them. Excess moisture can cause them to spoil faster. When you do wash them, make sure they’re completely dry before adding sugar.
Frequently Asked Questions
Can I make this trifle ahead of time?
Absolutely! In fact, I recommend it. This trifle actually improves after sitting in the refrigerator overnight as the flavors meld and the cake soaks up the cream. You can make it up to 24 hours ahead. Just save the final decorative berry arrangement on top until a few hours before serving to keep it looking fresh.
Can I use frozen berries instead of fresh?
I don’t recommend frozen berries for this recipe. They release too much liquid when thawed and can make your trifle watery. They also lose their firm texture and vibrant color. Fresh berries really make a difference here, both in taste and appearance.
What if I don’t have a trifle bowl?
No problem! Any large, clear glass bowl works beautifully. I’ve used large glass salad bowls, punch bowls, and even a large glass mixing bowl. You could also make individual trifles in wine glasses, mason jars, or small glass dessert bowls. The clear glass is key so you can see those beautiful red, white, and blue layers.
Can I make this lighter or healthier?
Yes! Substitute light cream cheese and use Greek yogurt in place of sour cream. You can also use sugar-free sweeteners if you prefer. For the whipped cream, you could use a light whipped topping, though the texture won’t be quite as rich. Angel food cake instead of pound cake also makes it lighter.
How do I prevent my whipped cream from deflating?
Make sure your cream is very cold, and don’t overbeat it – stop as soon as stiff peaks form. Folding it into the cream cheese mixture gently is important too. Adding a tablespoon of powdered gelatin (dissolved in 2 tablespoons of hot water and cooled) to the whipped cream will help it stay stable longer, which is great for hot weather entertaining.
What other berries can I use?
While strawberries and blueberries are classic for the patriotic color scheme, you could add raspberries or blackberries. Just keep in mind you want to maintain that red, white, and blue theme. Raspberries work great as a substitute for strawberries if you prefer their tartness.
My cream mixture seems too thick/thin, what went wrong?
If it’s too thick, you might have overbeaten the whipped cream or the cream cheese wasn’t soft enough. If it’s too thin, the whipped cream might not have been whipped to stiff peaks, or your cream cheese was too soft. The mixture should be thick enough to spread but still light and fluffy.
Can I use Cool Whip instead of making whipped cream?
You can, and I won’t judge! While homemade whipped cream tastes better and has a better texture, Cool Whip is certainly more convenient. If using Cool Whip, you’ll need about 12 ounces (one and a half 8-ounce containers). Just fold it into the cream cheese mixture as you would the homemade whipped cream.
This 4th of July Berry Trifle has become more than just a recipe in my kitchen – it’s become a tradition. Every year, my family requests it, and every year, I’m happy to oblige because it never fails to impress. There’s something wonderful about watching people’s faces light up when you bring out this stunning dessert, and even better when they take that first delicious bite.
Whether you’re hosting a big backyard barbecue, attending a potluck picnic, or just want to celebrate America’s birthday with something special, this trifle delivers on all fronts. It’s beautiful, delicious, feeds a crowd, and captures the spirit of the holiday perfectly. Plus, it keeps you out of a hot kitchen, which is always a win in my book!
I hope this recipe becomes a tradition in your home too. Happy 4th of July, and happy cooking!
4th of July Berry Trifle
American · Dessert
A stunning patriotic dessert with layers of fluffy cake, creamy vanilla filling, fresh strawberries, and blueberries perfect for Independence Day celebrations.
Ingredients
- 1 pound cake (store-bought or homemade) OR 1 angel food cake, cut into 1-inch cubes
- 1/4 cup berry liqueur or orange juice (optional)
- 2 cups heavy whipping cream, cold
- 1/4 cup powdered sugar
- 1 teaspoon vanilla extract
- 8 ounces cream cheese, softened
- 1/2 cup granulated sugar
- 1 cup sour cream
- 2 pounds fresh strawberries, hulled and sliced
- 2 cups fresh blueberries
- 3 tablespoons granulated sugar (for berries)
- 1 tablespoon lemon juice
- Additional fresh berries for garnish
- Fresh mint leaves (optional)
- Powdered sugar for dusting (optional)
Instructions
- In a medium bowl, combine sliced strawberries with 2 tablespoons sugar and lemon juice. In a separate bowl, toss blueberries with remaining 1 tablespoon sugar. Let both sit for 15-20 minutes to macerate. Drain off about half the released juices.
- In a large bowl, beat softened cream cheese with an electric mixer until smooth and fluffy, about 2 minutes. Add 1/2 cup granulated sugar and beat until combined. Mix in sour cream until smooth.
- In a separate bowl, whip cold heavy cream with powdered sugar and vanilla extract until stiff peaks form, about 3-4 minutes. Gently fold whipped cream into cream cheese mixture with a spatula until combined.
- Cut pound cake or angel food cake into 1-inch cubes. If using, lightly brush cake cubes with berry liqueur or orange juice.
- In a trifle bowl or large glass bowl, layer one-third of cake cubes on the bottom. Spread one-third of cream mixture over cake, reaching to edges of bowl.
- Arrange half of the macerated strawberries over the cream layer, pressing some against the glass sides for visual effect.
- Add another layer of cake cubes, cream mixture, and all of the blueberries, again pressing some against the glass.
- Continue with final layer of cake, cream mixture, and top with remaining strawberries. Arrange fresh berries decoratively on top. Add mint leaves and dust with powdered sugar if desired.
- Cover with plastic wrap and refrigerate for at least 4 hours, preferably overnight, before serving. Serve by scooping down through all layers.
Nutrition: 385 calories