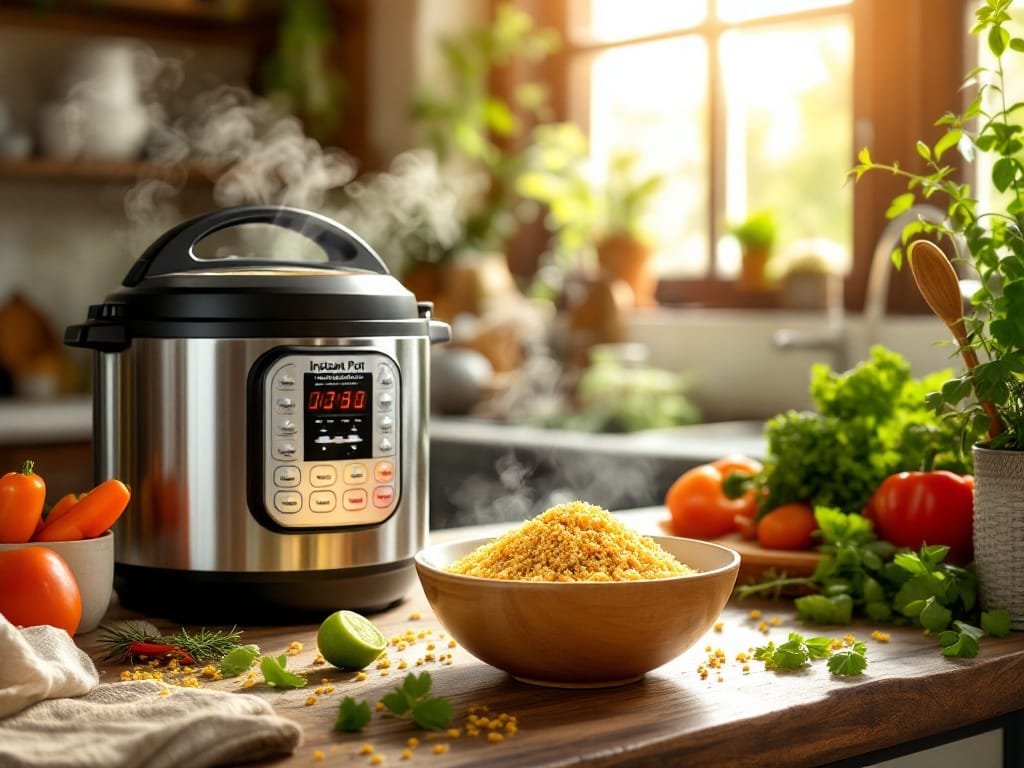
Hey there! If you’re looking for a foolproof, fluffy, and flavorful quinoa recipe, I’ve got you covered. Today, we’re diving into Instant Pot Quinoa—a quick, hands-off way to make perfectly cooked quinoa every single time. Whether you’re new to quinoa or a seasoned grain guru, this recipe is about to become your go-to. No babysitting a pot on the stove required—just set it, forget it, and enjoy!
If you’ve been searching for a game-changer in the kitchen, this Instant Pot Quinoa is it.
Why You’ll Love This Recipe
- Effortless: No need to watch the pot or worry about the water-to-grain ratio—it’s all done for you.
- Versatile: Works as a base for salads, power bowls, side dishes, or even breakfast (hello, quinoa porridge!).
- Nutritious & Delicious: Packed with protein, fiber, and a nutty flavor that’s so satisfying.
- Quick: With just a 1-minute cook time (plus natural release), your quinoa is ready in a flash!
Ingredients Breakdown
- 1 cup quinoa: Any variety works—white, red, or tricolor. Rinse it thoroughly to remove any bitter coating.
- 1 ¼ cups water or broth: For a flavor boost, opt for vegetable or chicken stock. Water works perfectly too for a simple base.
- Pinch of salt: Optional, but it enhances the natural nutty flavor of the quinoa.
Pro Tips:
- No time to rinse quinoa? Some pre-packaged brands come pre-rinsed. Double-check the label!
- For extra flavor, you can toast the quinoa in the Instant Pot on the sauté setting before adding liquid.
Step-by-Step Instructions
Ready to see how simple this is? Let’s do it together!
- Rinse the quinoa under cool water using a fine-mesh sieve until the water runs clear. This removes the natural coating that can taste bitter.
- Place the rinsed quinoa in the Instant Pot. Add the water or broth and a pinch of salt, if using.
- Secure the lid and set the valve to the “Sealing” position.
- Select the “Manual” or “Pressure Cook” setting and set the timer for 1 minute at High Pressure.
- When the timer beeps, allow the pressure to release naturally for 10 minutes. Then, turn the valve to “Venting” to release any remaining pressure.
- Remove the lid, fluff the quinoa gently with a fork, and let it sit for a few minutes before serving.

Chef’s Tips and Tricks
- Avoid the mush: Stick to the 1:1.25 quinoa-to-liquid ratio. Too much liquid can lead to soggy grains.
- Meal Prep Magic: Cook a double portion and store leftovers in an airtight container for up to 5 days. Perfect for quick lunches!
- Flavor Boost: Add a bay leaf, garlic clove, or a teaspoon of olive oil for an aromatic twist.
Recipe Variations and Serving Suggestions
- Herbed Quinoa: Stir in fresh chopped parsley, cilantro, or dill after cooking for a burst of freshness.
- Spiced Quinoa: Add a pinch of cumin, smoked paprika, or turmeric to the liquid before cooking.
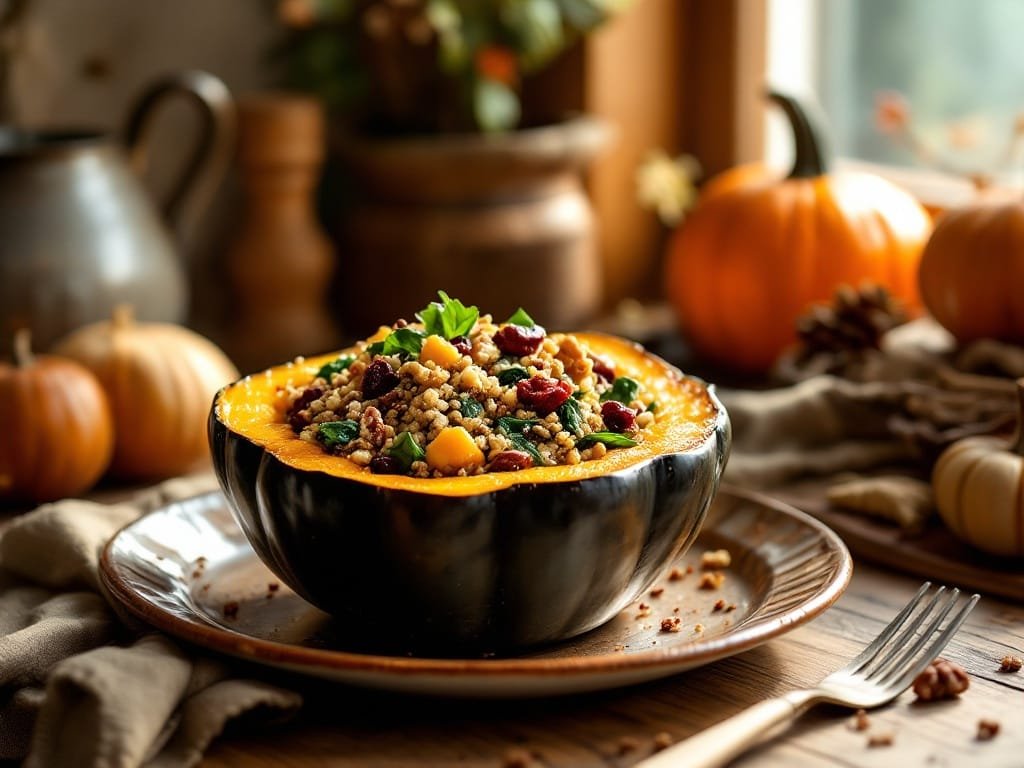
- Quinoa Bowls: Use as a base and add roasted vegetables, avocado, grilled chicken, or your favorite protein.
- Sweet Start: For a breakfast twist, cook with almond milk and stir in cinnamon, honey, and fresh berries.
FAQs
- Can I freeze cooked quinoa? Yes! Let it cool completely, then portion into freezer-safe bags or containers. Freeze for up to 3 months. Reheat directly from frozen or let it thaw overnight in the fridge.
- What if my quinoa is undercooked? Simply add a tablespoon or two of water, seal the lid again, and cook for 1 more minute at high pressure.
- Can I make this recipe with other grains? Absolutely! Try using the same method with couscous, millet, or bulgur with slight adjustments to the liquid ratio and cooking time.
Printable Recipe Card
Ingredients:
- 1 cup quinoa
- 1 ¼ cups water or broth
- Pinch of salt
Instructions:
- Rinse the quinoa under cool water using a fine-mesh sieve until the water runs clear.
- Place the rinsed quinoa, water or broth, and salt in the Instant Pot.
- Set to “Manual” or “Pressure Cook” mode for 1 minute at High Pressure.
- Allow a Natural Pressure Release for 10 minutes; then manually release any remaining pressure.
- Fluff with a fork and enjoy!
I hope this recipe brings a little extra joy to your weekly meal prep or dinner table! When you make it, I’d love to hear how it turned out and what you paired it with. Share in the comments below or tag your creations on social media with #TheKitchensAid—I can’t wait to see your spin on it!