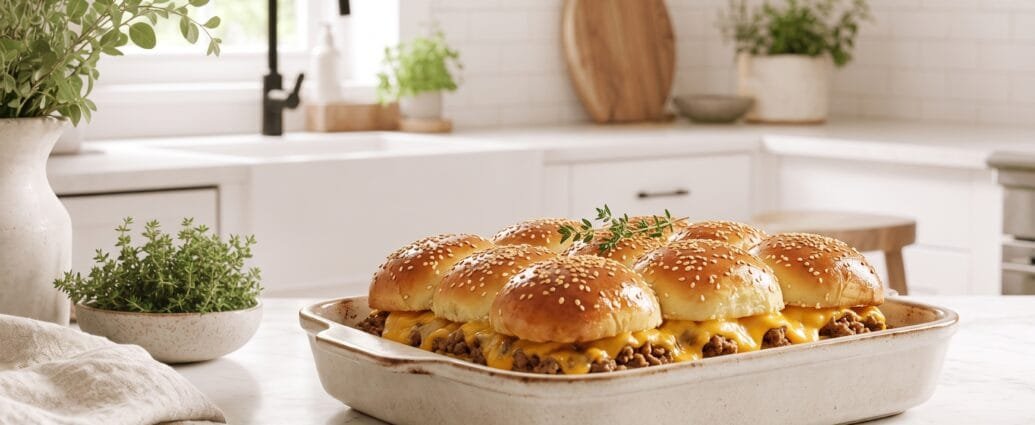
Hey there, friends! Today I’m sharing one of my absolute favorite recipes for gatherings, game days, or any time you want to feed a hungry crowd without spending hours in the kitchen. These cheeseburger sliders are miniature versions of the classic American cheeseburger, but somehow they taste even better when they’re bite-sized and baked all together on a single pan.
I’ll never forget the first time I made these for a Super Bowl party. I doubled the recipe thinking I’d have leftovers, and they were gone in minutes! Now they’re my go-to whenever I need something that’s guaranteed to disappear fast. The best part? You can assemble them ahead of time and just pop them in the oven when your guests arrive.
Why You’ll Love This Recipe
Let me tell you why these sliders have become such a staple in my kitchen. First, they’re incredibly easy to make – we’re talking about 30 minutes from start to finish. No flipping individual burgers on the grill or babysitting a hot stovetop. You simply layer everything on soft slider buns, top them with a buttery seasoned glaze, and bake them all at once.
Second, they’re completely customizable. While I’m giving you my tried-and-true method today, you can easily adapt these to your family’s preferences. Want bacon? Add it! Prefer Swiss cheese? Go for it! Hate pickles? Leave them off! The basic method stays the same.
Third, these sliders are budget-friendly. Ground beef is economical, and slider buns are usually quite affordable. You can feed a dozen people without breaking the bank, which is always a win in my book.
Finally, they’re just plain fun to eat. There’s something about miniature food that makes people happy. I’ve served these at kids’ birthday parties and adult dinner parties alike, and they’re always a hit. They’re also perfect for little hands, making them ideal for family meals.
Ingredients
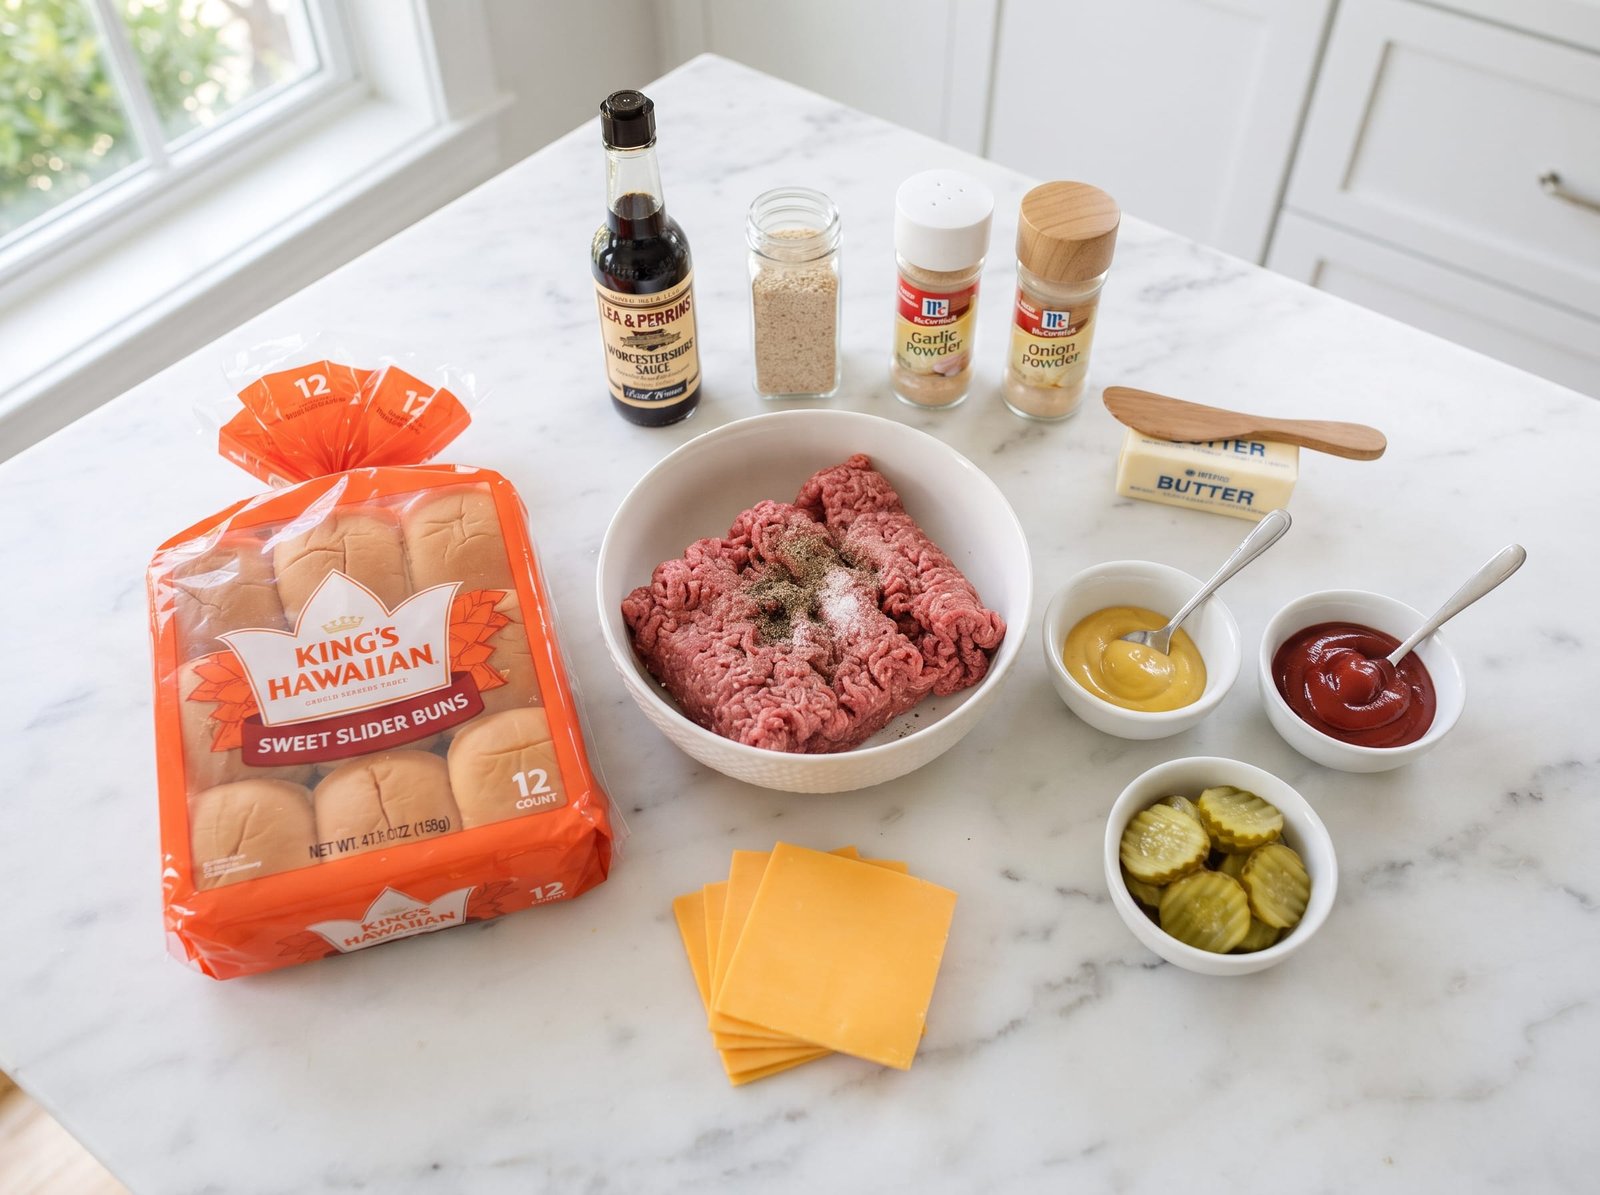
Let me walk you through what you’ll need for these delicious sliders. I always use the freshest ingredients I can find, especially when it comes to the ground beef – that’s where most of the flavor comes from!
For the patties, you’ll need ground beef (I prefer 80/20 for the perfect balance of flavor and moisture), along with simple seasonings like salt, pepper, garlic powder, and onion powder. Some recipes call for eggs or breadcrumbs, but I keep it simple – the meat should be the star.
The slider buns are crucial here. I always use Hawaiian sweet rolls or a package of soft white slider buns. They need to be soft and slightly sweet to contrast with the savory beef. Trust me, the bun makes a huge difference!
For the cheese, I’m a cheddar girl through and through, but American cheese slices work beautifully too because they melt so perfectly. You’ll also want pickles, ketchup, and mustard – the classic burger fixings.
The secret weapon in this recipe is the butter topping. We mix melted butter with Worcestershire sauce, garlic powder, and sesame seeds, then brush it over the top of the buns before baking. This creates a golden, flavorful crust that takes these sliders from good to absolutely irresistible.
Step-by-Step Instructions
Making these sliders is wonderfully straightforward, and I’m going to walk you through each step so you can’t go wrong. I’ve made these dozens of times, and I’ve learned all the little tricks that make them perfect every single time.
Start by preheating your oven to 350°F. While it’s heating up, prepare your ground beef. In a large bowl, combine the beef with salt, pepper, garlic powder, and onion powder. Mix it gently with your hands – and here’s an important tip: don’t overmix! Overworking the meat makes it tough. Just combine until the seasonings are evenly distributed.
Now, here’s where my method might differ from others you’ve seen. Instead of forming individual tiny patties, I press the entire pound of seasoned beef into a thin layer on a baking sheet lined with parchment paper. Make it roughly the same shape and size as your buns will be when arranged. This ensures every slider has the perfect amount of meat, and it’s so much faster than making twelve individual patties!
Pop that sheet into your preheated oven and bake for about 10-12 minutes, just until the beef is cooked through. While it’s cooking, prep your bun situation. Don’t separate the slider buns – keep them connected! Slice the entire sheet of buns in half horizontally, so you have a top half and a bottom half. This is the key to easy assembly.
Place the bottom half of the buns in a 9×13-inch baking dish. Here’s where we build our sliders: spread a thin layer of ketchup and mustard on the buns (I mix them together first for easier spreading). Add a few pickle slices. When your beef is done, use a large spatula to transfer the entire cooked beef slab onto the buns. If it breaks into a few pieces, that’s totally fine – just arrange it to cover all the buns.
Layer your cheese slices over the beef, then place the top half of the buns over everything. Now for that magical butter mixture! In a small bowl, mix melted butter with Worcestershire sauce, garlic powder, and sesame seeds. Brush this generously all over the top of the buns. Be generous – this is what makes them golden and delicious!
Cover the baking dish with aluminum foil and bake for 15 minutes. Then remove the foil and bake for another 5 minutes until the tops are golden brown and the cheese is perfectly melted. The smell in your kitchen at this point will be absolutely incredible.
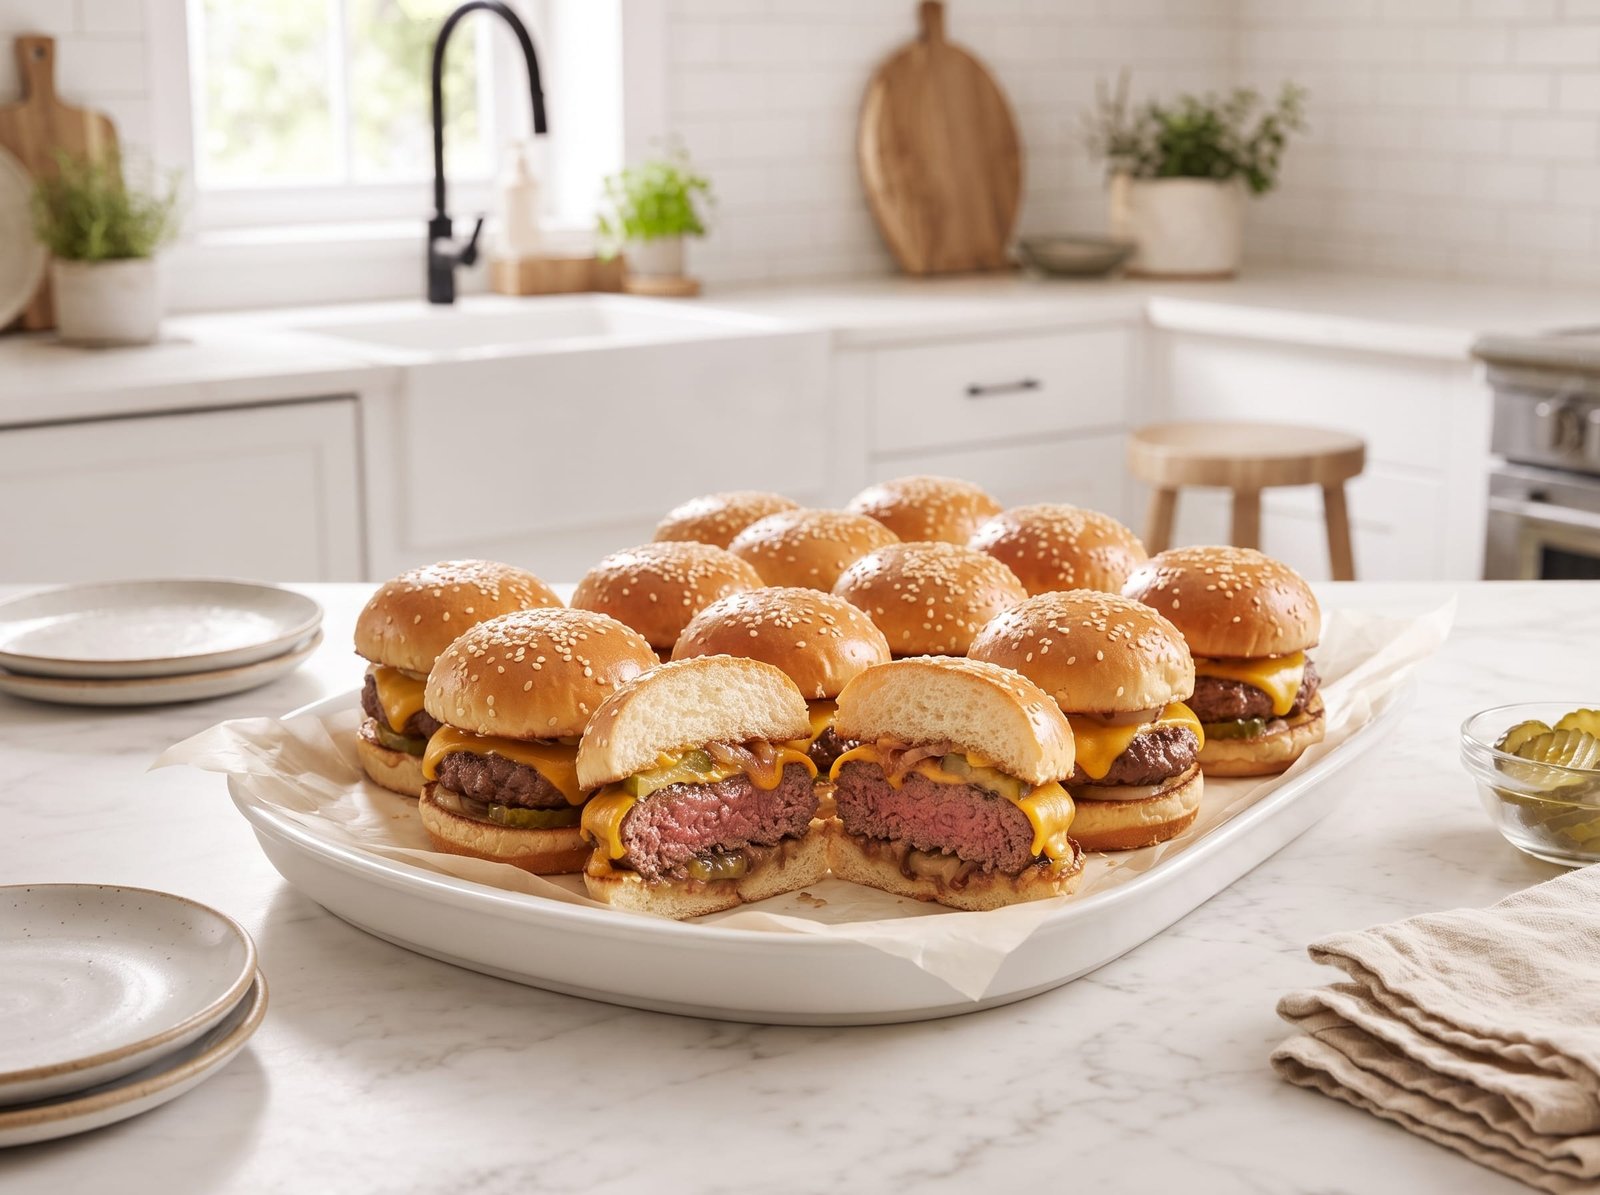
Let them cool for just 2-3 minutes (I know it’s hard to wait!), then use a sharp knife to cut along the lines where the buns naturally separate. Serve them warm and watch them disappear!
Tips for Perfect Sliders Every Time
After making these countless times, I’ve picked up some tricks that I just have to share with you. These little tips will take your sliders from great to absolutely perfect.
First, don’t skip the butter topping! I know it might seem like an unnecessary step, but it truly makes such a difference. It adds flavor, creates that beautiful golden color, and helps keep the buns soft while adding just a little bit of crunch on top. If you’re feeling adventurous, try adding a tiny bit of Dijon mustard to the butter mixture – it’s fantastic.
Second, let’s talk about cheese placement. I always put the cheese on top of the hot beef right before adding the top buns. The residual heat from the beef starts the melting process, and then the oven finishes the job. This prevents the cheese from sliding around and ensures even coverage.
If you want to make these ahead of time (which is perfect for entertaining), you can assemble everything up until the point of adding the butter topping and baking. Cover tightly with plastic wrap and refrigerate for up to 4 hours. When you’re ready to serve, add the butter topping and bake as directed, adding maybe 5 extra minutes since they’ll be starting from a cold temperature.
For extra flavor, try caramelizing some onions and adding them as a layer. It takes a bit more time, but wow, it’s worth it! I also love adding a layer of crispy bacon – just cook it beforehand and layer it on top of the beef.
If you’re serving these at a party, keep them warm in a slow cooker set to the warm setting. Just transfer them after baking, and they’ll stay perfect for up to an hour. This is especially helpful if guests are arriving at different times.
Kitchen Gear for This Recipe
- Instant-Read Meat Thermometer
- Enameled Cast Iron Dutch Oven
- Heavy-Duty Sheet Pan Set
- Glass Mixing Bowl Set
As an Amazon Associate, The Kitchen’s Aid earns from qualifying purchases at no extra cost to you.
Frequently Asked Questions
Can I use ground turkey instead of beef?
Absolutely! Ground turkey works great in this recipe. I’d recommend using 93/7 ground turkey and maybe adding a tiny bit of olive oil to the meat mixture since turkey is leaner. You might also want to add a bit of extra seasoning since turkey has a milder flavor than beef.
What sides go well with these sliders?
I love serving these with classic cookout sides like potato salad, coleslaw, baked beans, or sweet potato fries. For a lighter option, a simple green salad or some roasted vegetables work beautifully. And of course, chips are always a crowd-pleaser!
Can I freeze these?
Yes! I’ve frozen them both before and after baking. To freeze before baking, assemble completely but don’t add the butter topping. Wrap tightly in plastic wrap and then foil. Freeze for up to 2 months. Thaw in the refrigerator overnight, add the butter topping, and bake as directed. To freeze after baking, let them cool completely, wrap well, and freeze. Reheat in a 300°F oven until warmed through.
My buns got soggy. What did I do wrong?
This usually happens if there’s too much moisture from condiments or if the sliders sit too long after baking. Use condiments sparingly and spread them in a thin, even layer. Also, make sure to let the cooked beef drain on paper towels for a minute before adding it to the buns. Pat the pickles dry too!
Can I make these on the grill?
While these are designed for the oven, you can adapt them for the grill! Assemble everything in a disposable aluminum pan, cover with foil, and place on the grill over indirect medium heat. It’ll take about 20-25 minutes. The butter topping might not get quite as golden, but they’ll still be delicious.
These cheeseburger sliders have become one of my most-requested recipes, and I hope they become a favorite in your home too. They’re proof that simple ingredients, when prepared with a little love and the right technique, can create something truly special. Whether you’re feeding a crowd at a party or just want to make dinner fun for your family on a Tuesday night, these sliders deliver every single time. Happy cooking, friends!
When you want the same flavors at full size, our ultimate smash burger is the one to make. And if these are heading to a party, fill out the table from our 18 easy party appetizer recipes.
Cheeseburger Sliders
American · Main Course
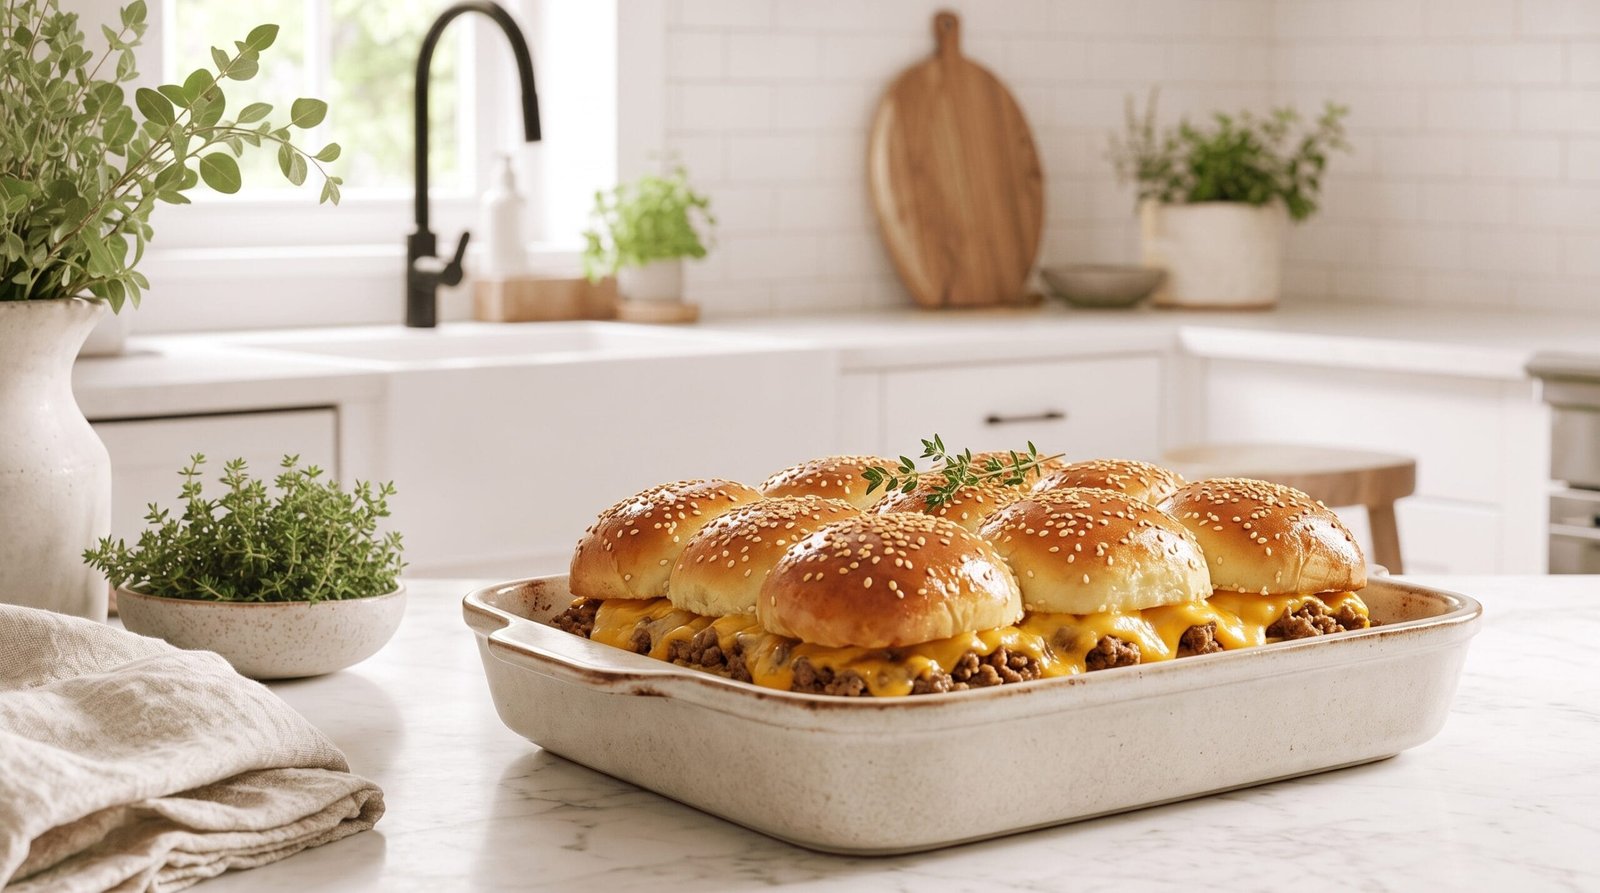
Juicy mini cheeseburgers baked together on soft slider buns with a buttery garlic topping. Perfect for parties, game day, or easy family dinners!
Ingredients
- 1 pound ground beef (80/20)
- 1 teaspoon salt
- 1/2 teaspoon black pepper
- 1 teaspoon garlic powder, divided
- 1 teaspoon onion powder
- 12 slider buns (Hawaiian sweet rolls or white slider buns)
- 6 slices cheddar cheese
- 1/4 cup ketchup
- 2 tablespoons yellow mustard
- 12-16 pickle slices
- 3 tablespoons butter, melted
- 1 tablespoon Worcestershire sauce
- 1 tablespoon sesame seeds
Instructions
- Preheat oven to 350°F. Line a baking sheet with parchment paper.
- In a large bowl, combine ground beef with salt, pepper, 1/2 teaspoon garlic powder, and onion powder. Mix gently until just combined.
- Press the seasoned beef into a thin, even layer on the prepared baking sheet, roughly the size of your slider buns when arranged together. Bake for 10-12 minutes until cooked through.
- While beef cooks, prepare the buns. Without separating them, slice the entire sheet of slider buns in half horizontally. Place the bottom half in a 9x13-inch baking dish.
- In a small bowl, mix together ketchup and mustard. Spread evenly over the bottom buns.
- Arrange pickle slices over the condiments.
- Once beef is cooked, use a large spatula to transfer it onto the prepared buns. Break into pieces if needed to cover all buns evenly.
- Layer cheese slices over the hot beef, then place the top buns over the cheese.
- In a small bowl, combine melted butter, Worcestershire sauce, remaining 1/2 teaspoon garlic powder, and sesame seeds. Brush generously over the top of the buns.
- Cover the baking dish with aluminum foil and bake for 15 minutes.
- Remove foil and bake for an additional 5 minutes until tops are golden brown.
- Let cool for 2-3 minutes, then cut along the bun lines to separate into individual sliders. Serve warm.
Nutrition: 285 calories
Made this? Rate it