
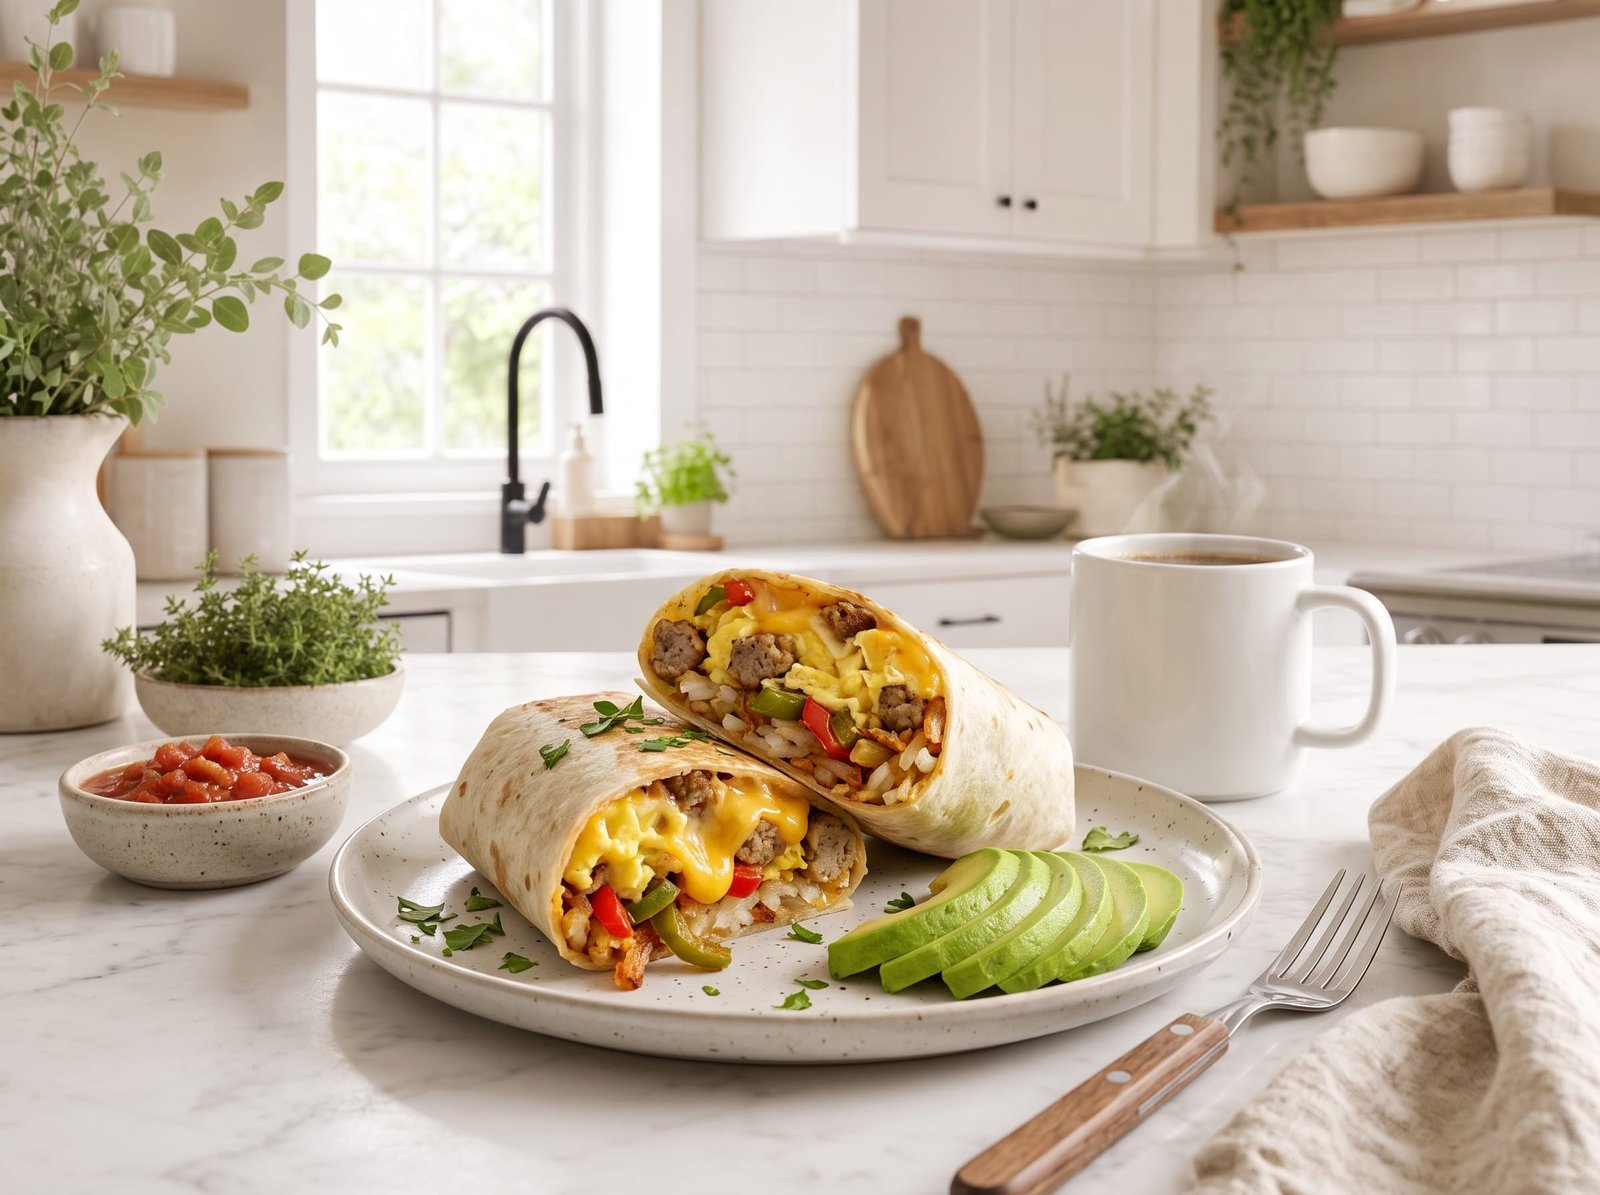
There’s something truly magical about having a hot, satisfying breakfast ready in minutes on those chaotic weekday mornings. These make-ahead breakfast burritos have become my secret weapon against the morning rush, and I’m thrilled to share this game-changing recipe with you today.
I started batch-making these burritos a few years ago when my mornings became increasingly hectic. Now, every Sunday, I spend about an hour in the kitchen wrapping up a week’s worth of these beauties. The result? Stress-free mornings and a breakfast that actually tastes homemade because, well, it is!
What I love most about these breakfast burritos is how customizable they are. You can adjust the ingredients based on your preferences or what you have on hand. Plus, they’re packed with protein and vegetables, so you’re starting your day with real nutrition, not just empty calories.
Why You’ll Love This Recipe
These make-ahead breakfast burritos are truly a lifesaver, and here’s why they’ll become your new morning staple:
Ultimate convenience: I can’t emphasize this enough – having breakfast ready to go is a complete game-changer. Just grab, microwave, and you’re out the door in under three minutes. On those mornings when you hit snooze one too many times, these burritos are absolute lifesavers.
Budget-friendly: Making a batch of these costs a fraction of what you’d spend at a drive-through or coffee shop. I calculated it once, and each burrito comes out to about $1.50, compared to $5-7 at most breakfast spots. That’s serious savings that add up quickly!
Perfectly portioned: Each burrito is a complete meal with the right balance of protein, carbs, and vegetables. No more grabbing random snacks or overeating because you’re starving. These keep me satisfied until lunchtime.
Freezer-friendly: These burritos freeze beautifully for up to three months. I love making a double batch when I have time, so I always have backup options. They reheat perfectly with no weird texture changes or sogginess.
Customizable to your tastes: Whether you’re vegetarian, love spicy food, or need to avoid certain ingredients, this recipe is incredibly flexible. Swap the meats, change up the cheese, add different vegetables – make them truly yours!
Ingredients
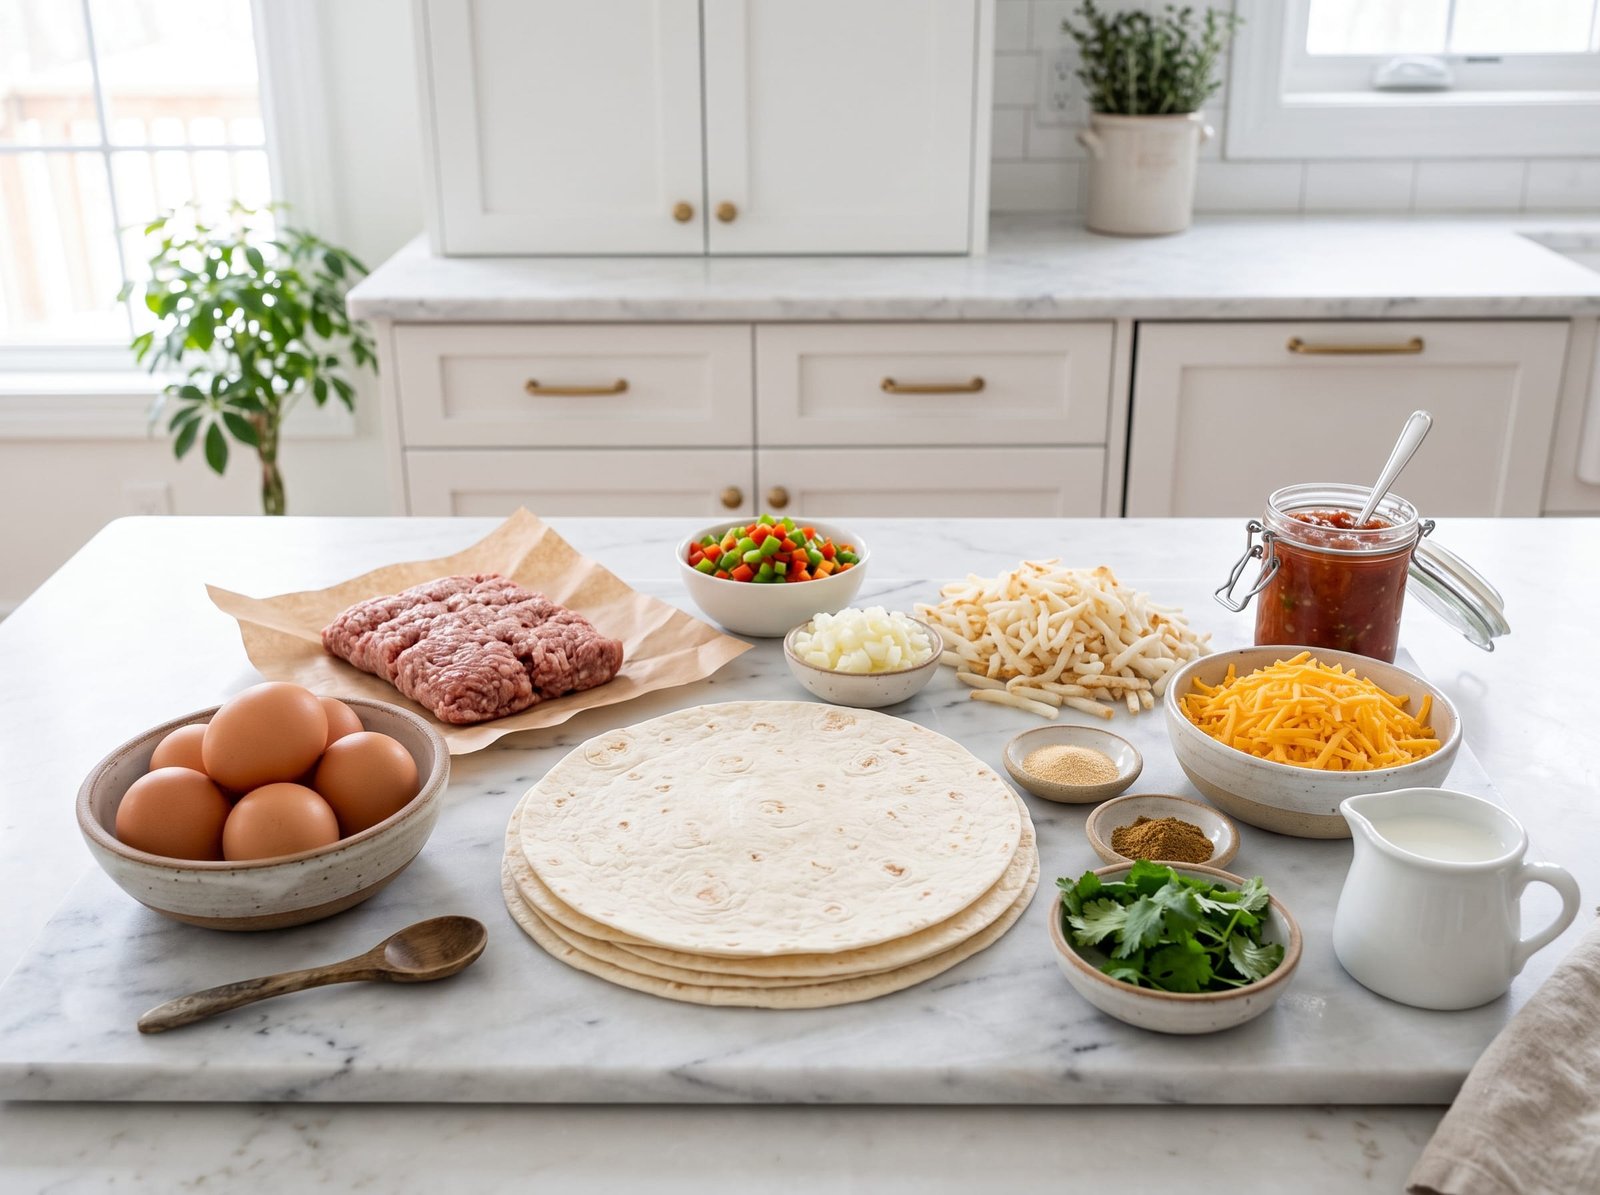
Let me walk you through what you’ll need for these incredible breakfast burritos. I’ve tested this recipe countless times, and these proportions create the perfect filling-to-tortilla ratio:
For the filling:
- 12 large eggs
- 1/4 cup whole milk
- 1 pound breakfast sausage (or bacon, or turkey sausage for a lighter option)
- 1 medium onion, diced
- 1 bell pepper, diced (I love using red for color and sweetness)
- 2 cups frozen hash browns, thawed
- 2 cups shredded cheddar cheese
- 1 tablespoon olive oil
- 1 teaspoon garlic powder
- 1/2 teaspoon ground cumin
- Salt and black pepper to taste
- 1/4 cup fresh cilantro, chopped (optional but wonderful)
For assembly:
- 10-12 large flour tortillas (burrito-size, about 10-inch)
- 1 cup salsa (your favorite variety)
A few notes on ingredients: I prefer using large flour tortillas because they’re easier to wrap and hold more filling without tearing. For the sausage, I often use Jimmy Dean’s, but any breakfast sausage you love will work. If you’re watching calories, turkey sausage is an excellent substitute. And please, use real cheese – the pre-shredded stuff works fine, but freshly shredded melts so much better!
Step-by-Step Instructions
Making these breakfast burritos is straightforward, but I’ve learned a few tricks over the years that make the process even smoother. Let me guide you through it:
Step 1: Prepare your workspace
Before you start cooking, set up an assembly station. Lay out a large cutting board or clean counter space where you’ll assemble the burritos. Have aluminum foil pre-cut into 12 squares large enough to wrap each burrito. Trust me, doing this prep work first makes the assembly so much easier when everything’s hot and ready.
Step 2: Cook the sausage
Heat a large skillet over medium-high heat and add the breakfast sausage, breaking it apart with a wooden spoon. Cook for about 6-8 minutes until it’s browned and cooked through. I like to break it into small crumbles so it distributes evenly in the burritos. Remove the sausage to a large bowl, leaving about a tablespoon of drippings in the pan.
Step 3: Sauté the vegetables
In the same skillet, add the olive oil, diced onion, and bell pepper. Sauté for about 5 minutes until the vegetables are softened and the onions become translucent. Add the thawed hash browns and spread them out in the pan. Let them cook for about 5-7 minutes, stirring occasionally, until they’re golden and crispy. Season with garlic powder, cumin, salt, and pepper. Transfer everything to the bowl with the sausage.
Step 4: Scramble the eggs
In a large bowl, whisk together the eggs and milk with a pinch of salt and pepper. Pour this mixture into the same skillet (no need to clean it – those flavors are gold!) over medium-low heat. Using a spatula, gently scramble the eggs, stirring frequently until they’re just cooked through but still slightly creamy. You don’t want them dry! This takes about 5-6 minutes. Remove from heat immediately.
Step 5: Combine everything
Add the scrambled eggs to the bowl with the sausage and vegetables. Fold in the shredded cheese and cilantro if using. Gently mix everything together until well combined. The residual heat will melt the cheese slightly, which helps everything bind together. Let this mixture cool for about 10 minutes – this prevents the tortillas from getting soggy.
Step 6: Warm the tortillas
This step is crucial! Wrap your tortillas in a damp paper towel and microwave for 30-45 seconds, or warm them individually in a dry skillet for a few seconds on each side. Warm tortillas are much more pliable and won’t crack when you roll them.
Step 7: Assemble the burritos
Lay out a warm tortilla on your prepared surface. Spoon about 3/4 to 1 cup of filling into the center of each tortilla, keeping it in a horizontal line. Add a tablespoon of salsa on top of the filling. Don’t overfill – I learned this the hard way! Fold the sides of the tortilla in toward the center, then fold the bottom edge up and over the filling. Roll tightly away from you, tucking as you go to keep everything secure.
Step 8: Wrap for storage
Immediately wrap each burrito tightly in aluminum foil while they’re still warm. Write the date on each foil packet with a permanent marker. This tight wrapping prevents freezer burn and keeps them fresh.
Step 9: Cool and freeze
Let the wrapped burritos cool completely at room temperature, about 30-45 minutes. Then place them in a large freezer bag or container. Squeeze out as much air as possible before sealing. Store in the freezer for up to 3 months.
Step 10: Reheating
When you’re ready to eat, remove a burrito from the freezer. You can leave the foil on (but remove any paper labels!) and microwave on 50% power for 3-4 minutes, flipping halfway through. Or unwrap completely, wrap in a damp paper towel, and microwave on high for 2-3 minutes. For the crispiest result, after microwaving, unwrap and place the burrito in a preheated skillet over medium heat for 1-2 minutes per side until golden brown.
Tips for Perfect Make-Ahead Breakfast Burritos
After making hundreds of these burritos, I’ve picked up some valuable tips that ensure perfect results every time:
Don’t overcook the eggs: Slightly undercooked scrambled eggs are key here. They’ll continue cooking when you reheat the burritos, and this prevents them from becoming rubbery. Take them off the heat when they still look just a tiny bit wet.
Let the filling cool: I know it’s tempting to wrap everything immediately, but letting that filling cool for 10 minutes prevents condensation inside the foil, which causes sogginess. A little patience goes a long way here!
Wrap tightly: The tighter your wrap, the better your burrito will hold together and the less freezer burn you’ll get. Make sure there are no air pockets in the foil, and consider double-wrapping if you plan to store them for more than a month.
Label everything: It seems obvious, but I can’t tell you how many times I’ve forgotten what’s in my freezer! Write the contents and date on each burrito. Even better, keep a list on your freezer door of what you have and when it was made.
Batch cook smartly: If you’re making a large batch, use two skillets simultaneously to speed up the process. You can cook the sausage in one while sautéing vegetables in the other, then use both for the eggs if needed.
Consider your add-ins carefully: Some ingredients freeze better than others. Cooked sausage, bacon, eggs, cheese, and peppers all freeze beautifully. However, I avoid raw vegetables like lettuce or tomatoes, as they become watery and sad when frozen. Save those for adding fresh when you serve.
Perfect your wrapping technique: If your burritos keep falling apart, try this: place the filling slightly off-center, closer to the bottom. Fold the bottom third up firmly over the filling, then fold in the sides and continue rolling. This creates a tighter seal at the bottom where the filling might escape.
Double-wrap for long storage: If you’re meal prepping for more than two weeks out, wrap each burrito in plastic wrap first, then in foil. This extra layer really helps prevent freezer burn.
Kitchen Gear for This Recipe
- Instant-Read Meat Thermometer
- Enameled Cast Iron Dutch Oven
- Heavy-Duty Sheet Pan Set
- Glass Mixing Bowl Set
As an Amazon Associate, The Kitchen’s Aid earns from qualifying purchases at no extra cost to you.
Frequently Asked Questions
Can I use corn tortillas instead of flour?
While you can, I don’t recommend it for freezing. Corn tortillas tend to crack and fall apart after being frozen and reheated. If you prefer corn tortillas, these burritos work great for meal prep if you plan to eat them within 3-4 days and keep them refrigerated rather than frozen.
How long do these last in the refrigerator?
If you’re not freezing them, these breakfast burritos will stay fresh in the refrigerator for up to 4 days. Just wrap them tightly in foil or plastic wrap and store in an airtight container. Reheat in the microwave for 1-2 minutes.
Can I make these vegetarian?
Absolutely! Skip the sausage and add extra vegetables like sautéed mushrooms, spinach, or zucchini. You could also add black beans for protein. I’ve made them this way many times, and they’re just as delicious and satisfying.
What’s the best way to reheat for a crispy exterior?
My favorite method is to microwave first until heated through, then finish in a dry skillet over medium heat for about a minute per side. This gives you a wonderfully crispy, golden exterior while ensuring the inside is hot. Some people also use an air fryer at 350°F for about 5-7 minutes after a quick microwave defrost.
Can I add hot sauce to the filling before freezing?
I prefer to add hot sauce when serving rather than before freezing. Heat can intensify during storage, making your burritos spicier than intended. Plus, everyone has different heat preferences! Keep hot sauce on hand and let everyone customize their own.
Why do my tortillas get soggy?
Soggy tortillas usually happen when the filling is too wet or still hot when wrapped. Make sure to drain any excess grease from the sausage, let the filling cool for at least 10 minutes, and don’t add too much salsa (1 tablespoon per burrito is plenty). The cooling step is really crucial!
Can I use egg whites only?
Yes, but the texture will be a bit different – less rich and creamy. If you’re using egg whites for health reasons, I’d suggest using 18 egg whites (to replace the 12 whole eggs) and adding a tablespoon of butter to the pan for moisture. You might also want to increase the cheese slightly for better texture.
What other proteins work well?
The options are endless! Cooked and crumbled bacon, diced ham, cooked ground beef, or even leftover rotisserie chicken all work wonderfully. For a Southwestern twist, try seasoned ground turkey or even carne asada. Just make sure whatever protein you use is fully cooked before assembling.
These make-ahead breakfast burritos have truly transformed my mornings, and I hope they do the same for yours. There’s something so comforting about knowing that a delicious, homemade breakfast is always just minutes away. Whether you’re feeding a family, meal prepping for yourself, or looking for a convenient breakfast option, these burritos check all the boxes. Give them a try this weekend – I promise you won’t regret it! Happy cooking, friends!
Make-Ahead Breakfast Burritos
American, Mexican-Inspired · Breakfast
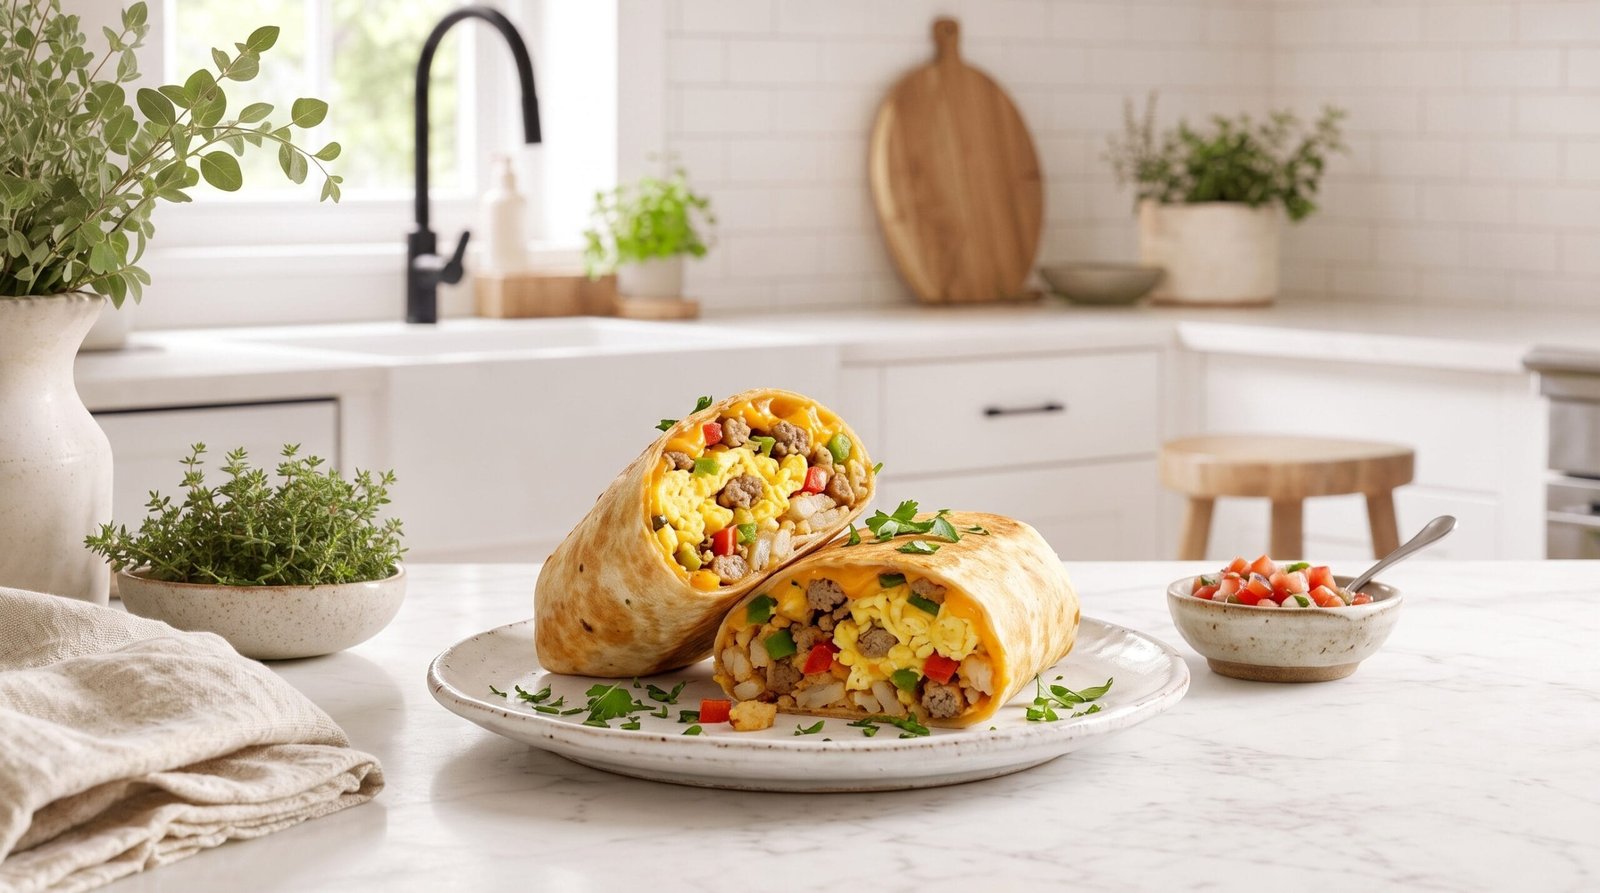
Freezer-friendly breakfast burritos packed with scrambled eggs, sausage, cheese, and vegetables. Perfect for busy mornings!
Ingredients
- 12 large eggs
- 1/4 cup whole milk
- 1 pound breakfast sausage
- 1 medium onion, diced
- 1 bell pepper, diced
- 2 cups frozen hash browns, thawed
- 2 cups shredded cheddar cheese
- 1 tablespoon olive oil
- 1 teaspoon garlic powder
- 1/2 teaspoon ground cumin
- Salt and black pepper to taste
- 1/4 cup fresh cilantro, chopped (optional)
- 10-12 large flour tortillas (burrito-size, 10-inch)
- 1 cup salsa
Instructions
- Set up an assembly station with aluminum foil pre-cut into 12 squares for wrapping.
- Cook breakfast sausage in a large skillet over medium-high heat for 6-8 minutes, breaking into small crumbles. Transfer to a large bowl, leaving drippings in pan.
- Add olive oil, diced onion, and bell pepper to the same skillet. Sauté for 5 minutes until softened.
- Add thawed hash browns to the vegetables and cook for 5-7 minutes until golden and crispy. Season with garlic powder, cumin, salt, and pepper. Transfer to bowl with sausage.
- Whisk together eggs, milk, salt, and pepper. Pour into the same skillet over medium-low heat and scramble gently for 5-6 minutes until just cooked but still creamy.
- Add scrambled eggs to the bowl with sausage and vegetables. Fold in shredded cheese and cilantro. Mix well and let cool for 10 minutes.
- Warm tortillas by wrapping in a damp paper towel and microwaving for 30-45 seconds, or warming individually in a dry skillet.
- Place 3/4 to 1 cup of filling in the center of each tortilla. Add 1 tablespoon of salsa on top.
- Fold the sides in, then fold the bottom up and over the filling. Roll tightly away from you.
- Wrap each burrito tightly in aluminum foil and label with the date.
- Let wrapped burritos cool completely for 30-45 minutes, then place in freezer bags or containers. Freeze for up to 3 months.
- To reheat: Microwave in foil on 50% power for 3-4 minutes, flipping halfway, or unwrap and microwave in a damp paper towel on high for 2-3 minutes. For crispy exterior, finish in a skillet for 1-2 minutes per side.
Nutrition: 385 calories
Made this? Rate it